Dynamics 365 users often ask whether they can synchronize Outlook and Dynamics 365. The answer to that is yes! This blog will help you configure the settings step by step. Once you have configured it, you will be able...
Dynamics 365 users often ask whether they can synchronize Outlook and Dynamics 365. The answer to that is yes! This blog will help you configure the settings step by step.
Once you have configured it, you will be able to see all the activities in Dynamics 365, which is created in Outlook, and vice versa.
So, let’s start configuring Dynamics 365.
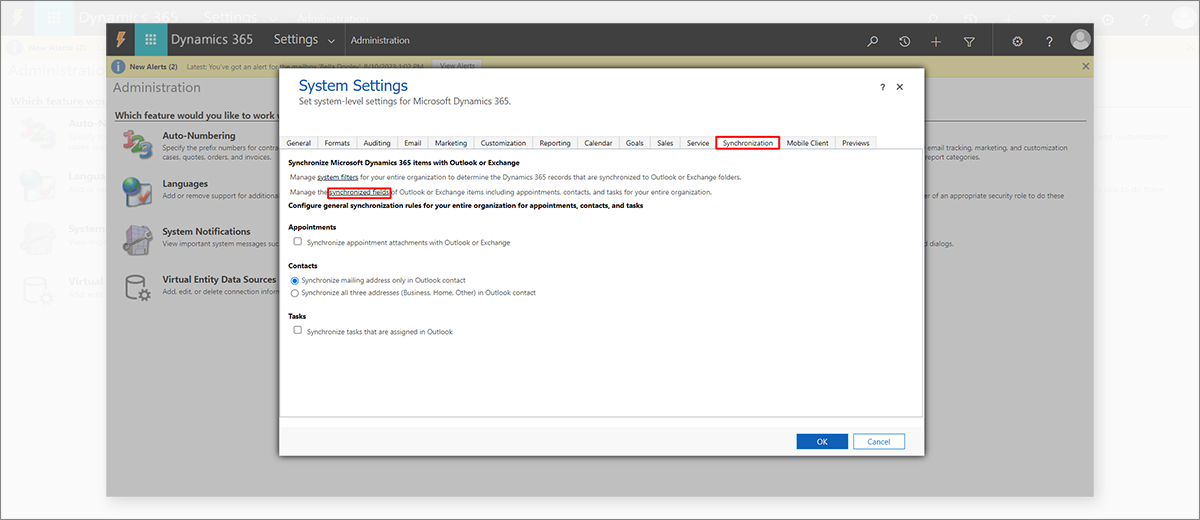
Step 1: In Dynamics 365, go to Settings > Administration > System Settings.

Open the Synchronization tab in System Settings. Click on Synchronized Fields.
Step 2: On clicking Synchronized Fields, it will open a pop-up that shows a list of entities.
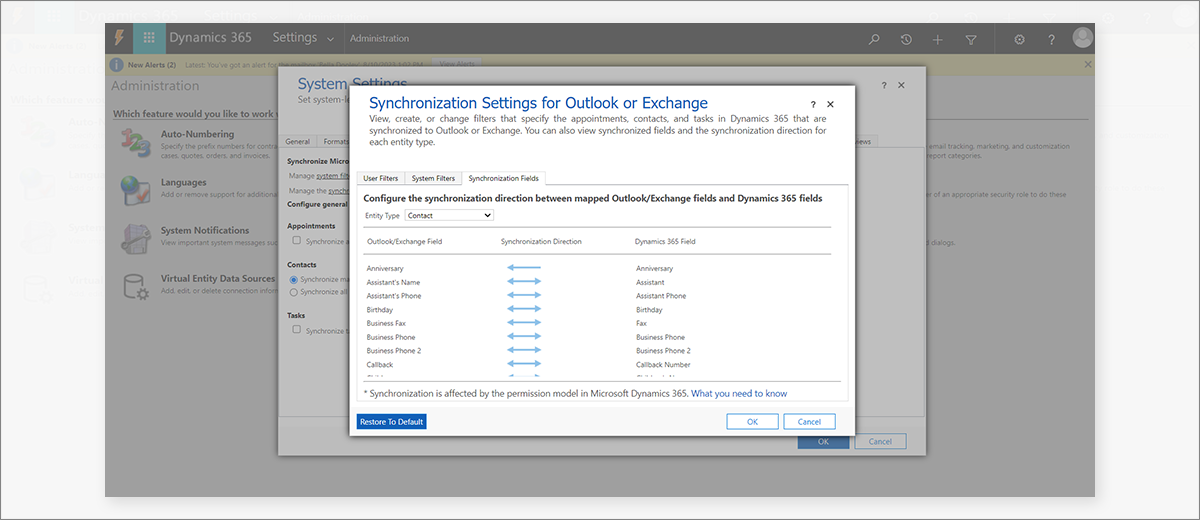
Step 3: Users can define the direction of synchronization of a particular entity with arrows, as shown in the below image.
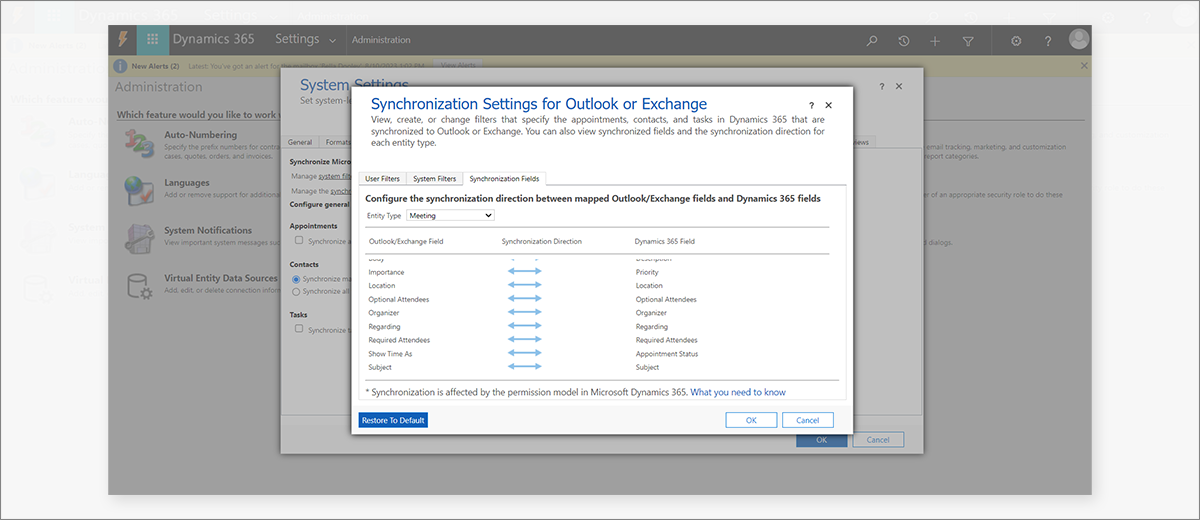
Choose Entity Type as Email and you can see how Email synchronization is managed.
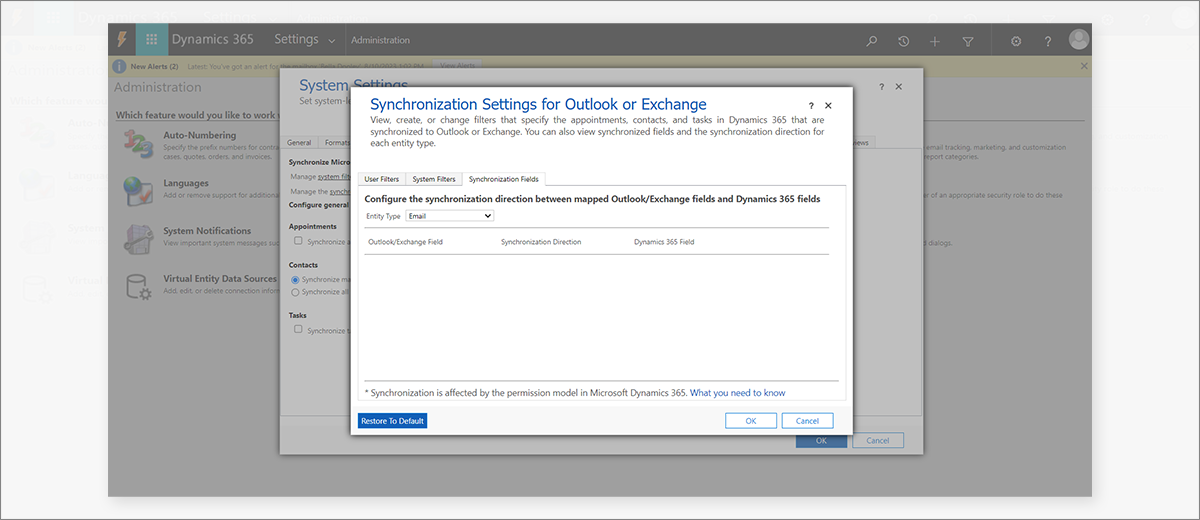
Note: You cannot enable synchronization for Custom activity.
Step 4: Now, to make synchronization functional, let us configure the mailbox of the user. Navigate from Settings to Email Configuration and open Mailboxes.

It will show a mailbox for the user, as shown in the below image. Let’s configure it.
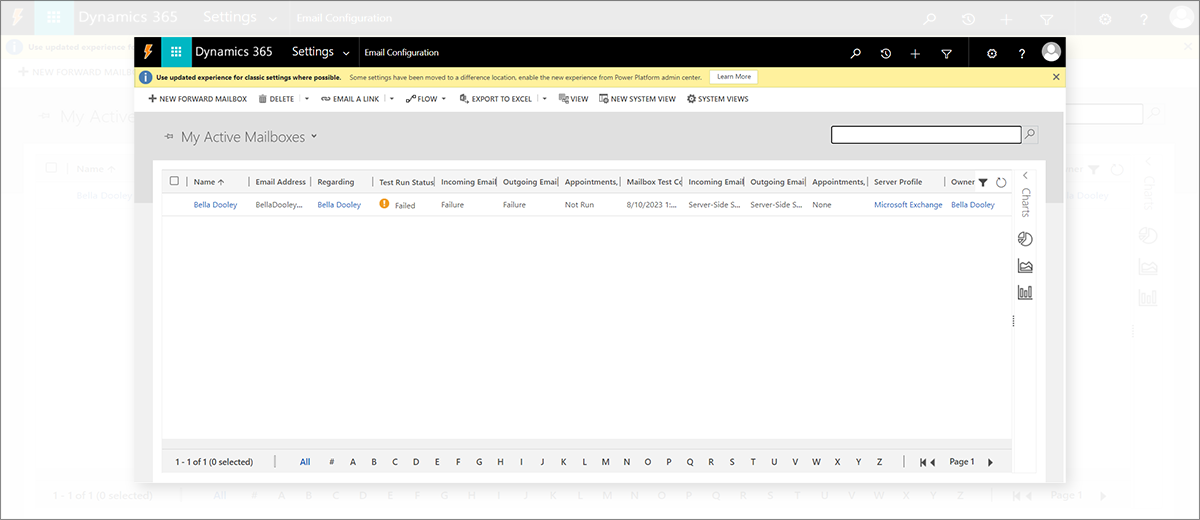
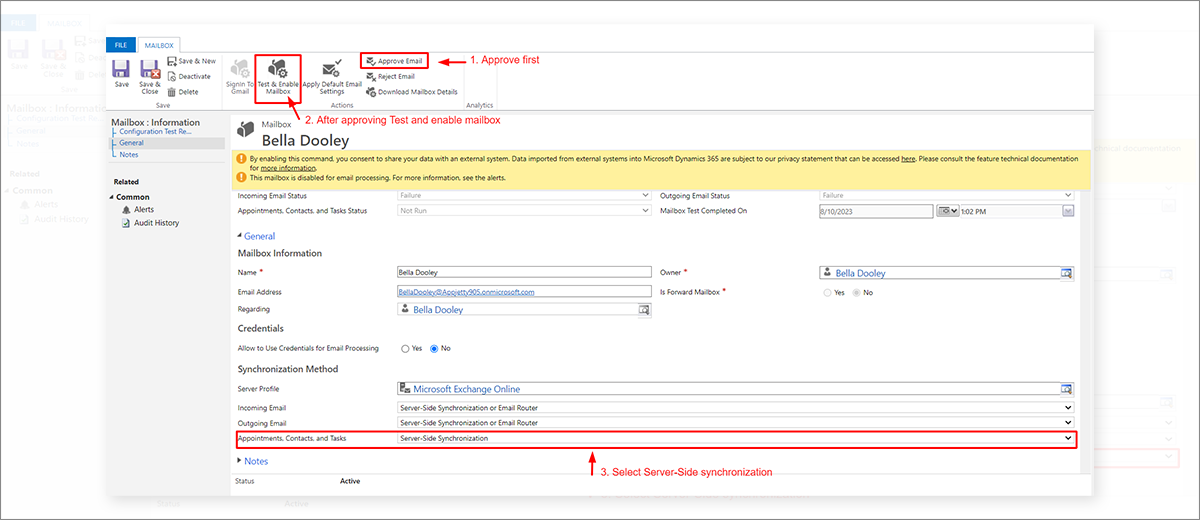
Step 5: Open the mailbox of the user. Firstly, Click on Approve Email as shown in the image. Then, click on Test and Enable Mailbox. Now set Server-Side Synchronization for Appointments, Contacts, and Tasks.
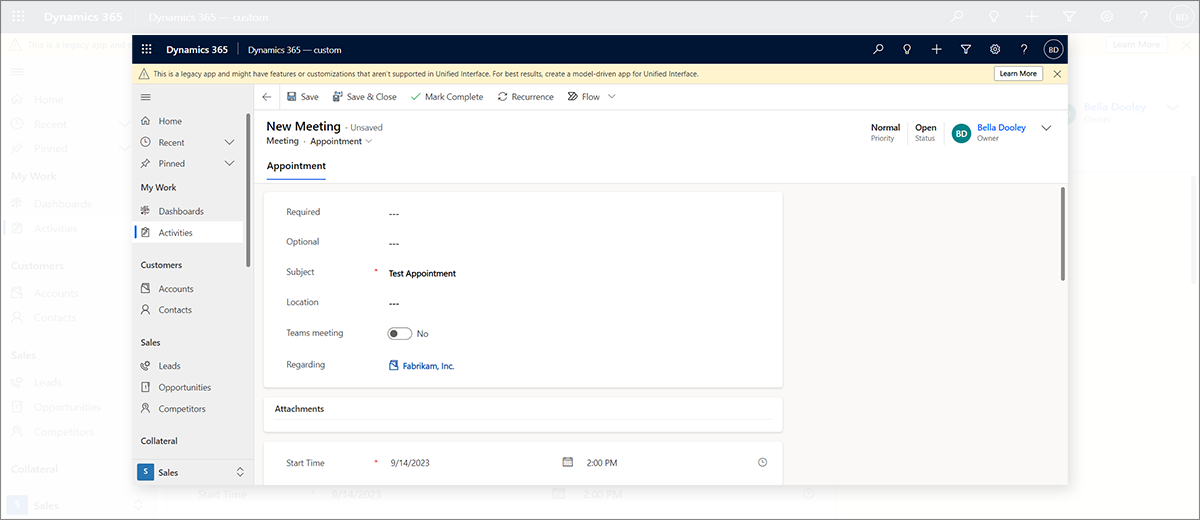
Step 6: Let us create one appointment record from Dynamics 365 to view it on Outlook. Enter the Subject and Regarding for the appointment.
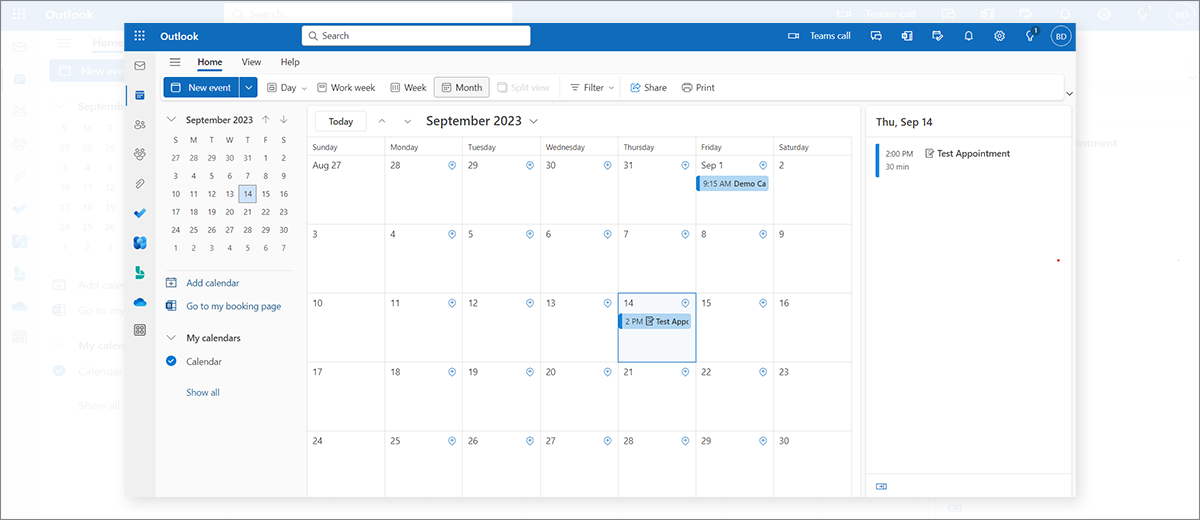
You can see the Test appointment in Outlook.
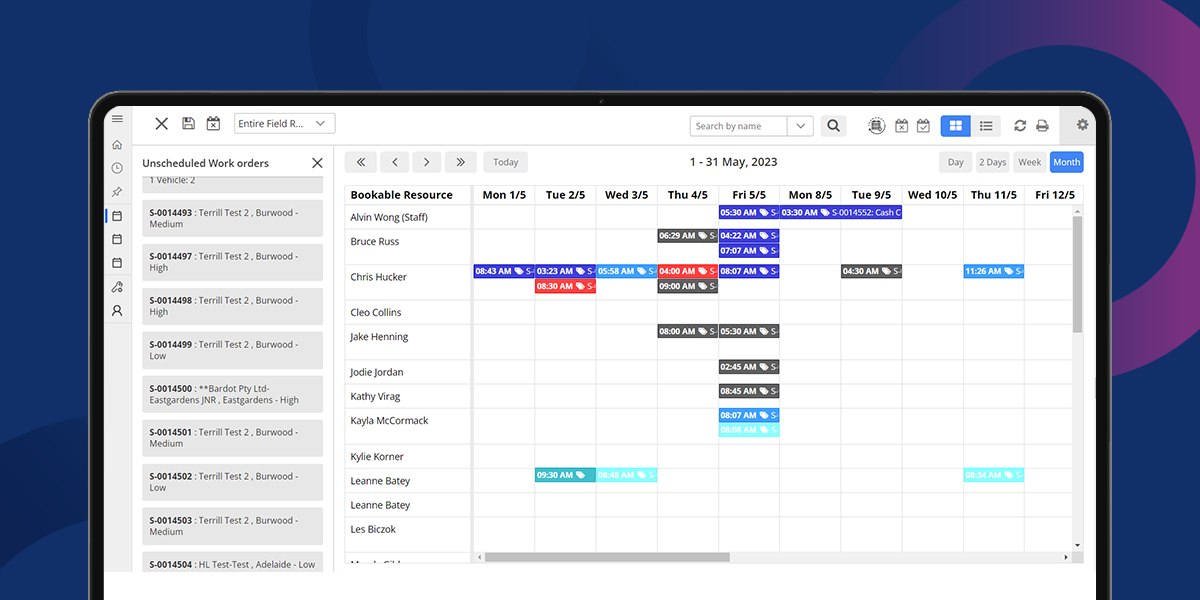
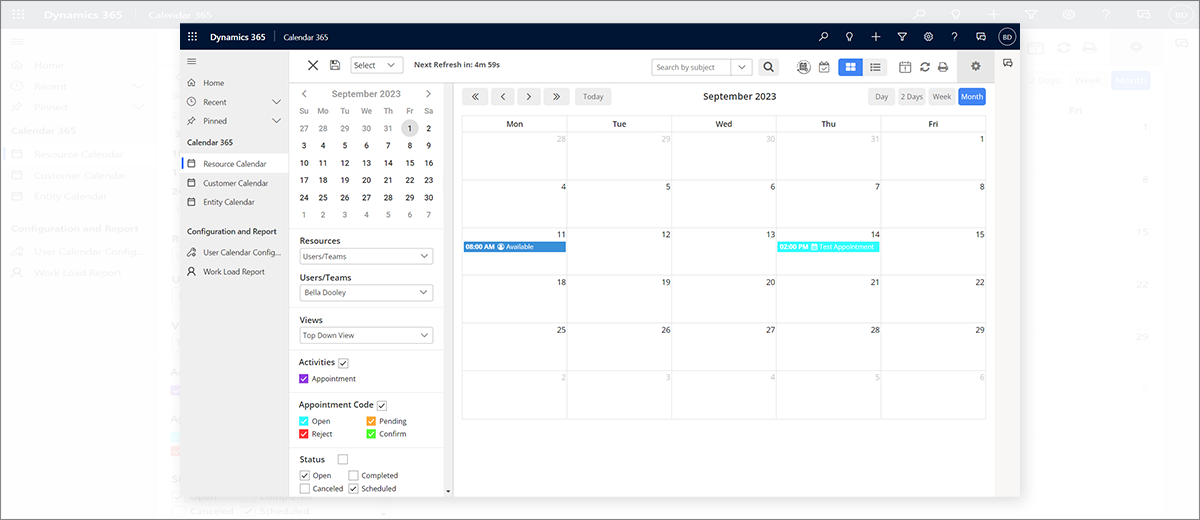
The Test appointment will also be visible in Calendar 365.
Step 7: Let’s update appointments from Outlook. For instance, we have updated the subject of the appointment from Test to Meeting with Samuel.
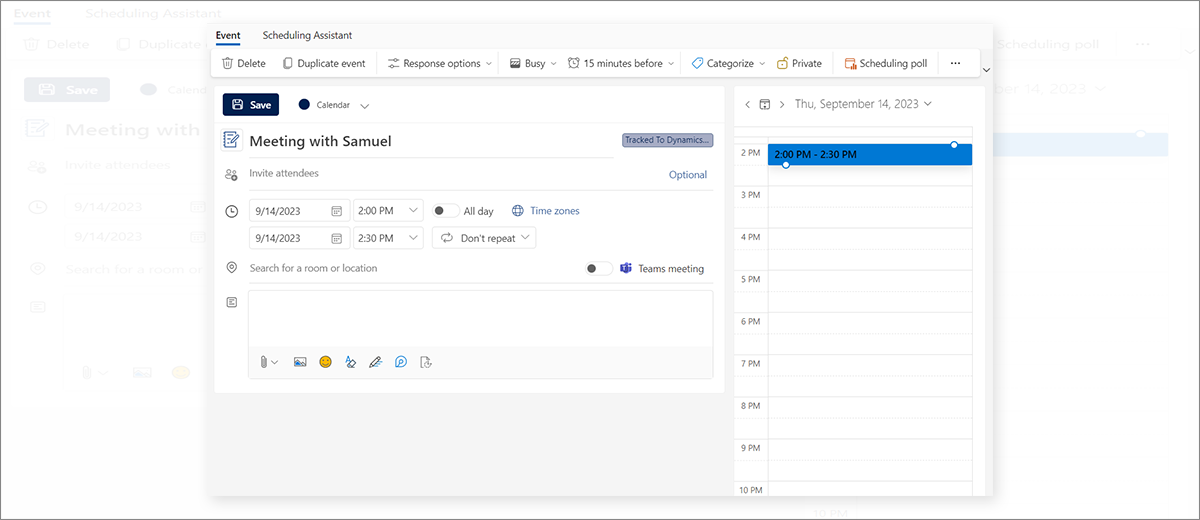
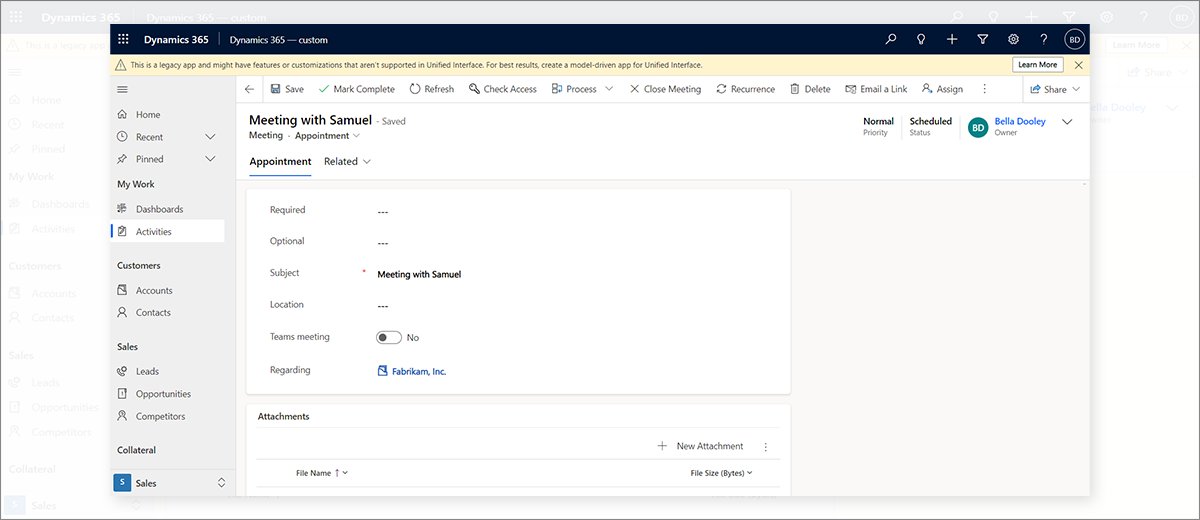
After some time, changes will be reflected in Dynamics 365.
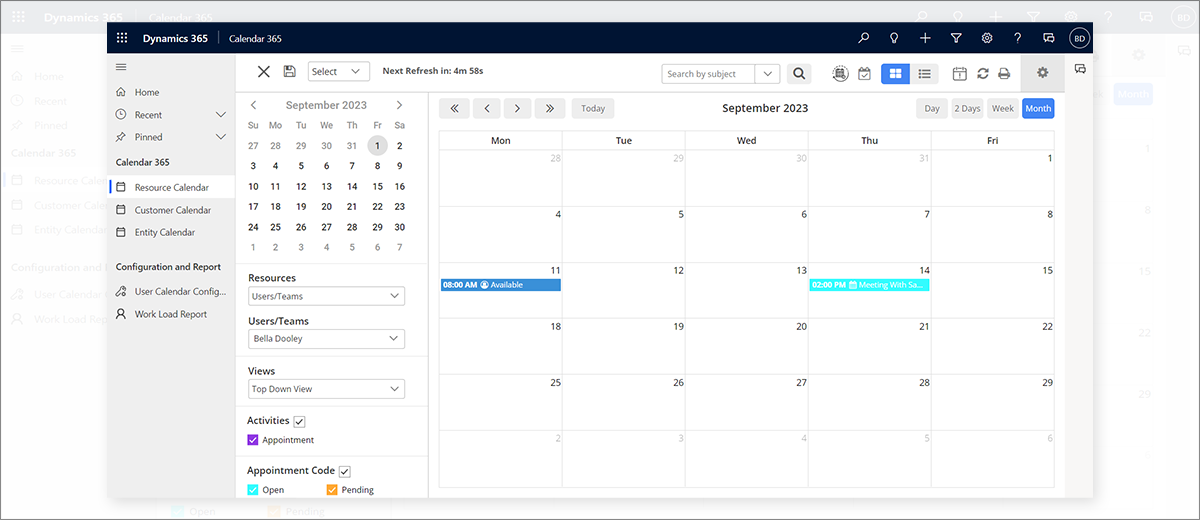
The exact change will also be reflected in Calendar 365, a Dynamics 365 calendar plugin.
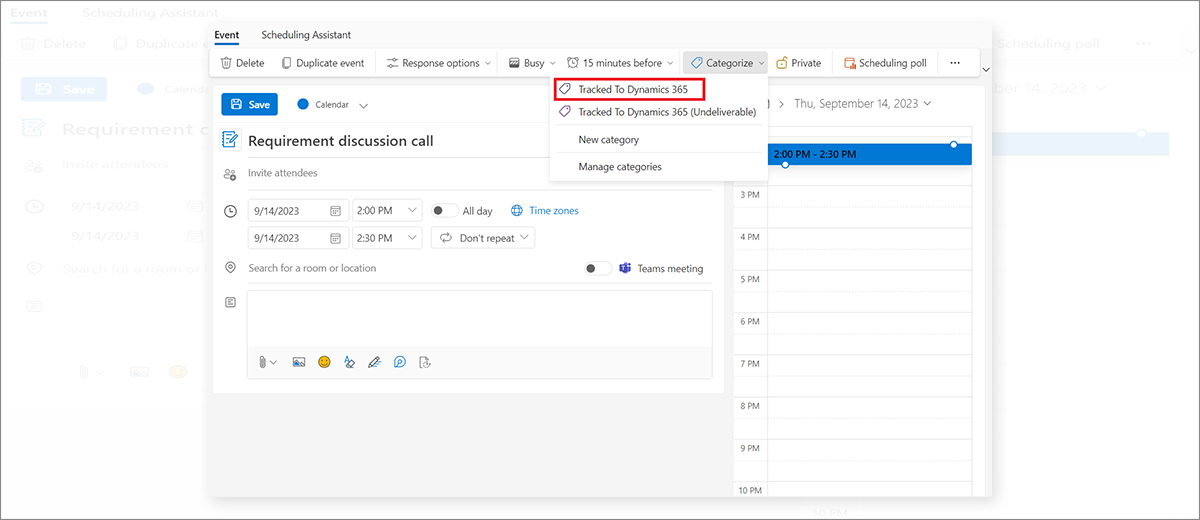
Step 8: If we want the appointment created in Outlook to reflect on Dynamics 365, it should be either created from the Dynamics 365 App for Outlook or should be categorized as Tracked to Dynamics 365.
So, this is how users can sync Outlook and Dynamics 365. If you have any questions, mail us at sales@appjetty.com.
All product and company names are trademarks , registered® or copyright© trademarks of their respective holders. Use of them does not imply any affiliation with or endorsement by them.
The post How to Sync Outlook Calendar With Dynamics 365 and Calendar 365 first appeared on AppJetty Blog.


