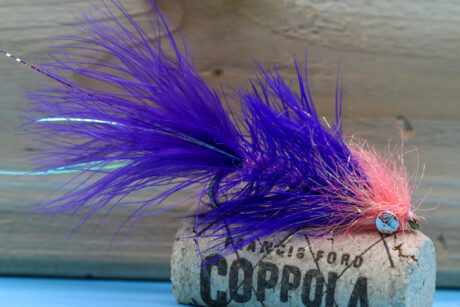
Well, it’s fall here in Alaska. The leaves are starting to turn and fall, as is the temperature (currently 34° F as of this write). Fall also signals fall fishing for big steelhead and trout for many anglers. As...
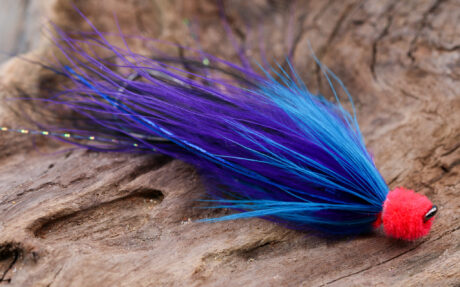
Well, it’s fall here in Alaska. The leaves are starting to turn and fall, as is the temperature (currently 34° F as of this write). Fall also signals fall fishing for big steelhead and trout for many anglers. As the leaves change their colors and the air becomes nippy, the rivers come alive with big, aggressive steelhead and trout. One popular fly pattern for the season is the Suskwa Poacher.
The original Suskwa Poacher was designed by Marty Sherman from British Columbia and has become a highly effective fly pattern. The fly is an excellent intruder-style egg-sucking leech pattern with multiple steps that will test your tying material spacing and management skills. While initially designed to be a Steelhead pattern, this fly can be adapted in many color variations and sizes to be effective for Salmon and Trout. Additionally, it uses supplies that most of you already have for other salmon, trout, and steelhead flies, making it an affordable and efficient fly pattern to tie.
Originator: Marty Sherman
Tied By: Brian Davenport, Mossy’s Fly Shop
Photos and Column By: Mike Brown, Mossy’s Fly Shop
Material List:
Shank: Aqua Flies 20mm Round Eye Stinger Material: 30lb Fire Line Hook: Fire Hole 714 Sz 4 Body: Electric Blue Flashabou Bump: Medium Black Chenille First Collar: Black Marabou Second Collar: Purple Marabou Flank Flash: Electric Blue Flashabou Belly Flash: Smolt Blue Krystal Flash Final Collar: King Fisher Blue Schlappen Head: Medium Fl. Fire Orange ChenilleStep 1. Tie your stinger material and hook, and adjust the overall length to approximately two and a half inches.
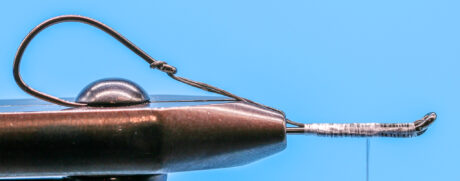
Step 2. Wrap your thread to approximately the middle of the hook shank. Tie in 4 strands of flash.
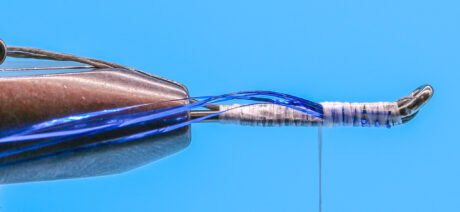
Step 3. Wrap the tinsel to the end of your thread base and back over to the tie-in point. Tie off and trim.
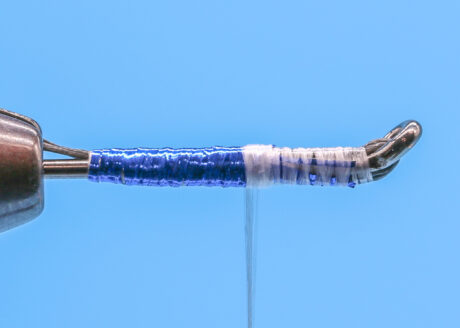
Step 4. Tie in your chenille and build a small ball. Tie off and trim.
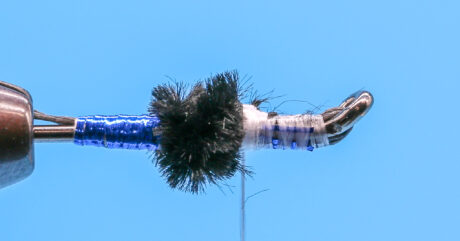
Step 5. Using the middle to bottom end of your first marabou, tie in. You need to make no more than two turns.
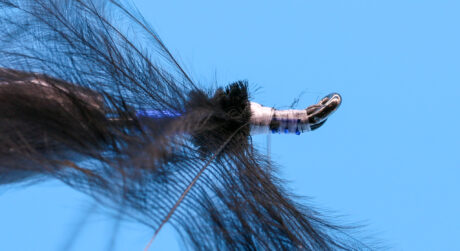
Step 6. Make two touching turns, then tie off and trim.
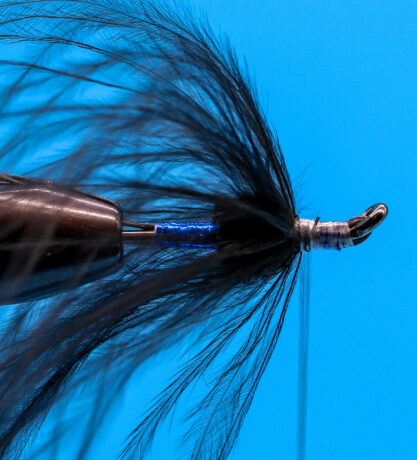
Step 7. Repeat Step 5 with your second piece of marabou.
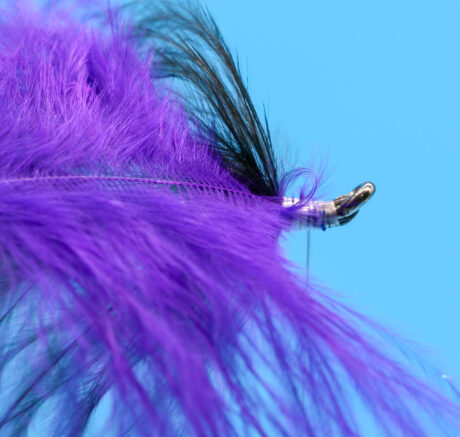
Step 8. Make two touching turns, tie off, and trim.
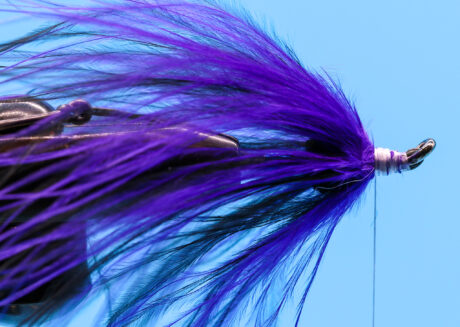
Step 9. Tie in two stands of your flash and place centered down the shank. Fold over and repeat on the opposite side. Trim to length of the marabou.
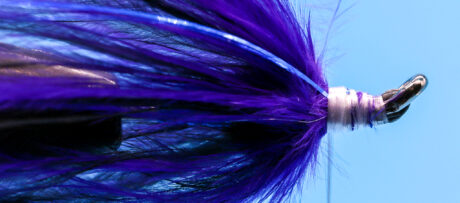
Step 10. Tie in two strands of Krystal flash centered on the bottom of the fly and trim to marabou length.
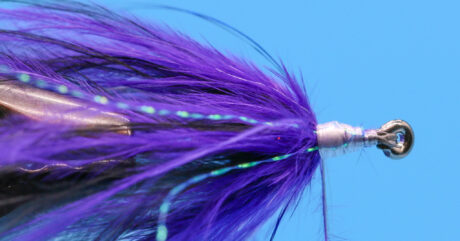
Step 11. Tie in your schlappen by the tip.
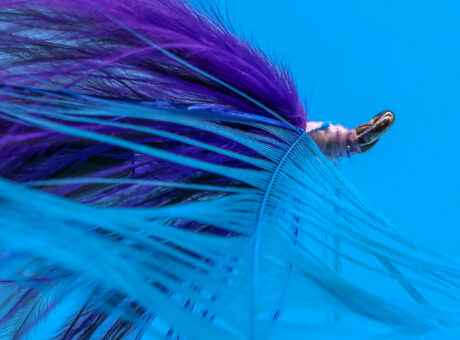
Step 12. Wrap your schlappen using touching turns. Make two to three wraps. Leave yourself one and half hook eye width of room.
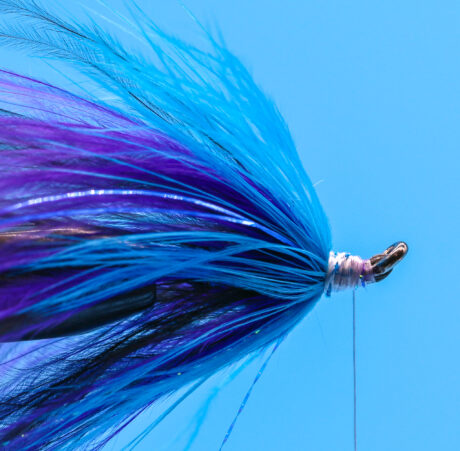
Step 13 Expose the core of your chenille and tie it in.
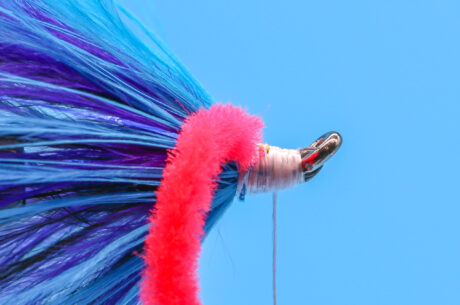
Step 14. Pull the chenille forward and tie the rest of the core forward to behind the hook eye. Take the thread back to the base of schlappen.
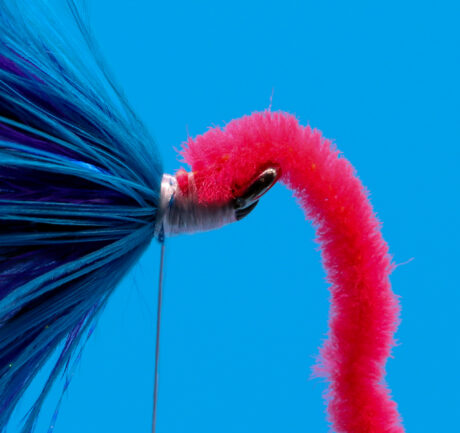
Step 15. Wrap your chenille to create a nice egg ball. Tie off and trim. Whip finish.
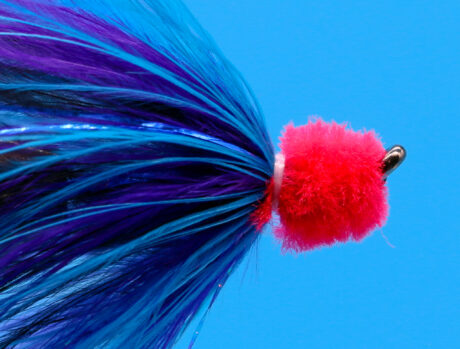
Completed Fly:

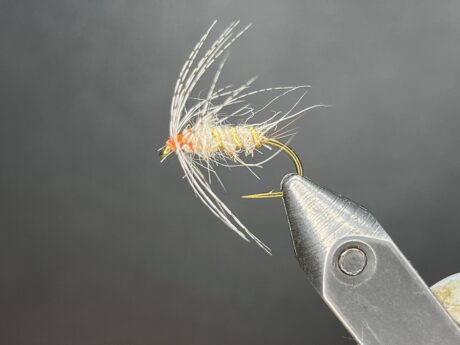
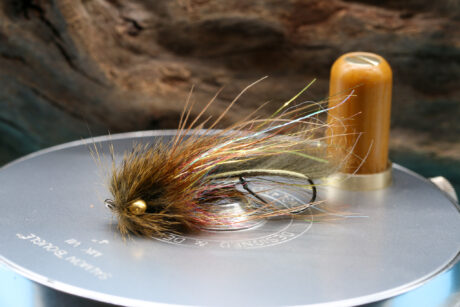
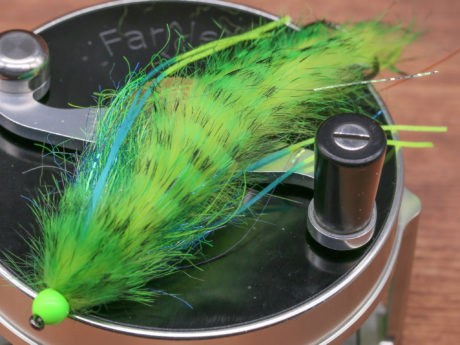
Other Steelhead Flies to Tie:
Steelhead Flies: Modern ‘Spins’ on Classic Patterns Polar Shrimp Hobo Spey


