After researching several different AI generating apps, I wanted to use one of the AI apps that was available on Desktop. While I�ve explored this app before, I decided to choose Midjourney as the AI app to turn a...
After researching several different AI generating apps, I wanted to use one of the AI apps that was available on Desktop. While I�ve explored this app before, I decided to choose Midjourney as the AI app to turn a sketch of a koala bear sleeping on a tree branch into an AI generated artwork.
First, you�ll start out by drawing a sketch and taking a photo of it. I took mine into Photoshop and brightened it up a bit before opening up Midjourney.
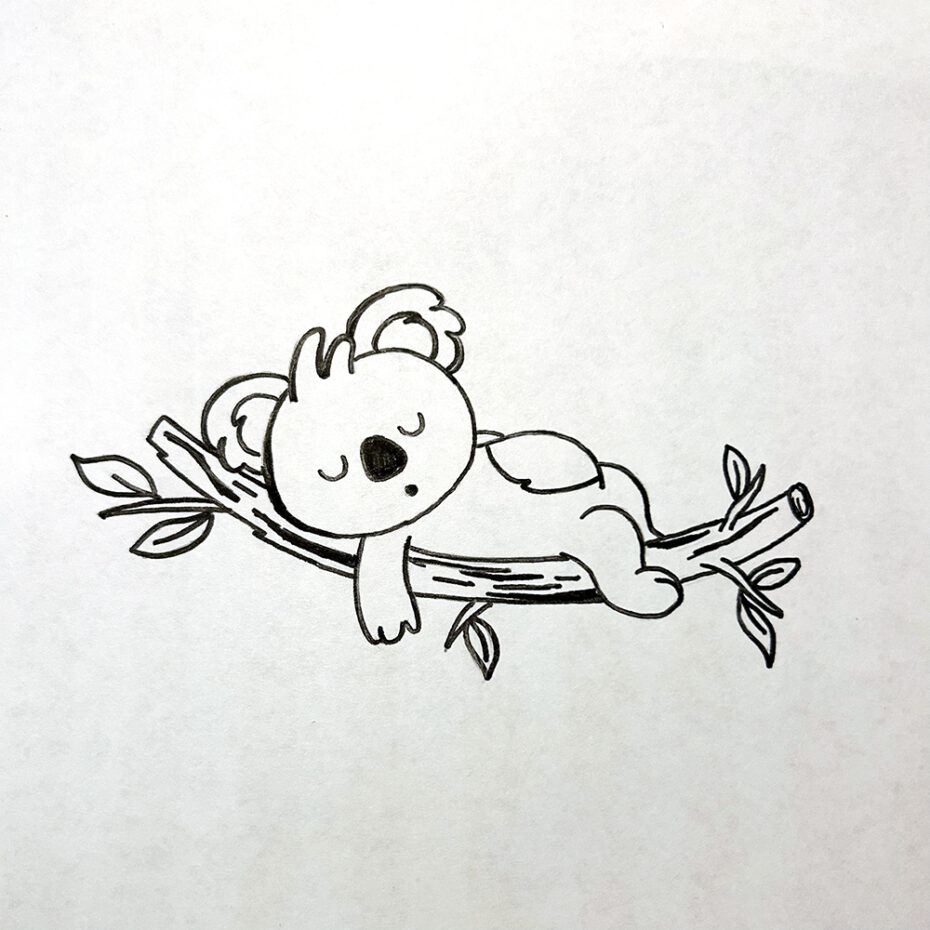
First, enter a Midjourney chatroom
I chose one of the �Newbies� chat under Newcomer Rooms in the side navigation, as I feel I best fit this category. Once you�re in one of the chatrooms, you�ll drag your image and drop it into the chat input, press enter and wait for it to upload. Your image upload speed will depend on the size of your image file. Mine took about a minute. Once your image is uploaded, click on it and bring it to full screen, then right click on it and click �copy image address�.
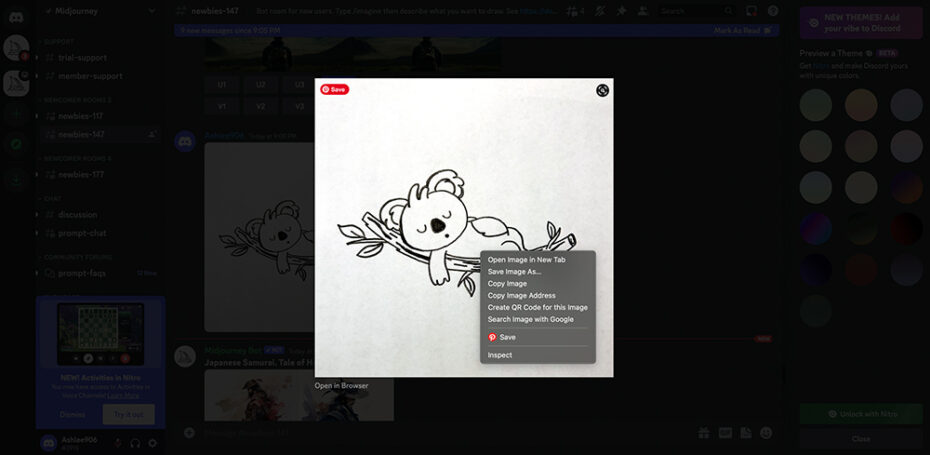
Next, use the prompt area to input your image URL and any additional text
Click in the text input area and start typing �/imagine�, as you start to type the command will pop up above where you text and you can then select it as your command for the prompt to imagine. Next you�ll type in the text input �/imagine� and paste in your image URL that you copied.

You can add some extra text into the prompt if you�d like, such as:
-Descriptive text: �Colorful Koala Bear Sleeping on a Tree Branch�
-A art style: �Pixar�,� �Disney�, �Psychedelic�
-or anything you think would help with your desired results.
The results
Below are the results that I got from using the above sketch and additional text inputs. Some of the results felt more spot-on to what I had imagined, some were quite different, one even had a bit a frightening output.
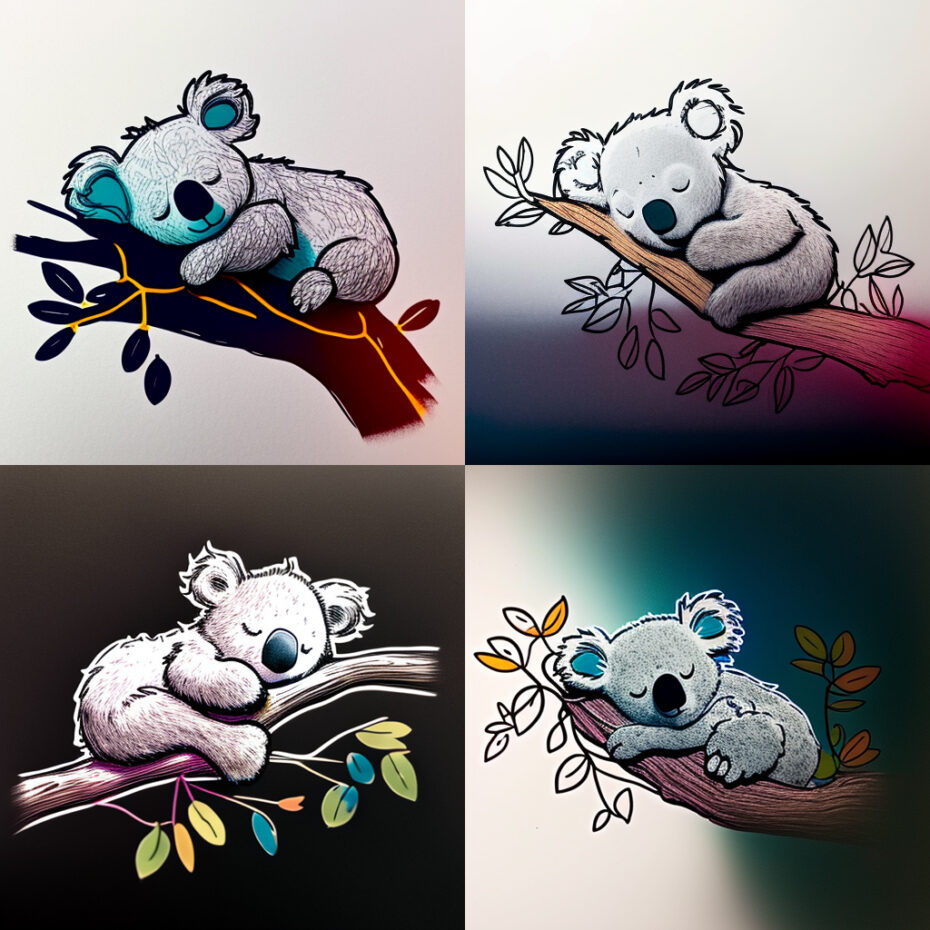
Prompt #1: IMAGE URL ADDRESS + �Colorful Koala Bear Sleeping on a Tree Branch�
The first prompt I tried I added a lot more descriptive text along with the sketch. This one feels the closest to what I imagined going into this project. It has a very similar look to my sketch. The koala is laying on his stomach, rather than back, but it still is close. Adding the extra text into the input is likely why this one is closest to the original sketch.
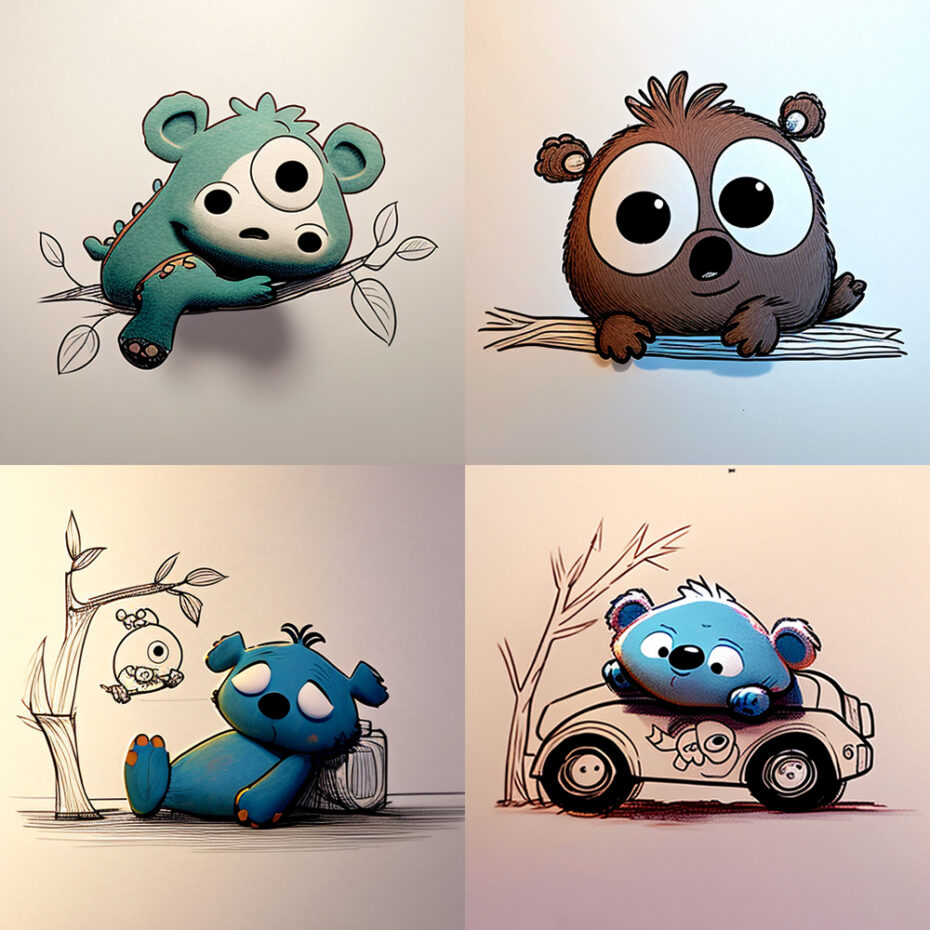
Prompt #2: IMAGE URL ADDRESS + �Pixar�
The second one, I decided to be less descriptive out of curiosity about how it would interpret my sketch. I only added the word �pixar� and definitely got a different result that I imagined. I�ve had better results using the pixar text input, where it really looked like the computer-generated style of the Pixar characters. While it does have the cartoon look and some of the roundness to the character features (especially the 4th one), this one has a very hand-drawn style, likely the effect of mixing �Pixar� with the hand-drawn sketch.
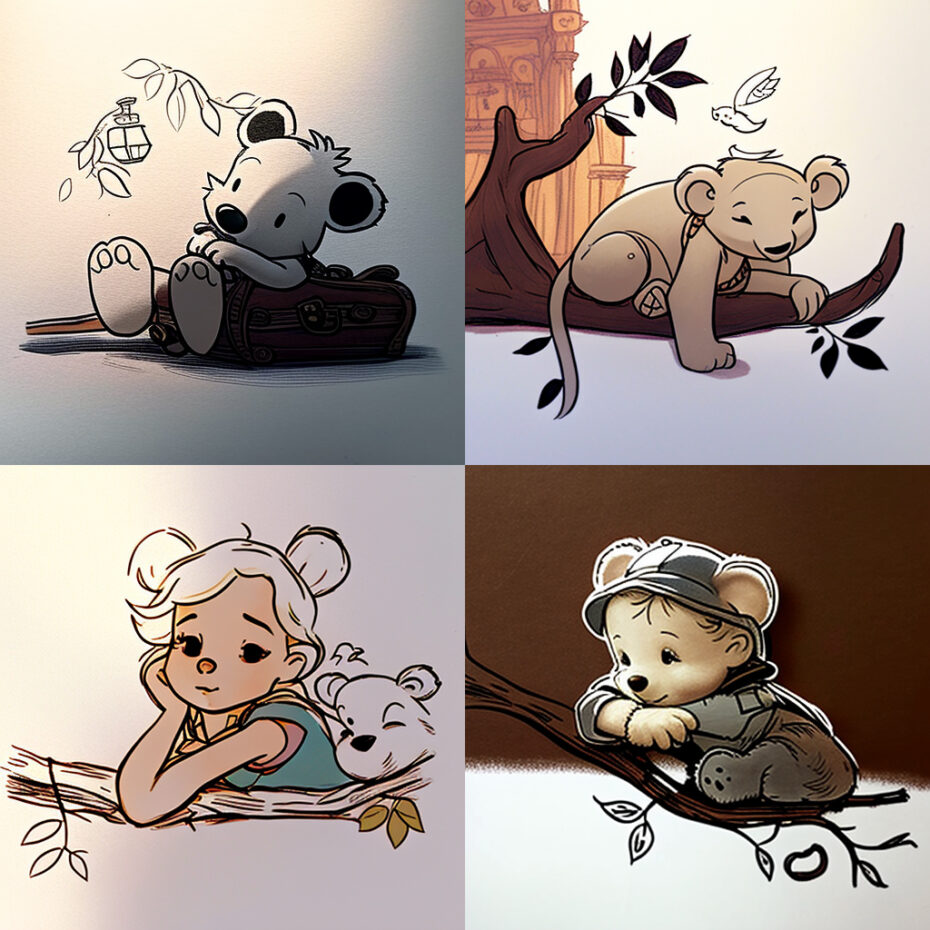
Prompt #3: IMAGE URL ADDRESS + �Disney�
Next, I tried one by adding the text input �Disney.� After seeing the sketched results of the Pixar input, I was curious how they would interpret the Disney style with my sketch. I think this one really matches the early Disney character drawing style. The only one that really looks like a koala is the first one in the grid, but without inputting the word �koala� in the text input, I think that was a very good interpretation on the AI�s part.
Prompt #4: IMAGE URL ADDRESS + �Colorful Koala Bear Sleeping on a Tree Branch�
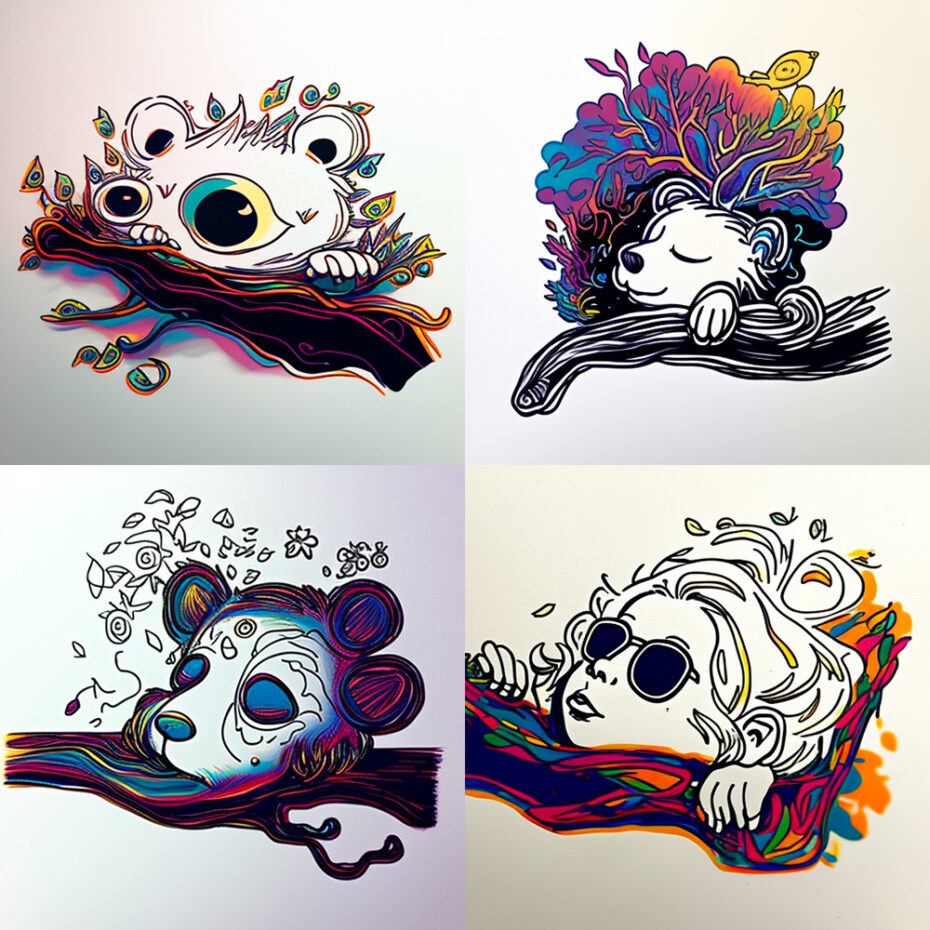
For the fourth and final one, I wanted to see something a little different. I tried out using the word �psychadelic� along with the image input. This�turned out a bit frightening. While frightening, it does capture the colorful look and organic shapes of psychedelic art.
Upscaling and Refining
You can actually repeat this whole process with one of your outputs from your first round of results. Underneath the image output there will be buttons to select from U1-U4 or R1-R4. The top row will allow you to select the 1st, 2nd, 3rd or 4th image to upscale and gives you a few new options. I chose the �Disney� inputted result and chose the first image that I thought looked most like a koala to do this.
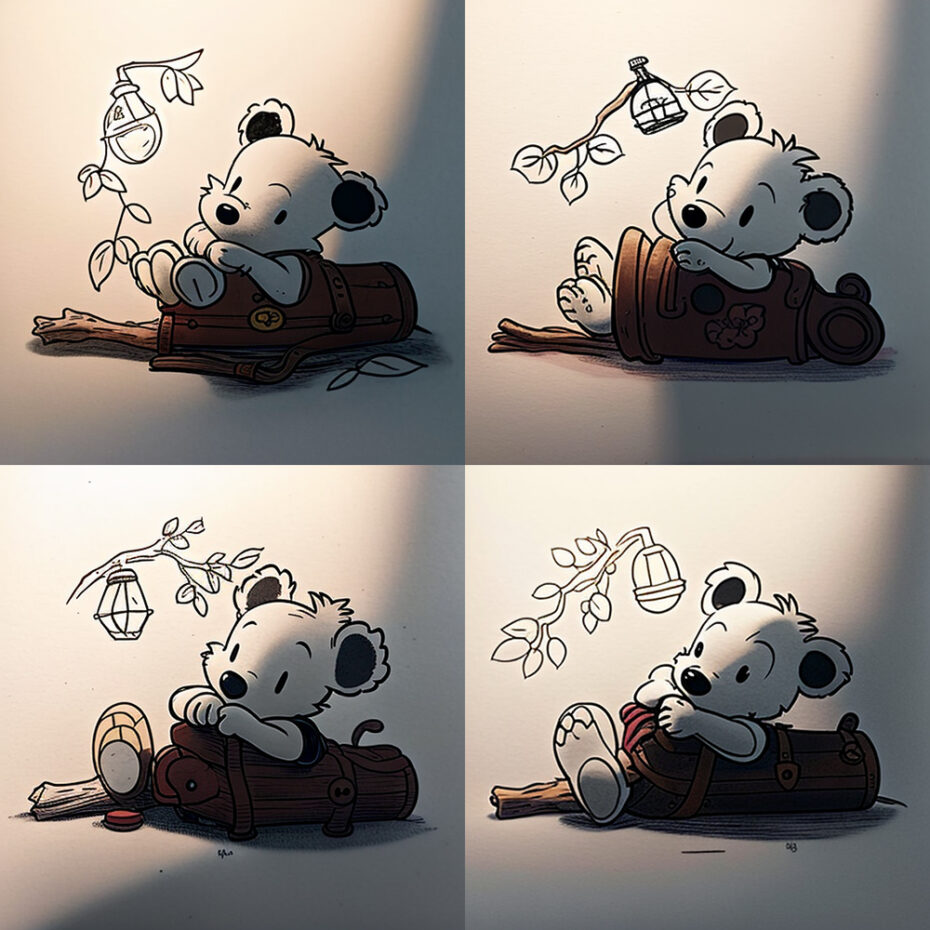
Once again, when you get your newly upscaled result, bring it to fullscreen and copy the image address. Drop the URL into the �/imagine� prompt along with some text. I used the word �Disney� again with this prompt.
You can see below how much more detailed and refined the results were. The main character got much more defined with more color and dimension, as well as the bag he is sitting in. They even added him into some different scenes with different characters. Biggest downside is that he�s looking more like a certain famous mouse character rather than the initial koala bear from the sketch.�
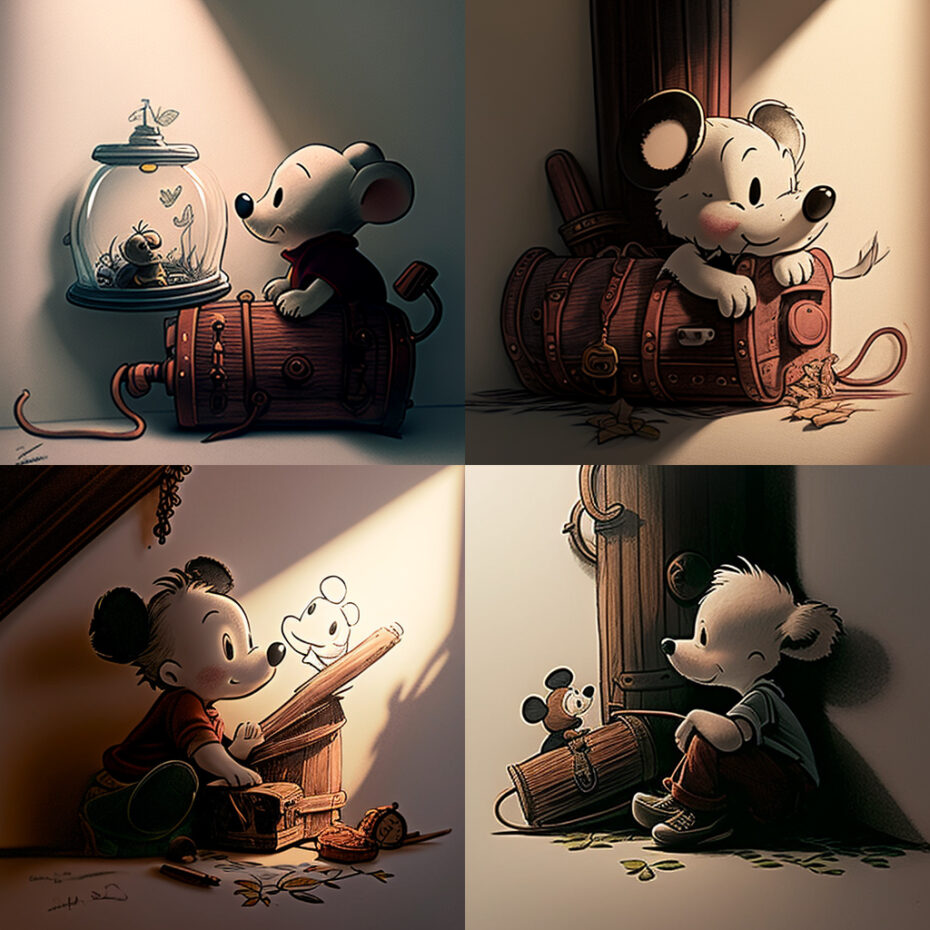
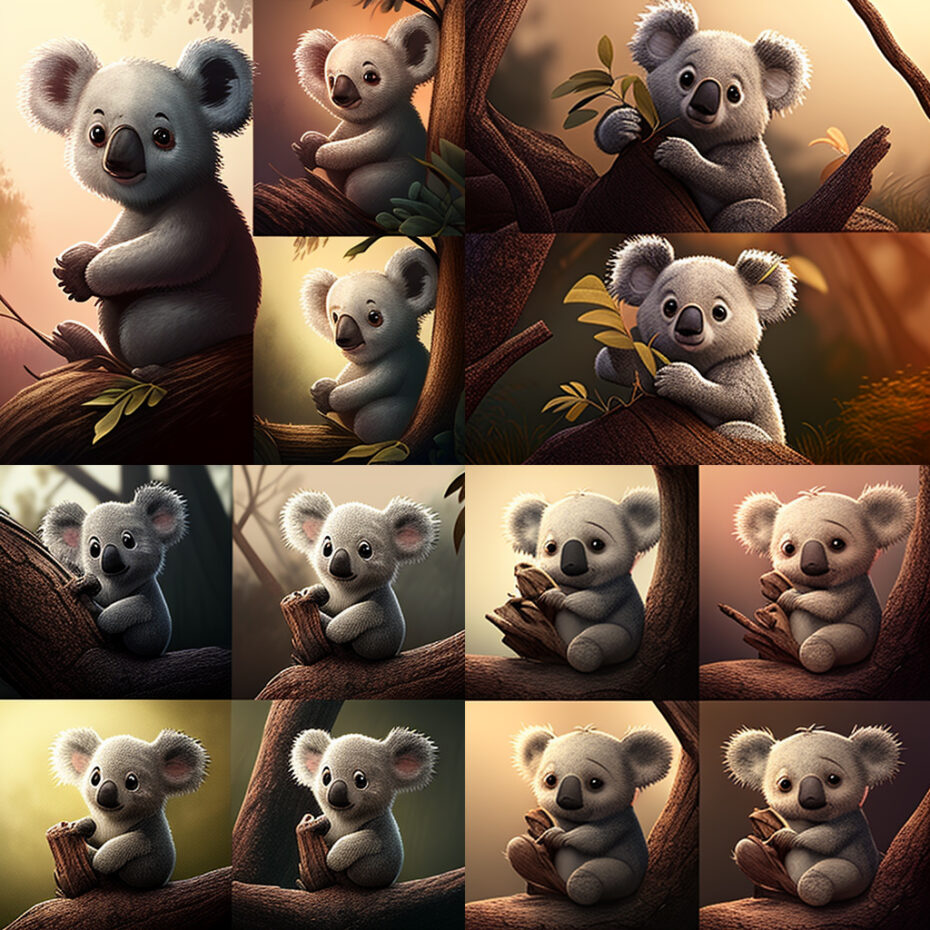
I wanted to see how the character would turn out using the same input as above, but also added in �koala bear�. Results below.
Much better!
Conclusion
You can see that this is very much a trial-and-error process, and there really seem to be endless possibilities. The descriptive text you add in with your sketch will really determine how accurate your results are, and continuing to upscale and redefine are a great way to build upon the initial results and get your artwork just the way you want it!
The post How to use your sketches/images as a basis for generating concepts with Artificial Intelligence (AI) appeared first on Triplet 3D.


