A takeout favorite for good reason! Kung pao chicken is pan-fried to crispy perfection and coated in a spicy, savory…
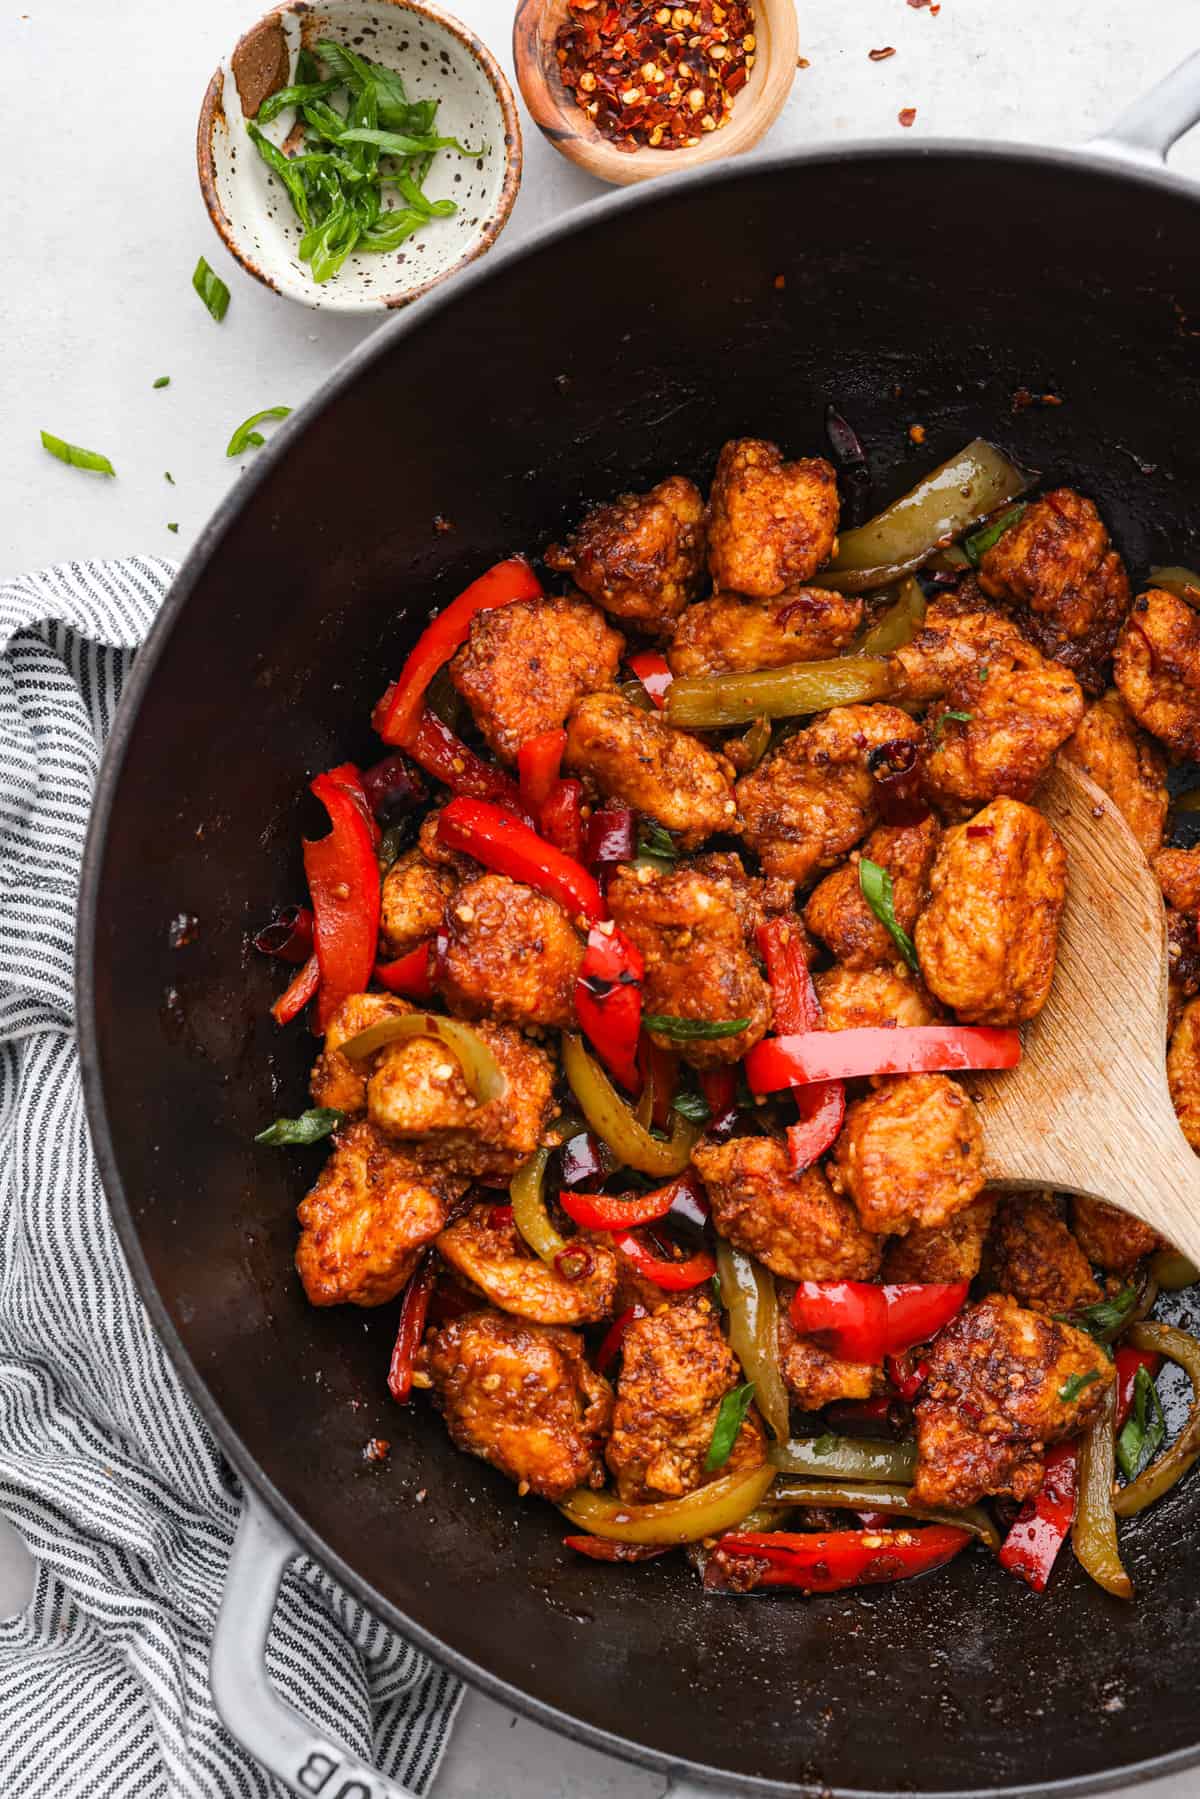
A takeout favorite for good reason! Kung pao chicken is pan-fried to crispy perfection and coated in a spicy, savory sauce that will leave you wanting more. Once you try making it from scratch, you won’t want it any other way!
Looking for more better-than-takeout recipes? Try these: dynamite shrimp, easy fried rice, and Szechuan beef!
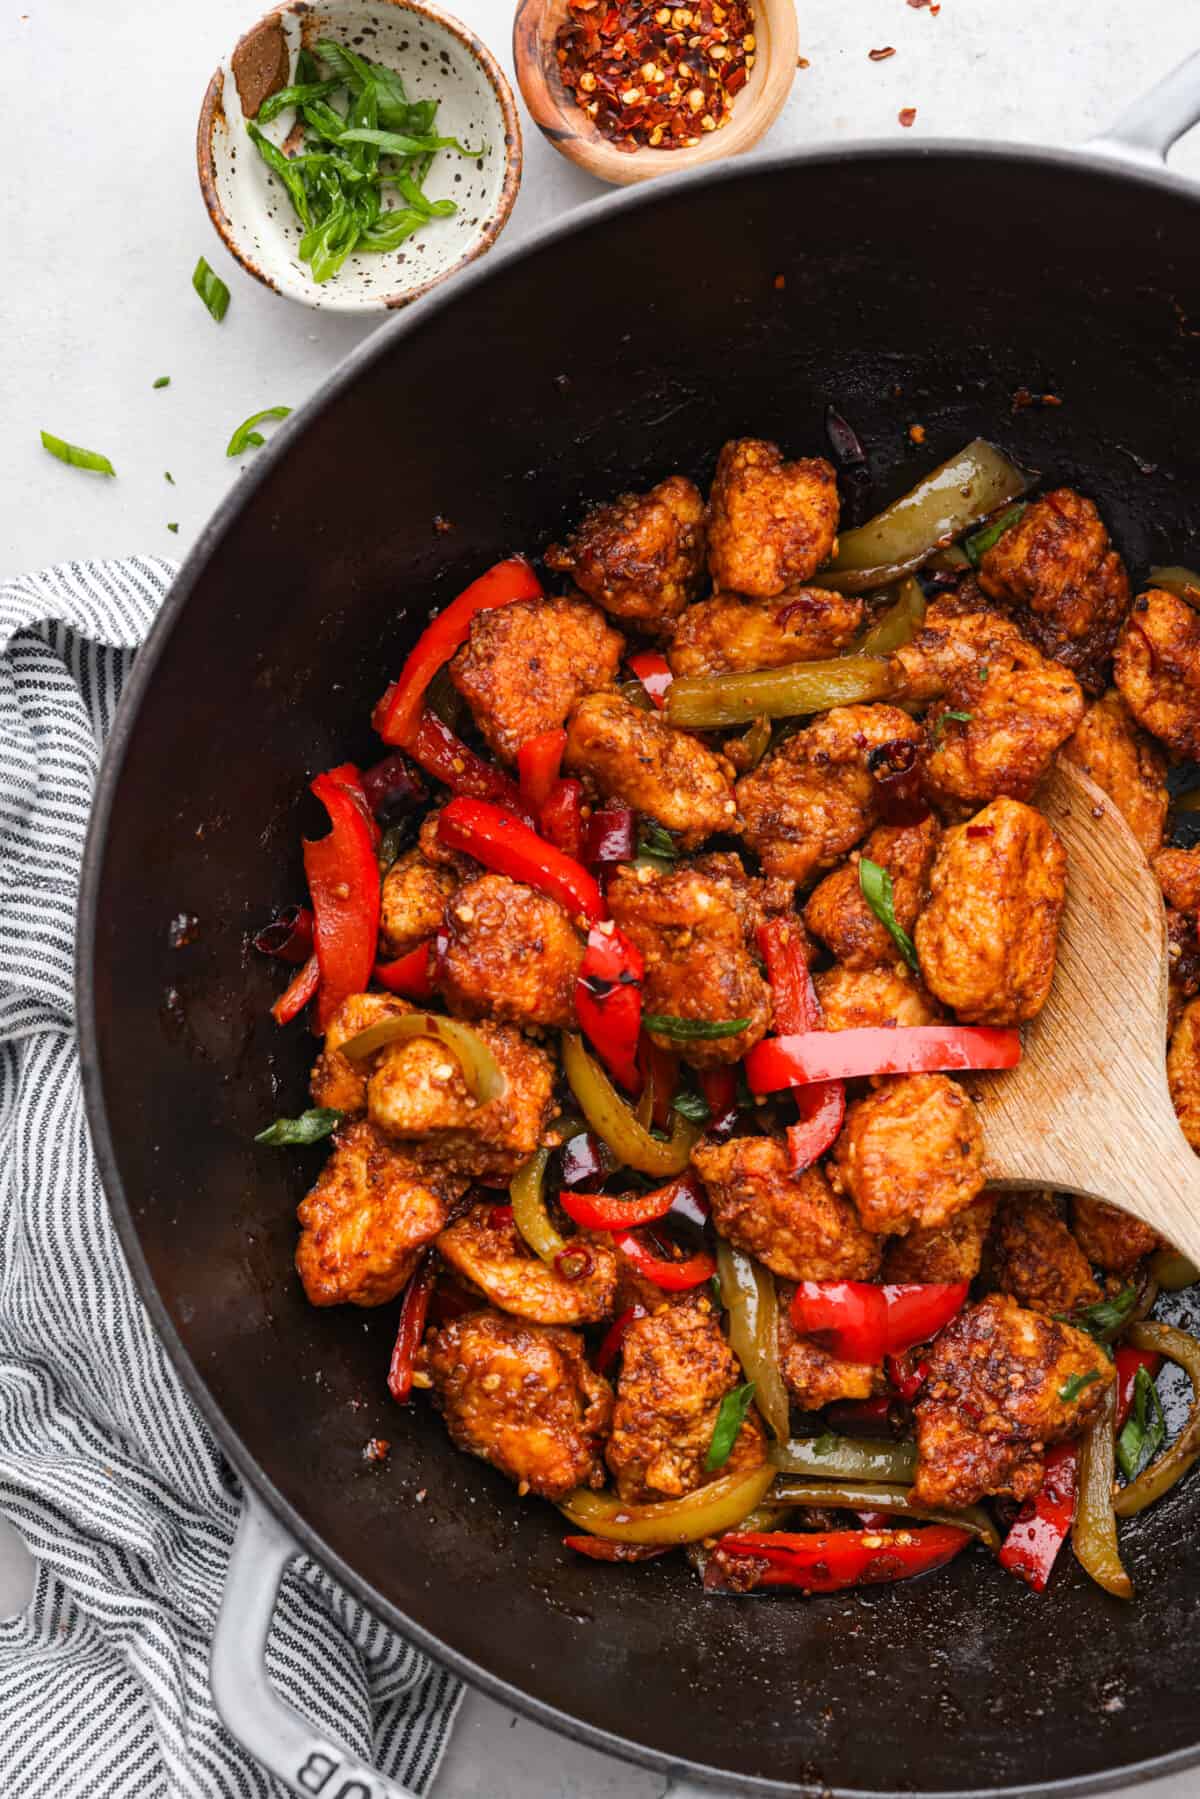
Homemade Kung Pao Chicken Recipe
Craving some spicy-sweet Kung Pao chicken but short on time? This recipe is the answer. We’re ditching the deep-frying for a lighter pan-fry, but trust me, the flavor doesn’t skimp. The homemade kung pao sauce is so amazing – garlicky, vinegary, with a sneaky chili kick. Stir-fried together with chopped bell peppers and peanuts, this homemade Kung Pao chicken is the perfect combination of flavors and textures!
Homemade kung pao chicken is weeknight-friendly, party-approved, and guaranteed to leave your tastebuds singing. It’s always a hit with everyone! So grab your wok, crank up the heat, and let’s get cooking!
Ingredient List
Here’s everything you’ll need for the crispy pan-fried chicken and the amazing sauce to coat it with! All measurements are in the recipe card at the end of the post.
Chicken: Cut your chicken breasts into uniform, small pieces so everything cooks evenly. Cornstarch & Eggs: For the crispy, golden coating! This duo creates a crunchy shell that seals in juiciness and lets the sauce cling around each piece of chicken. Dried Red Chili Pepper: So the kung pao chicken has its classic spice. Remember, a little goes a long way! Garlic & Ginger: Minced finely, they’ll infuse the whole dish with their flavor. Soy Sauce & Rice Vinegar: The salty-tangy dream team! Soy brings umami richness, while rice vinegar adds a tangy punch. Chinkiang Vinegar: Adds a complex, mellow sweetness that rounds out the sauce. You can find this online or at your local Asian grocer. Red Chili Paste: This fiery jam packs a concentrated punch of spice. Use a light hand at first, you can always add more later if you want more spice. Bell Peppers: Add juicy crunch and vibrant pops of color. They’re the confetti cannons of the stir-fry, making every bite a fiesta. Peanuts: For texture and nutty flavor. Green Onions: Chopped to add a garnish on top.How to Make Kung Pao Chicken
Season the chopped chicken with salt and pepper and set aside. Place the cornstarch and beaten eggs into two separate bowls. Dip the seasoned chicken into the cornstarch then coat in the egg mixture. Heat 2 tablespoons of the oil in a large skillet or wok over medium high heat. Add the battered chicken to the pan, you may need to work in batches to avoid crowding the pan. Fry the chicken, tossing and turning them every few minutes to evenly brown the chicken on each side, about 8-10 minutes. While the chicken is cooking, make the sauce by whisking together the minced chili pepper, garlic, ginger, soy sauce, rice vinegar, chinkiang vinegar, and red chili paste. In a separate small bowl, whisk together the cornstarch and water to make a cornstarch slurry, set aside. Once all the chicken is cooked remove it from the pan and set aside. Add more of the oil to the pan and add in the red bell pepper, green bell pepper, and dried red chilis. Saute the vegetables until they begin to soften and brown. Add the chicken back to the skillet and pour the sauce over the chicken and vegetables. Stir fry the chicken and vegetables in the kung pao sauce for 4-5 minutes. Continue to cook until the sauce has thickened, stirring continually to coat all the chicken and vegetables evenly. Remove the pan from heat and serve the kung pao chicken over rice and garnish with peanuts and green onions.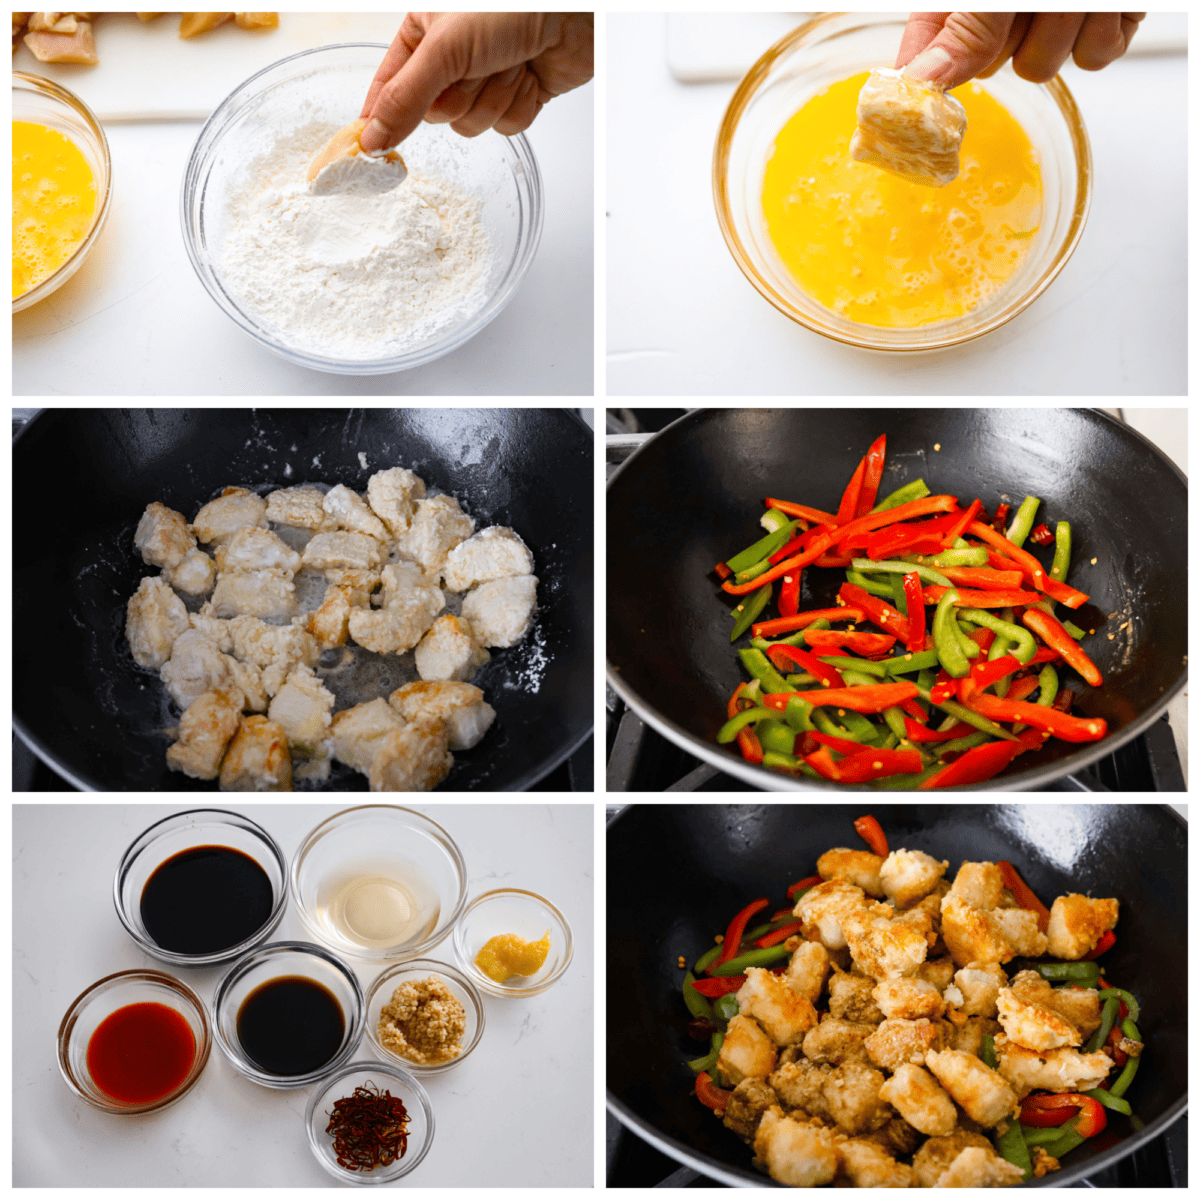
Reduce the Heat
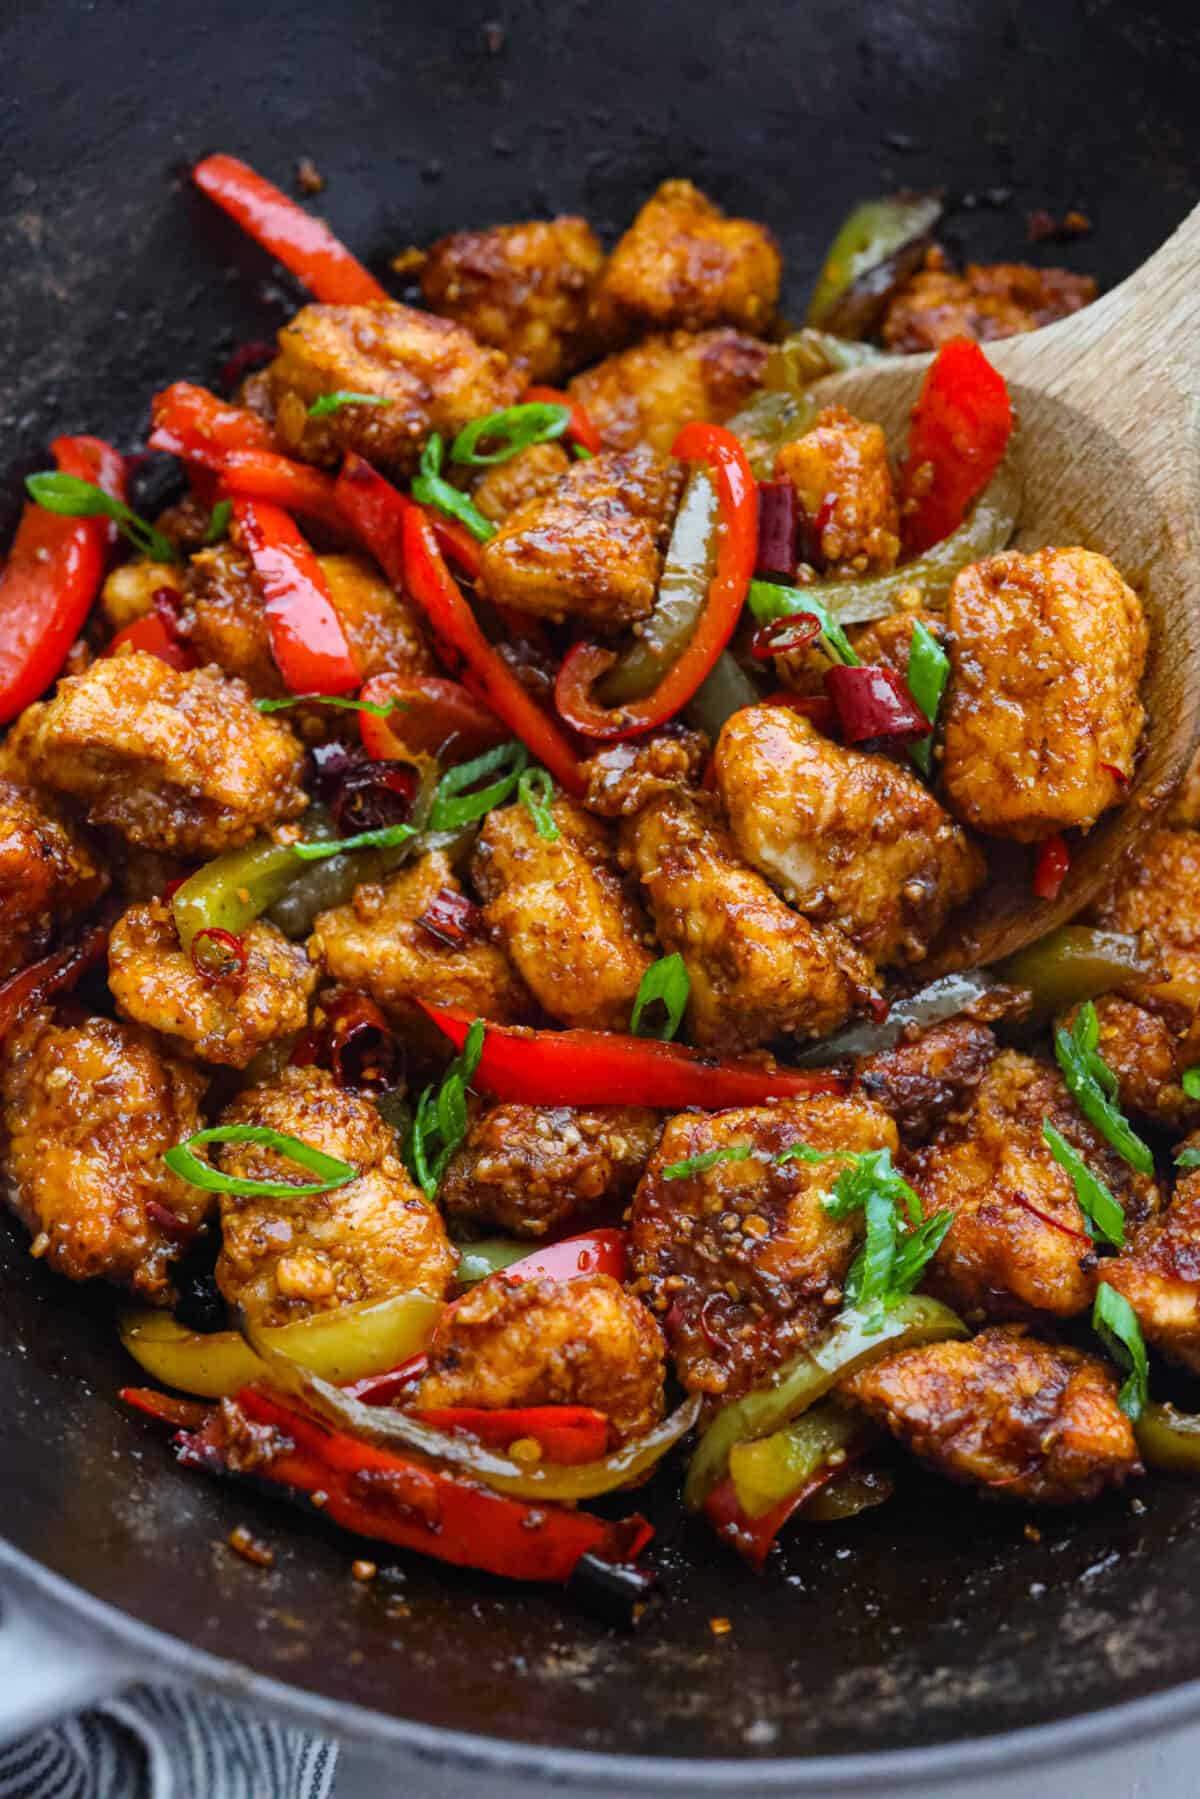
Kung pao chicken is typically a fairly spicy dish, but if you are wanting to reduce the heat, remove the dried chilis and reduce the amount of chili paste used in the sauce.
Storing Leftover Kung Pao Chicken
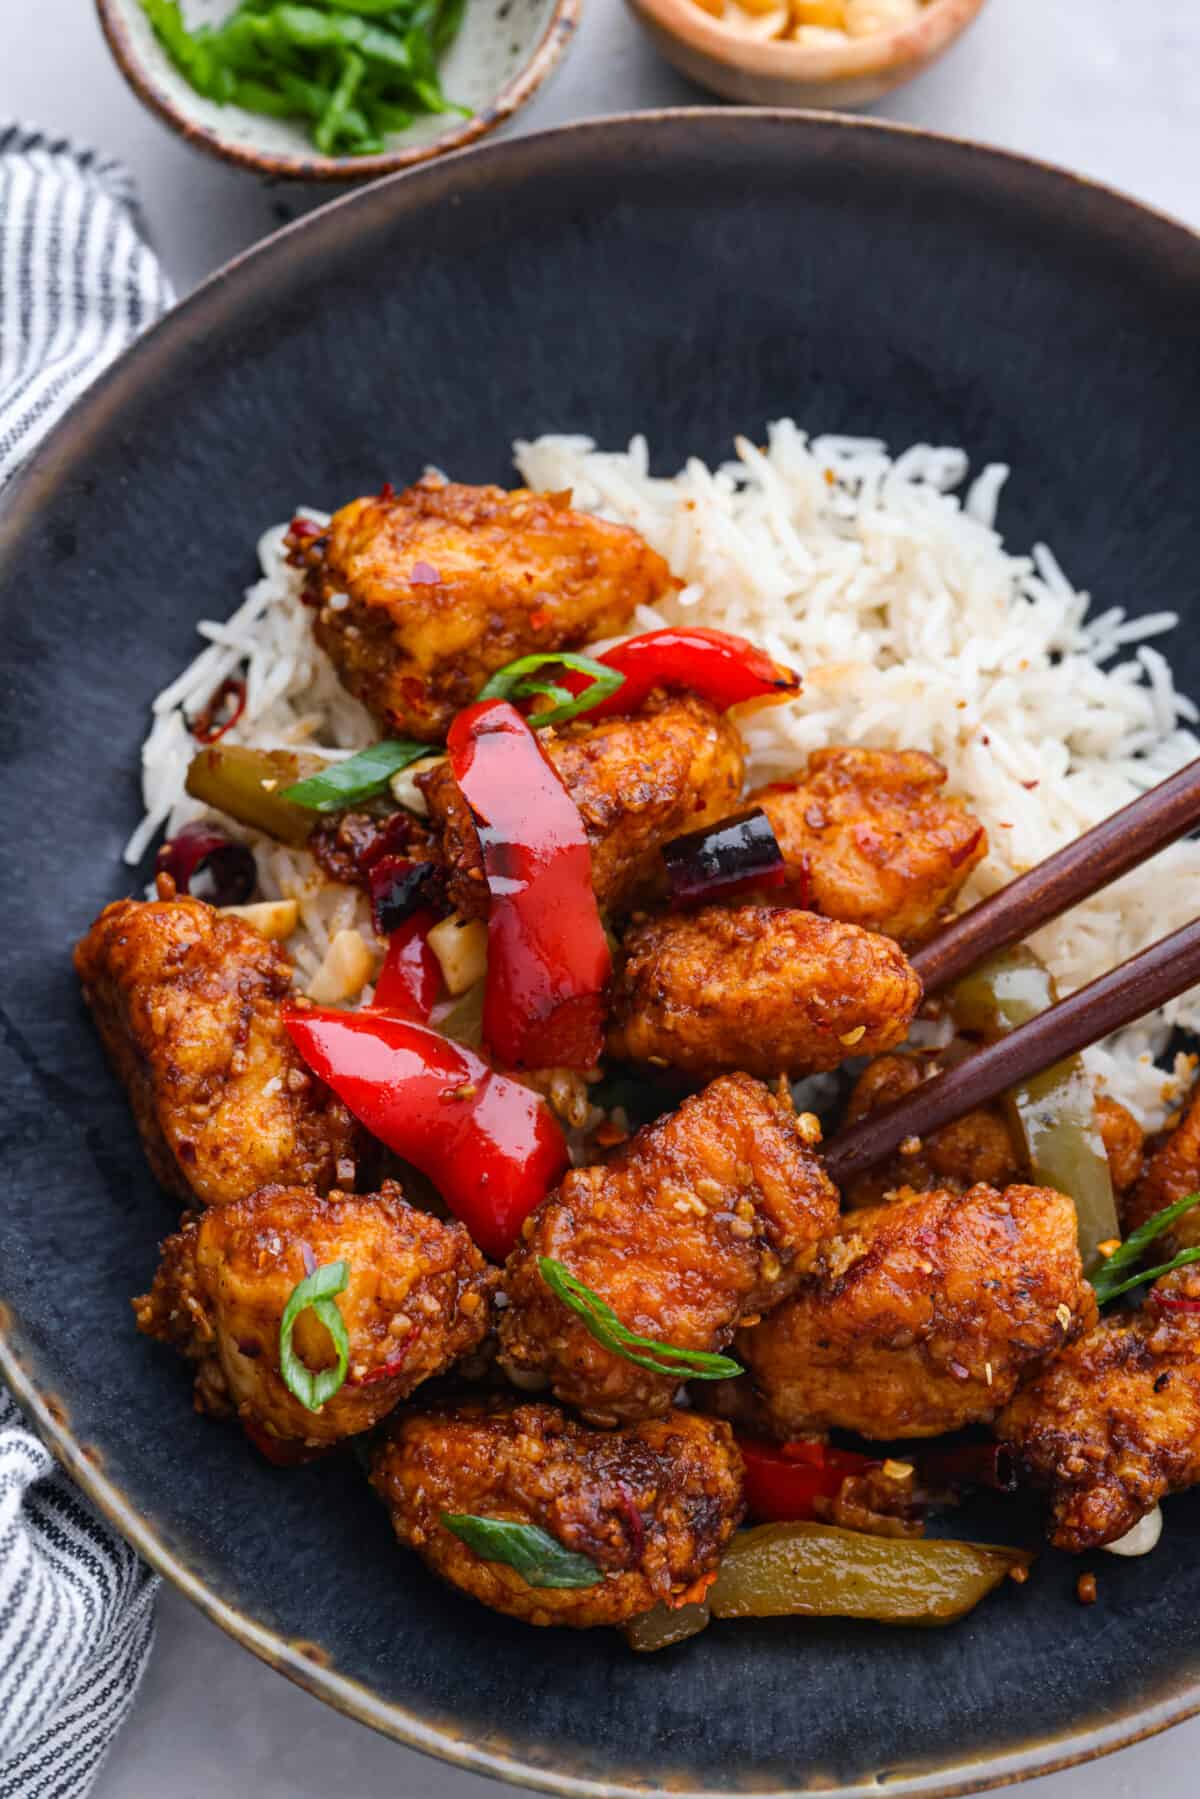
Store leftovers in an airtight container in the fridge for up to 4 days.
Kung Pao Chicken
Ingredients
Kung pao sauce
1 dried red chili pepper minced3 cloves garlic minced1 tablespoon ginger grated¼ cup low sodium soy sauce¼ cup rice vinegar2 tablespoons chinkiang vinegar1 tablespoon red chili pasteStir fry
1 large red bell pepper sliced1 large green bell pepper sliced¼ cup dried red chilis roughly chopped¼ cup peanuts roughly chopped¼ cup green onions choppedInstructions


