What To Know If your Mac or MacBook's Photos Library takes up too much storage, you can transfer the Photos Library to an external hard drive. To transfer your Mac's photos, drag the Photos Library to the hard drive....
What To Know
If your Mac or MacBook's Photos Library takes up too much storage, you can transfer the Photos Library to an external hard drive. To transfer your Mac's photos, drag the Photos Library to the hard drive. After you transfer the Photos Library, you can delete it�on your Mac to save storage.�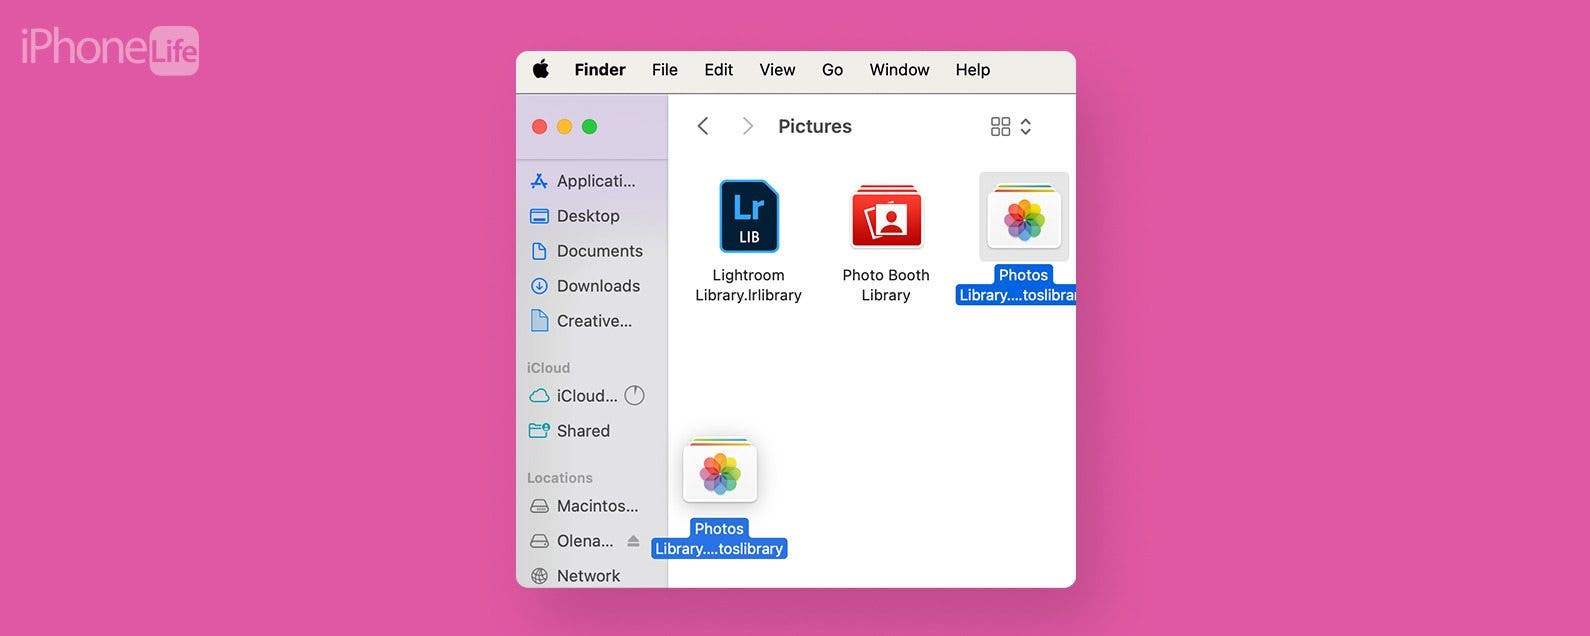
Backing up your photos is always a good idea, but it can also help save storage space on your Mac. You can move your Mac Photos Library to an external hard drive that's been formatted for a Mac and isn�t being used for Time Machine. Let's learn how to transfer photos from a Mac to an external hard drive.
Jump To:
How to Safely Move Photos from Mac to External Hard Drive Multiple Photos Libraries: How to Pick A Specific Photos Library What If There�s an Error Moving the Photos Library? FAQHow to Safely Move Photos from�Mac to External Hard Drive
If the videos and photos on your Mac are taking up too much storage, you can transfer photos from a Mac or�MacBook to an external hard drive, then delete the Photos Library from your Mac.�Before you can move photos from a Mac to an external hard drive, you may�need to reformat the�drive if it's been used before. Read�how to format an external hard drive for your Mac or MacBook�if you need a refresher on how to do this.
Note
Your photos cannot be moved to�the same external storage device that you use for Time Machine.
After you've reformatted your hard drive, you're ready to move your Mac's Photos Library to the external storage device.�
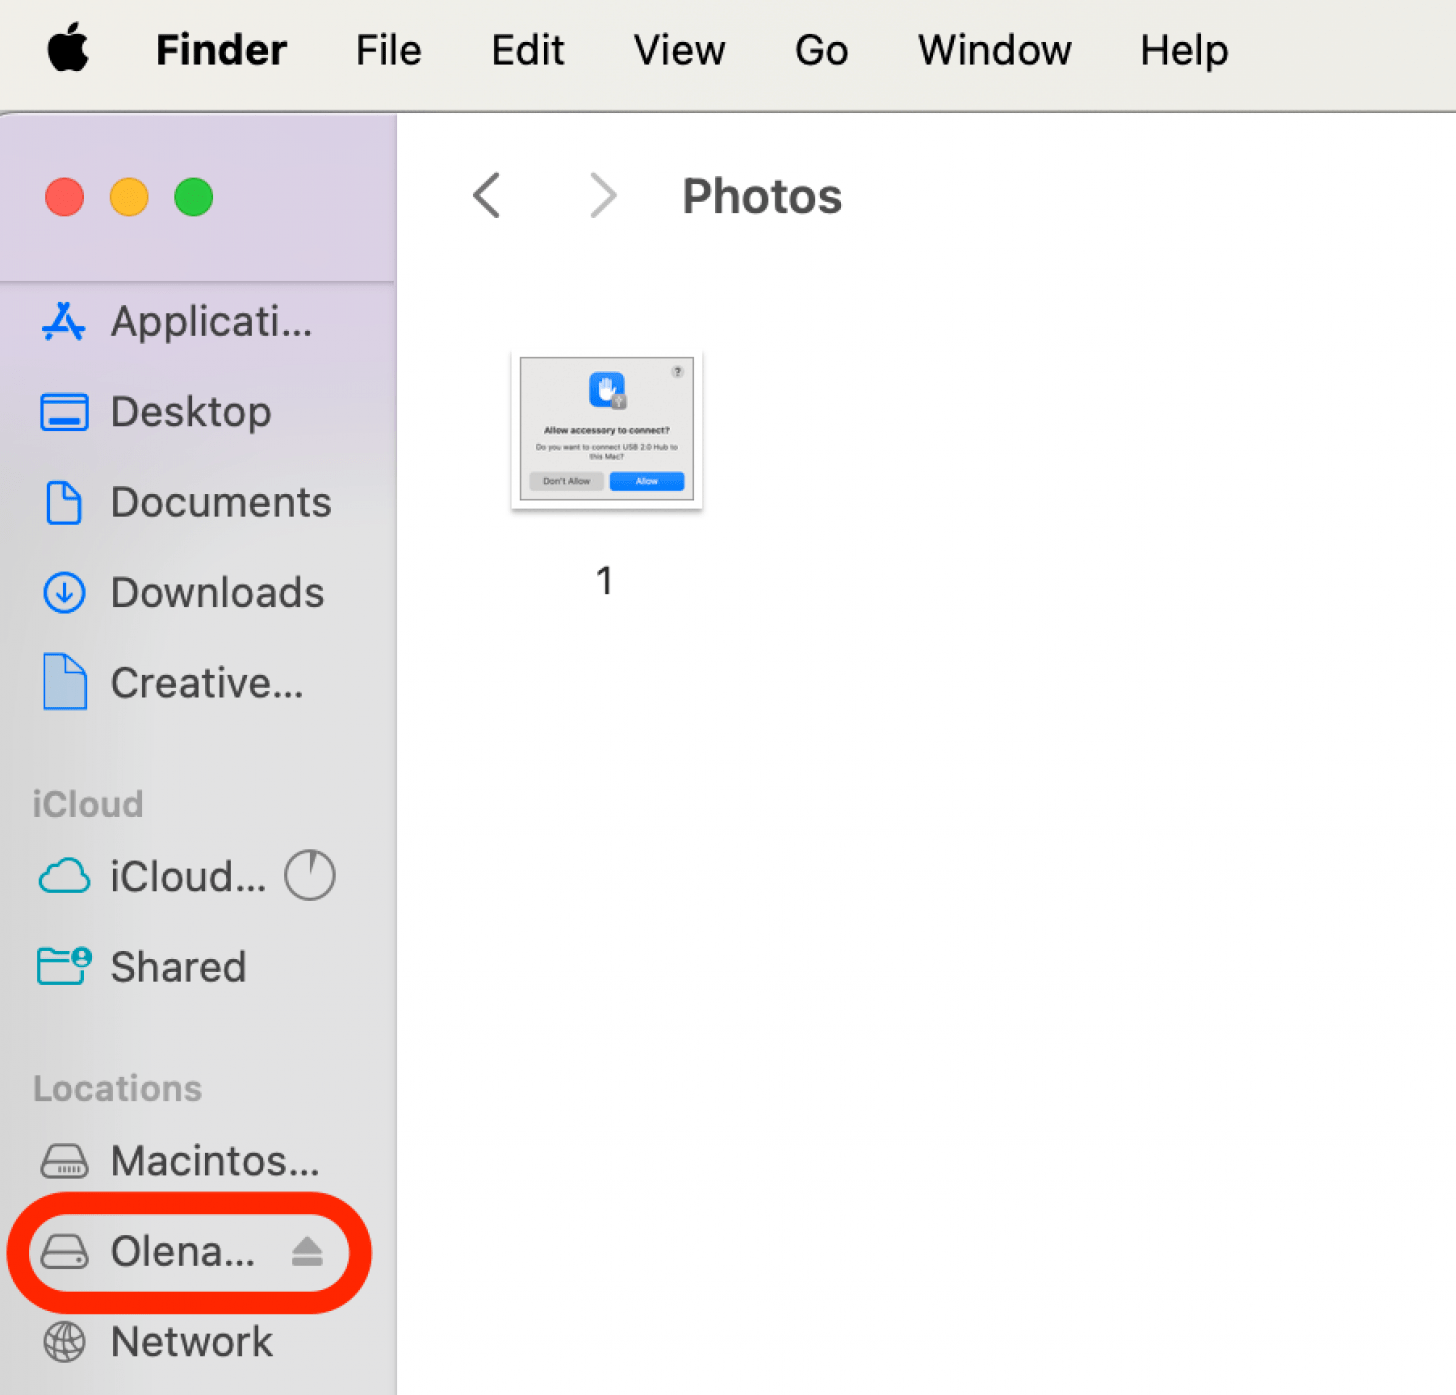
Connect your external hard drive to your Mac. You may need to Allow the hard drive access to your Mac.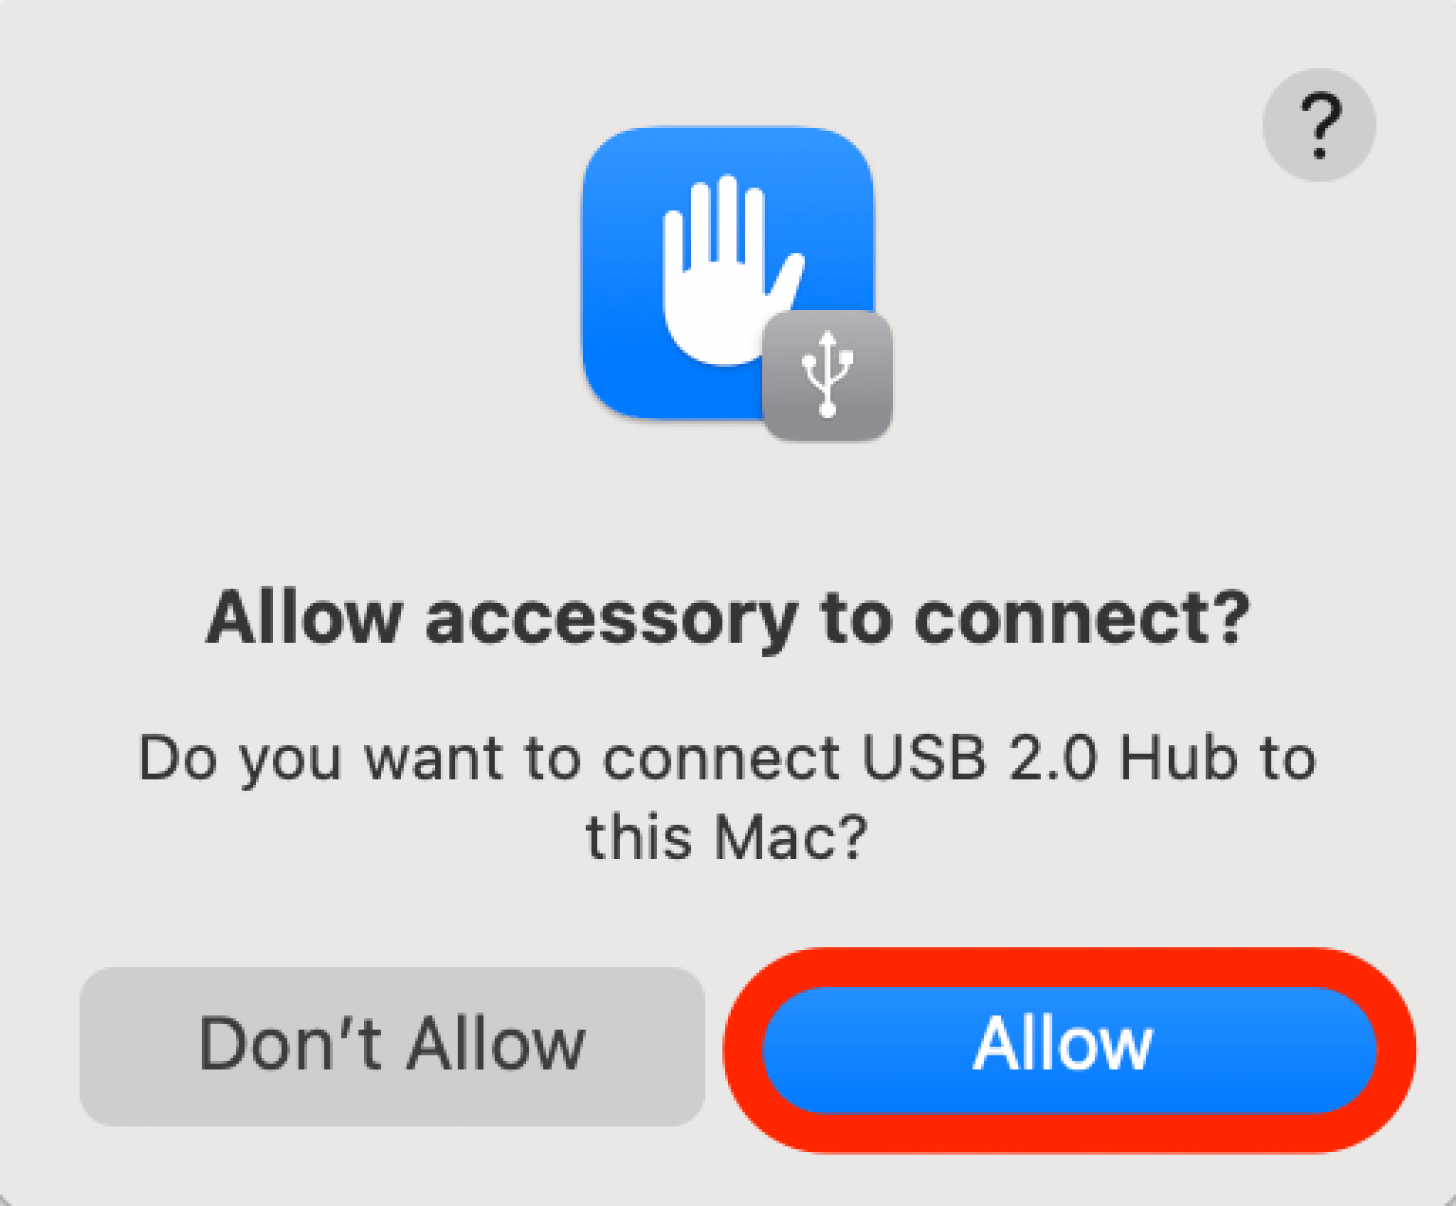 Make sure it is connected and showing up in your Finder.
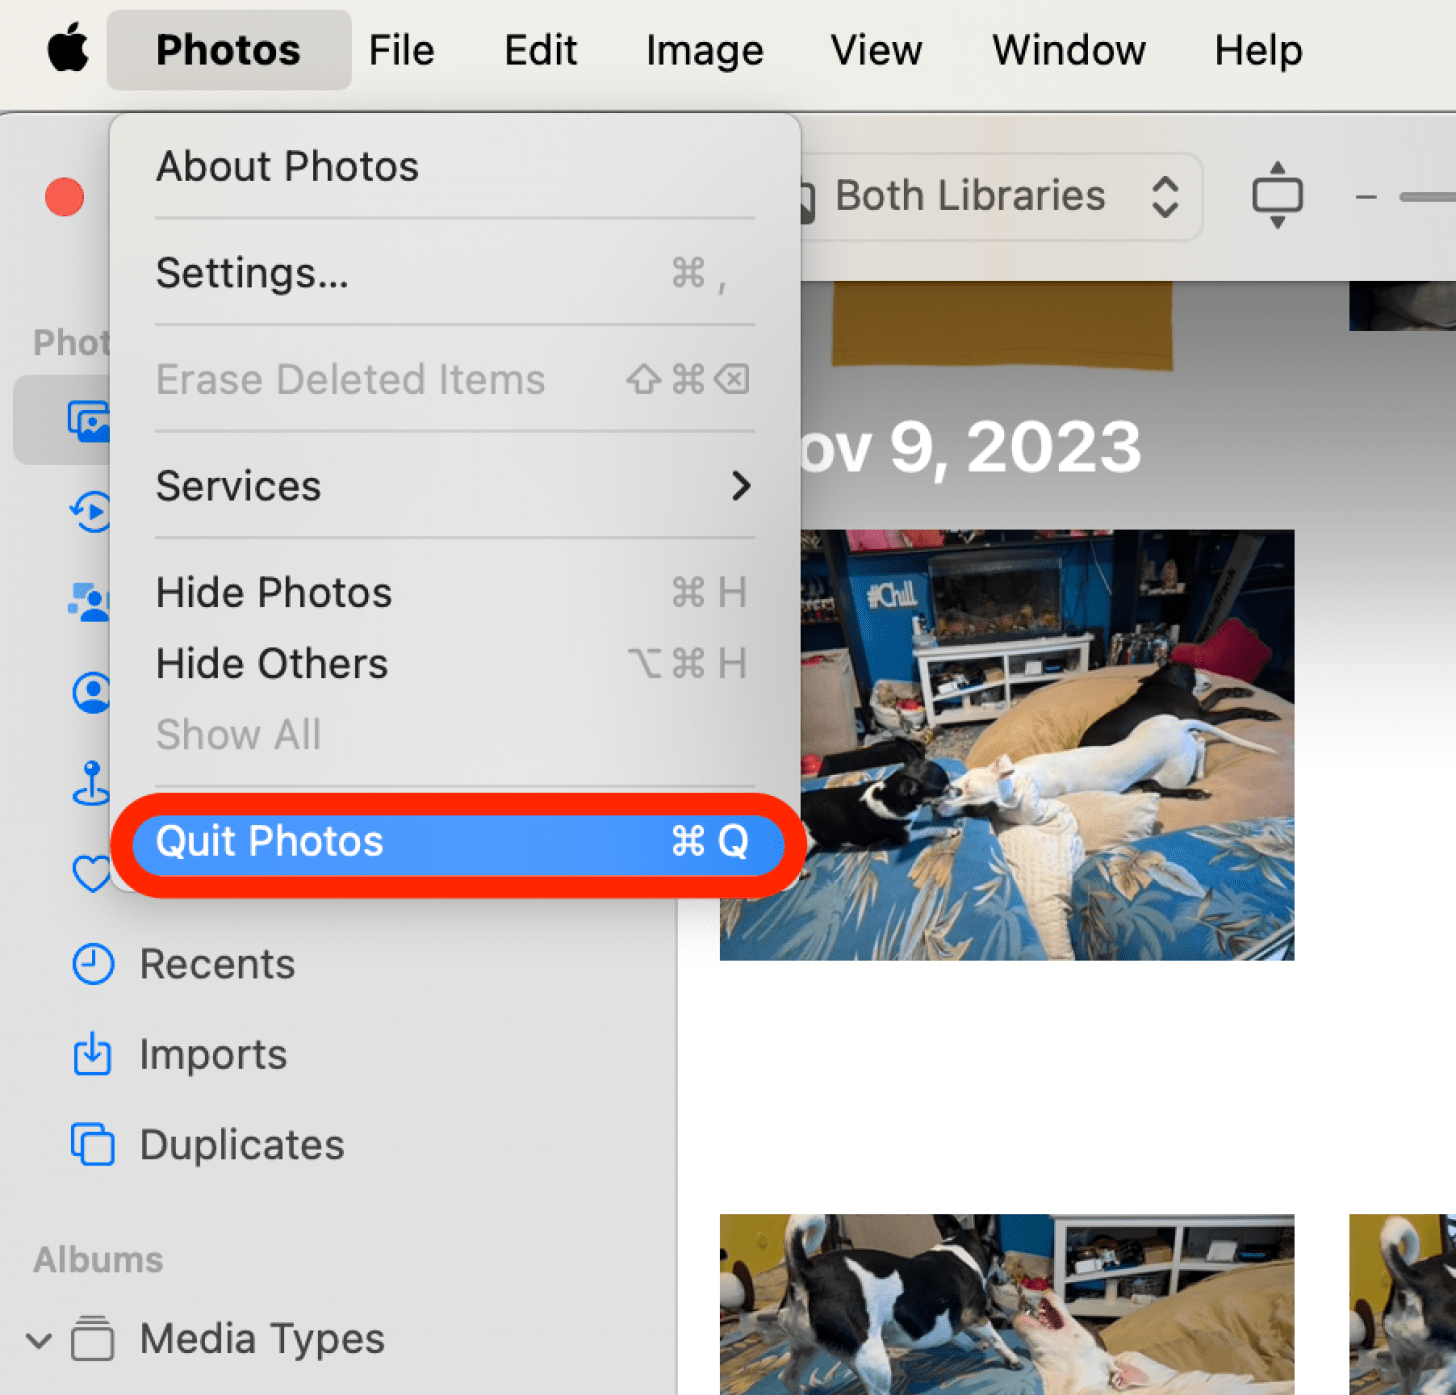
 Make sure you've quit the Photos app.
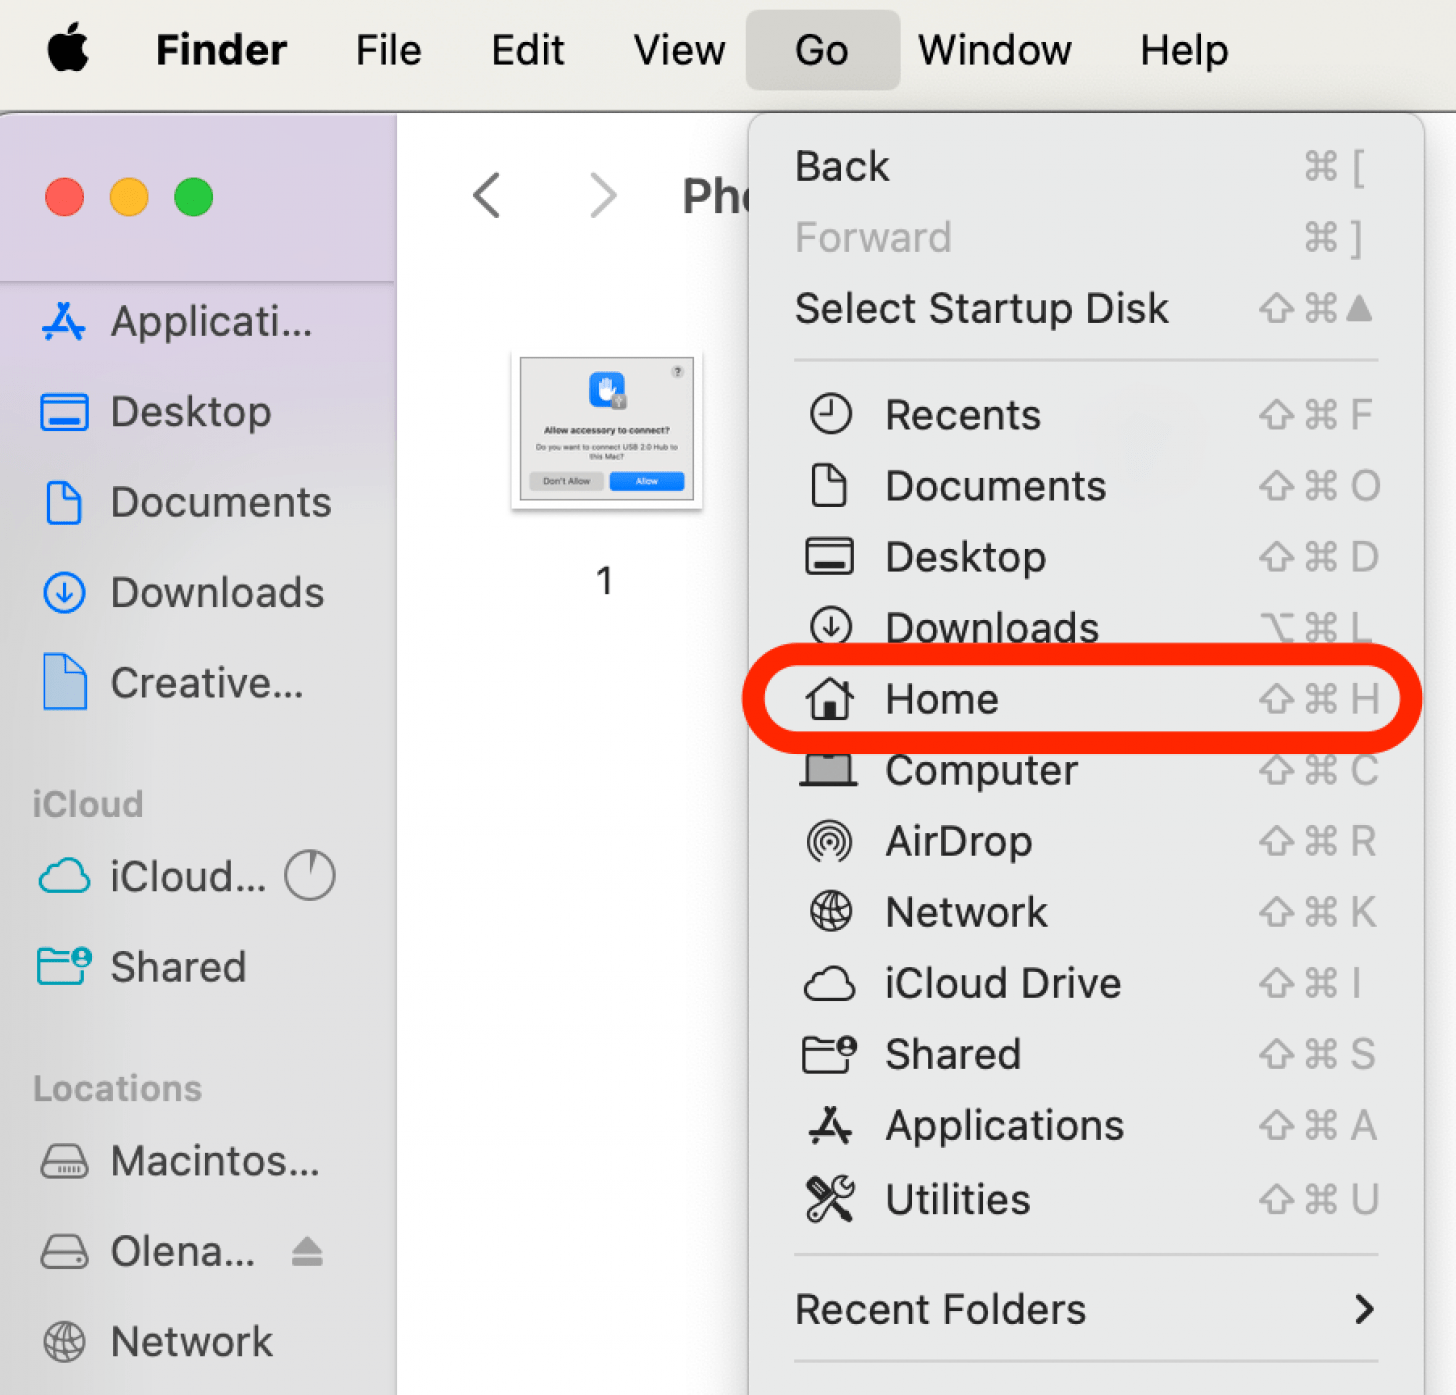
 In the Finder menu, click Go, then click Home.
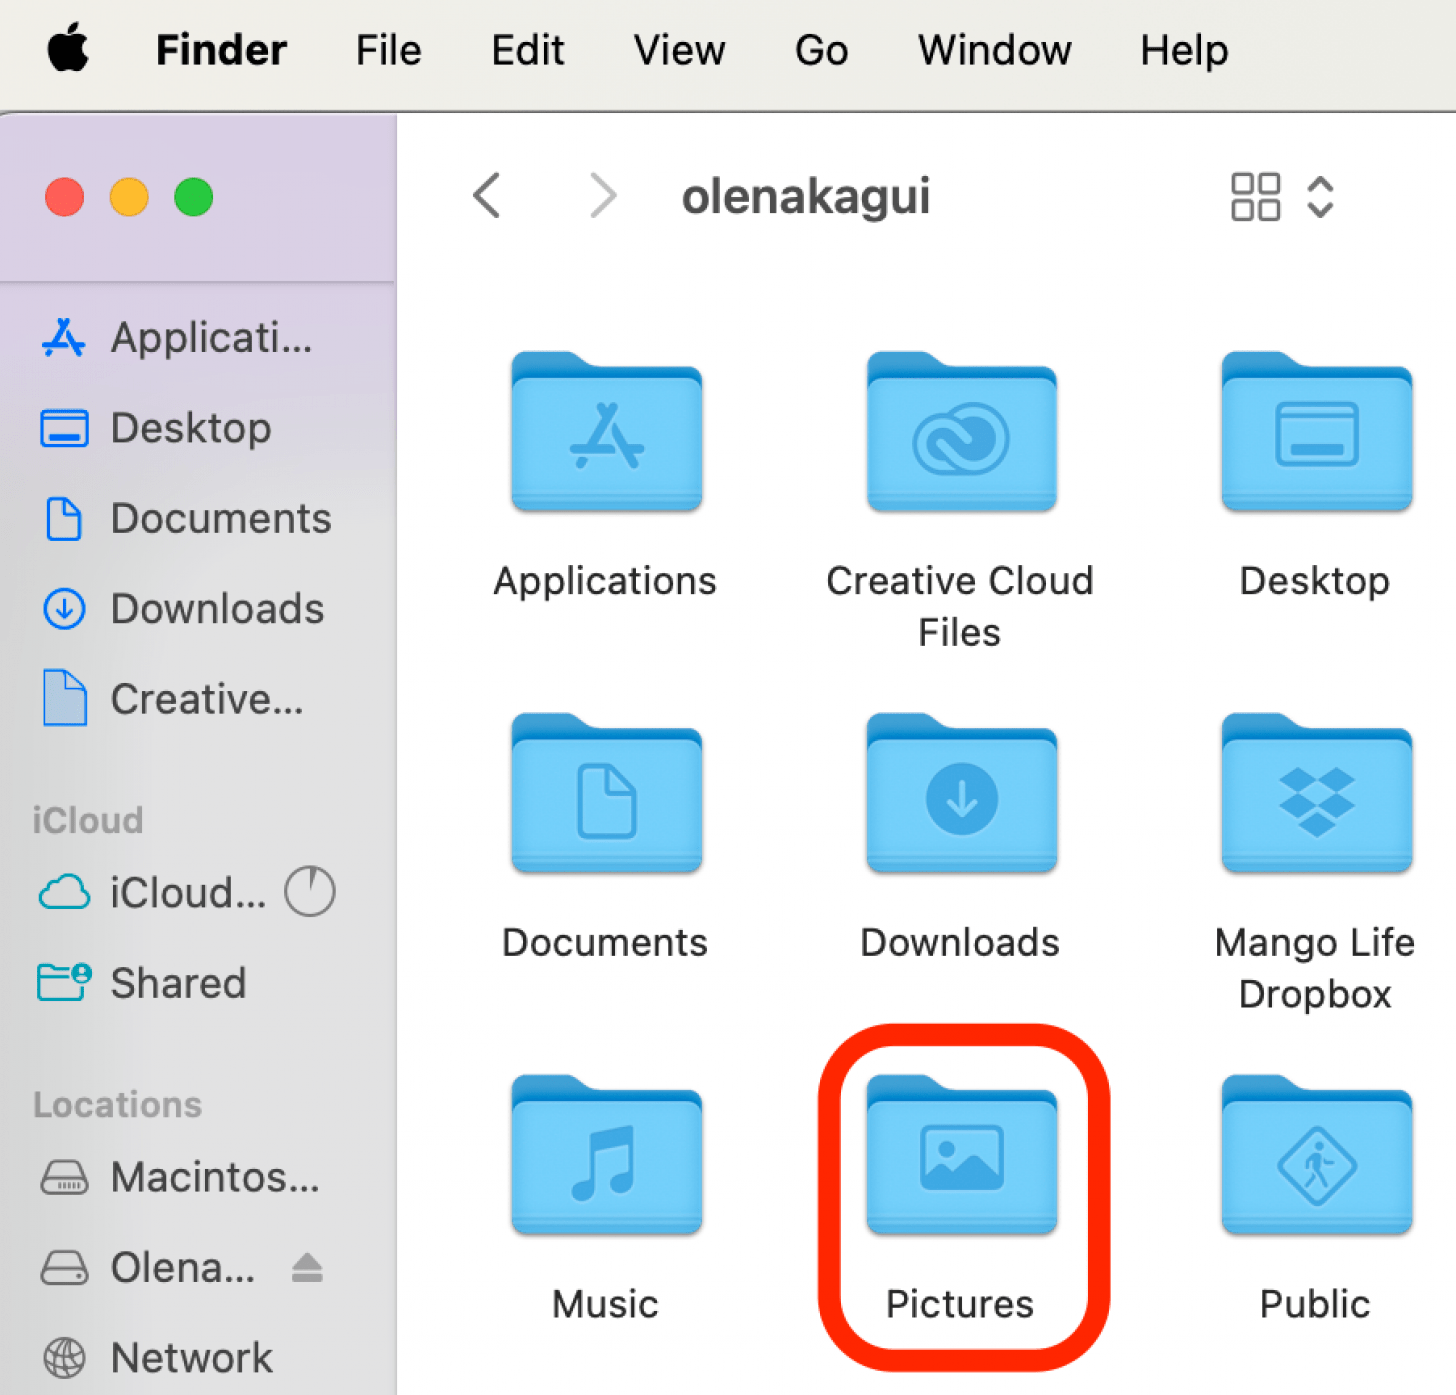
 Your Photos Library should be in the Pictures folder, inside the Home folder. If you don't see the Pictures folder, follow these steps before proceeding to step 5.
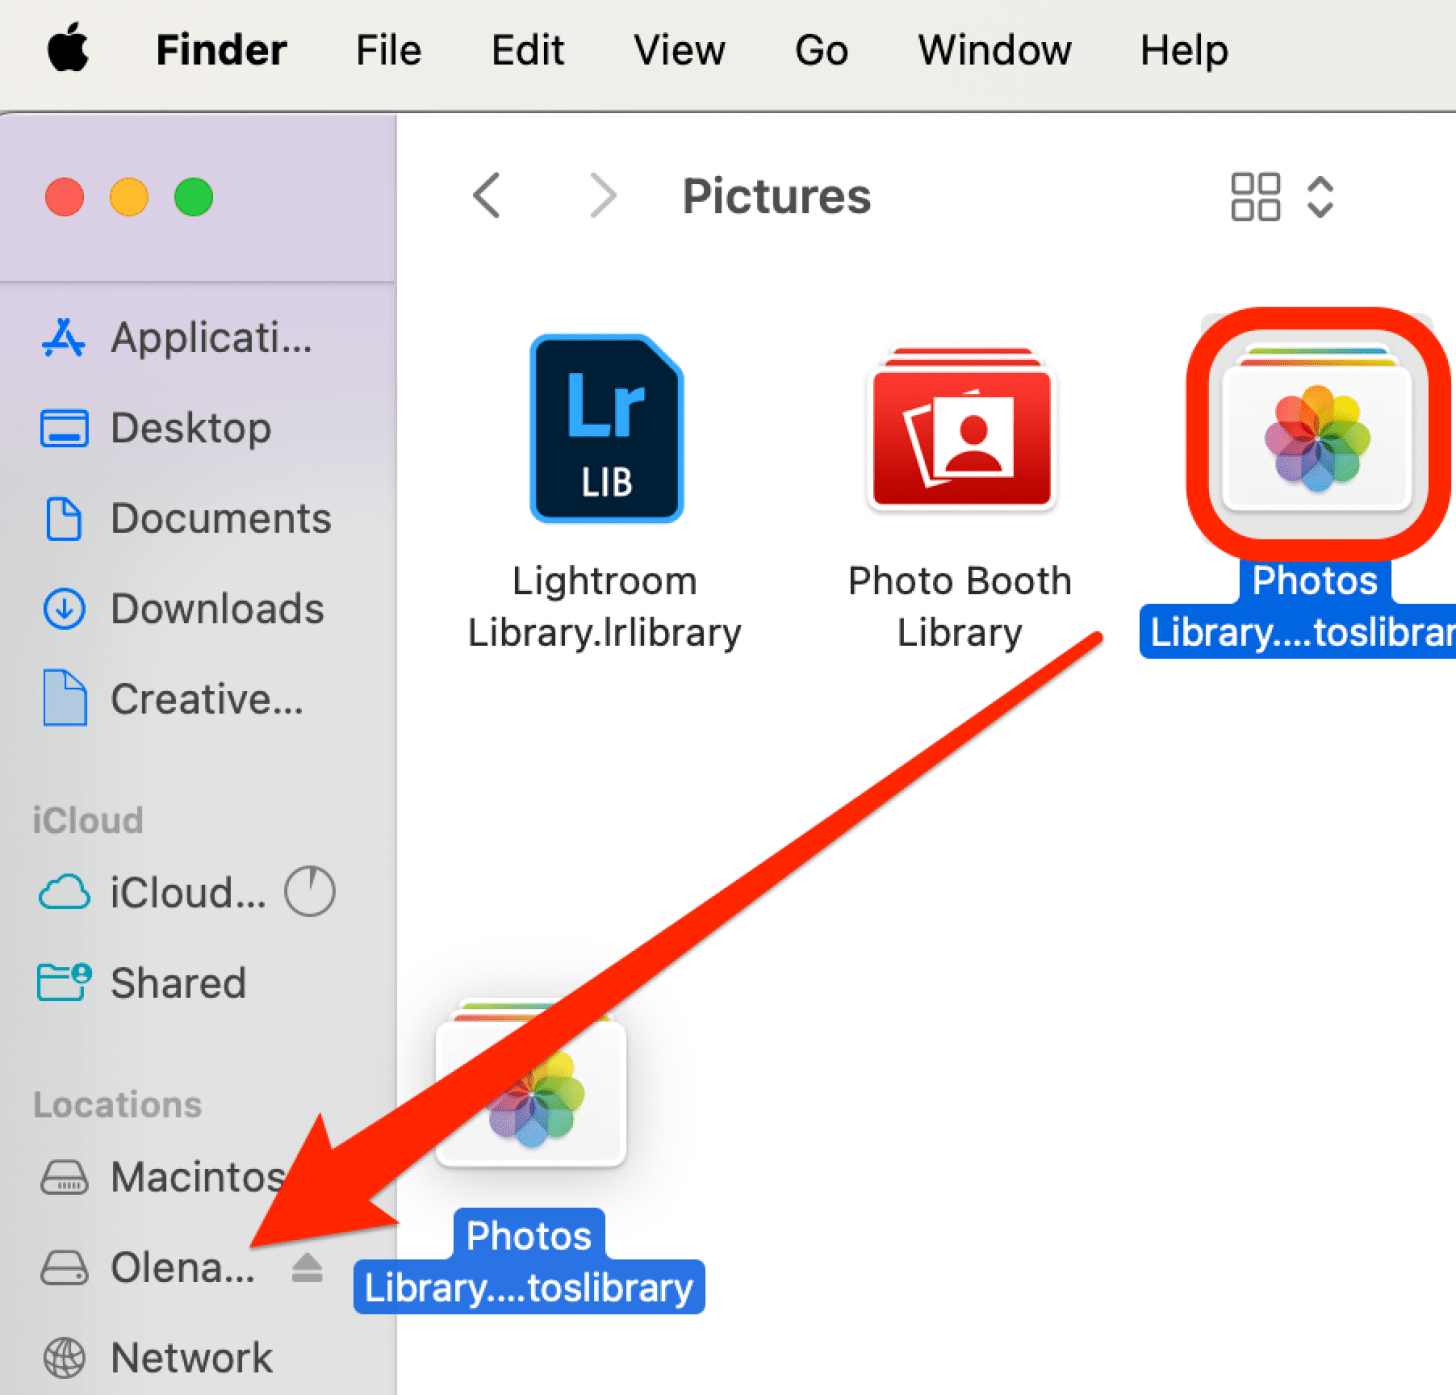
 Drag and drop the Photos Library from Pictures to your external hard drive.
 Once you've done this, double-click Photos Library in the external hard drive to make sure all the contents were moved.
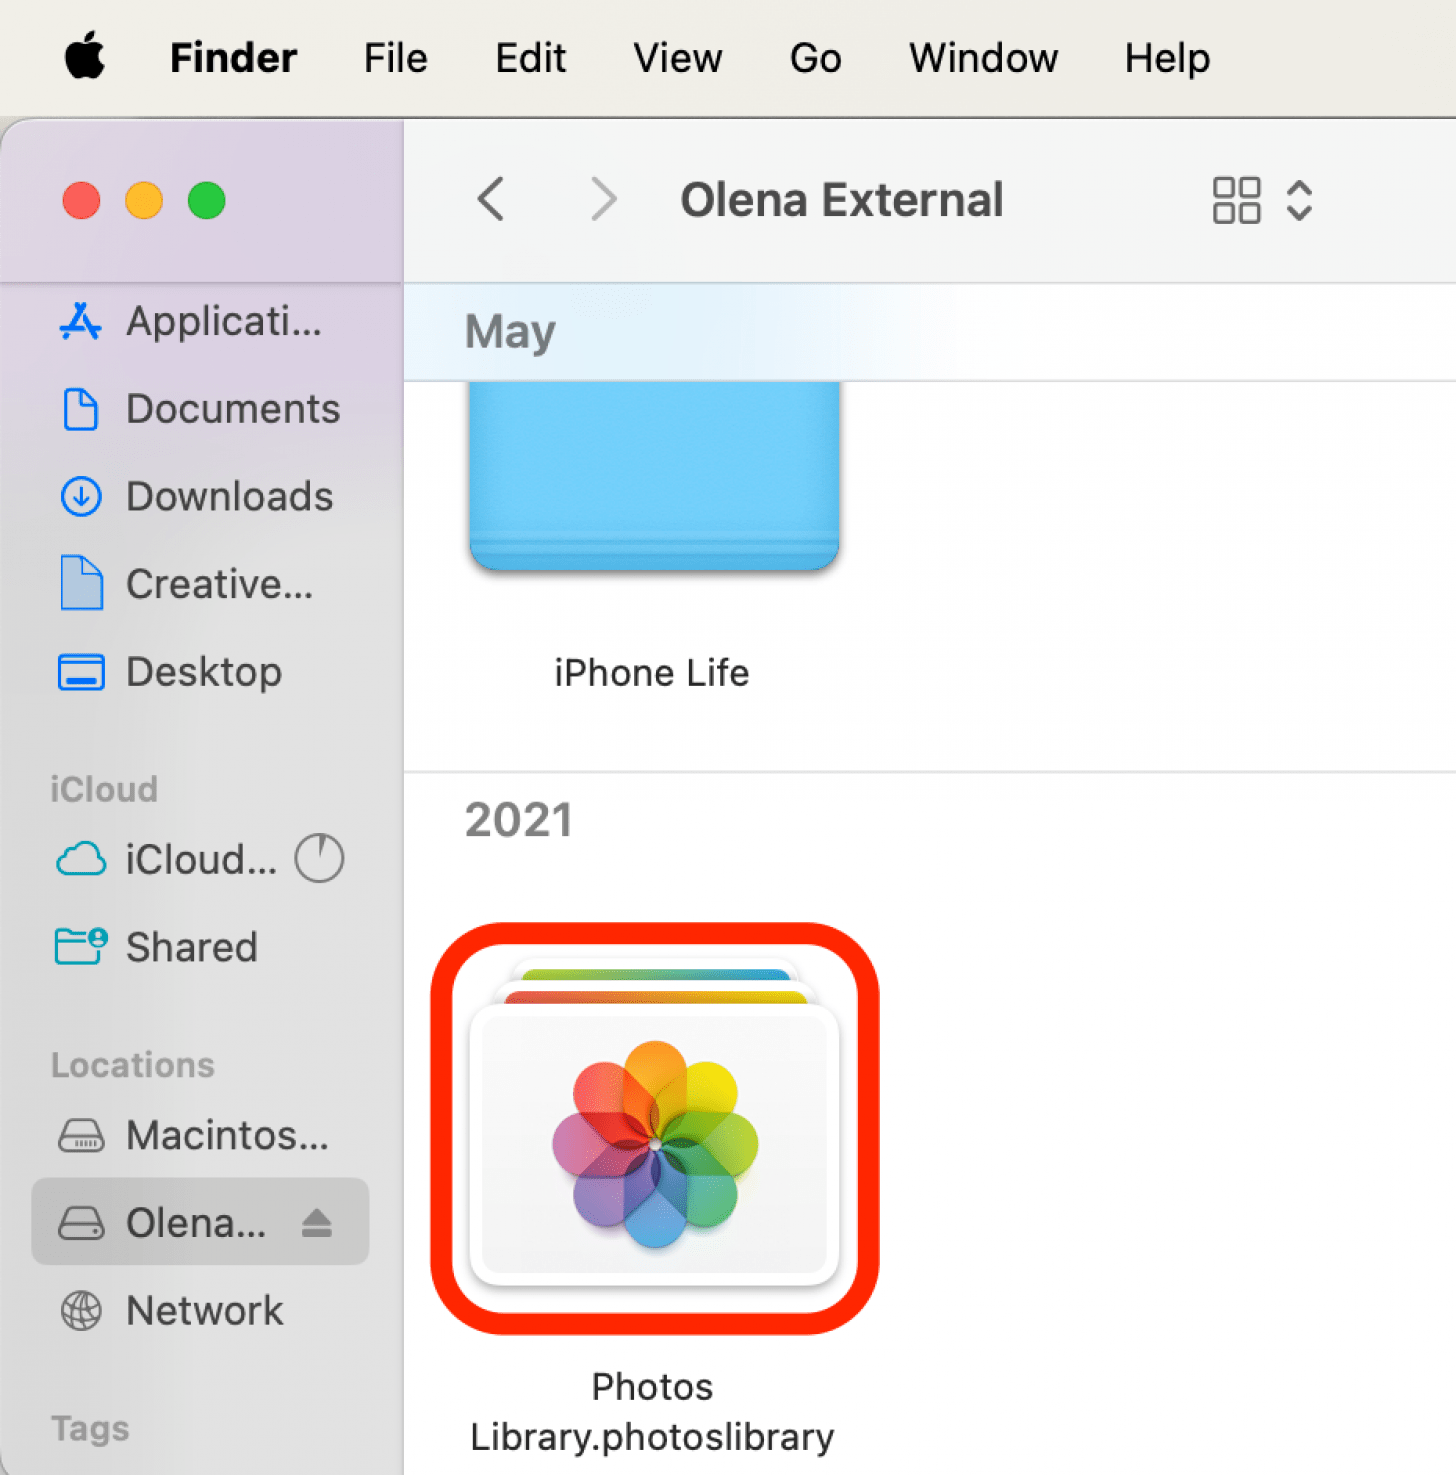
If you use iCloud Photos on your Mac�and still want to use it after this move, you'll need to�designate the library on the external hard drive�as the System Photo Library. If you do this, your Photo Library should sync whenever your designated hard drive is plugged in to your Mac. After you have made the library on your Mac the System Photo Library, you can also delete the photo library on your Mac.
Warning
Be careful deleting your Photos Library, because there is a chance you could permanently delete all your photos. Always triple-check that you have a functional backup before taking any further steps.
Once you have made the photo library on your external hard drive, the System Photo Library, you must make sure your external hard drive is plugged in and available before opening the Photos app on your Mac. If the System Photo Library cannot be found when opening the Photos app, your Mac will create a new, empty photo library.
If you're trying to save storage on your Mac, you can delete the original Photos Library. Drag the library�to the Trash, then empty the Trash. For more great video and photo storage tutorials, check out our free Tip of the Day�newsletter.
If You Don't See the Pictures Folder
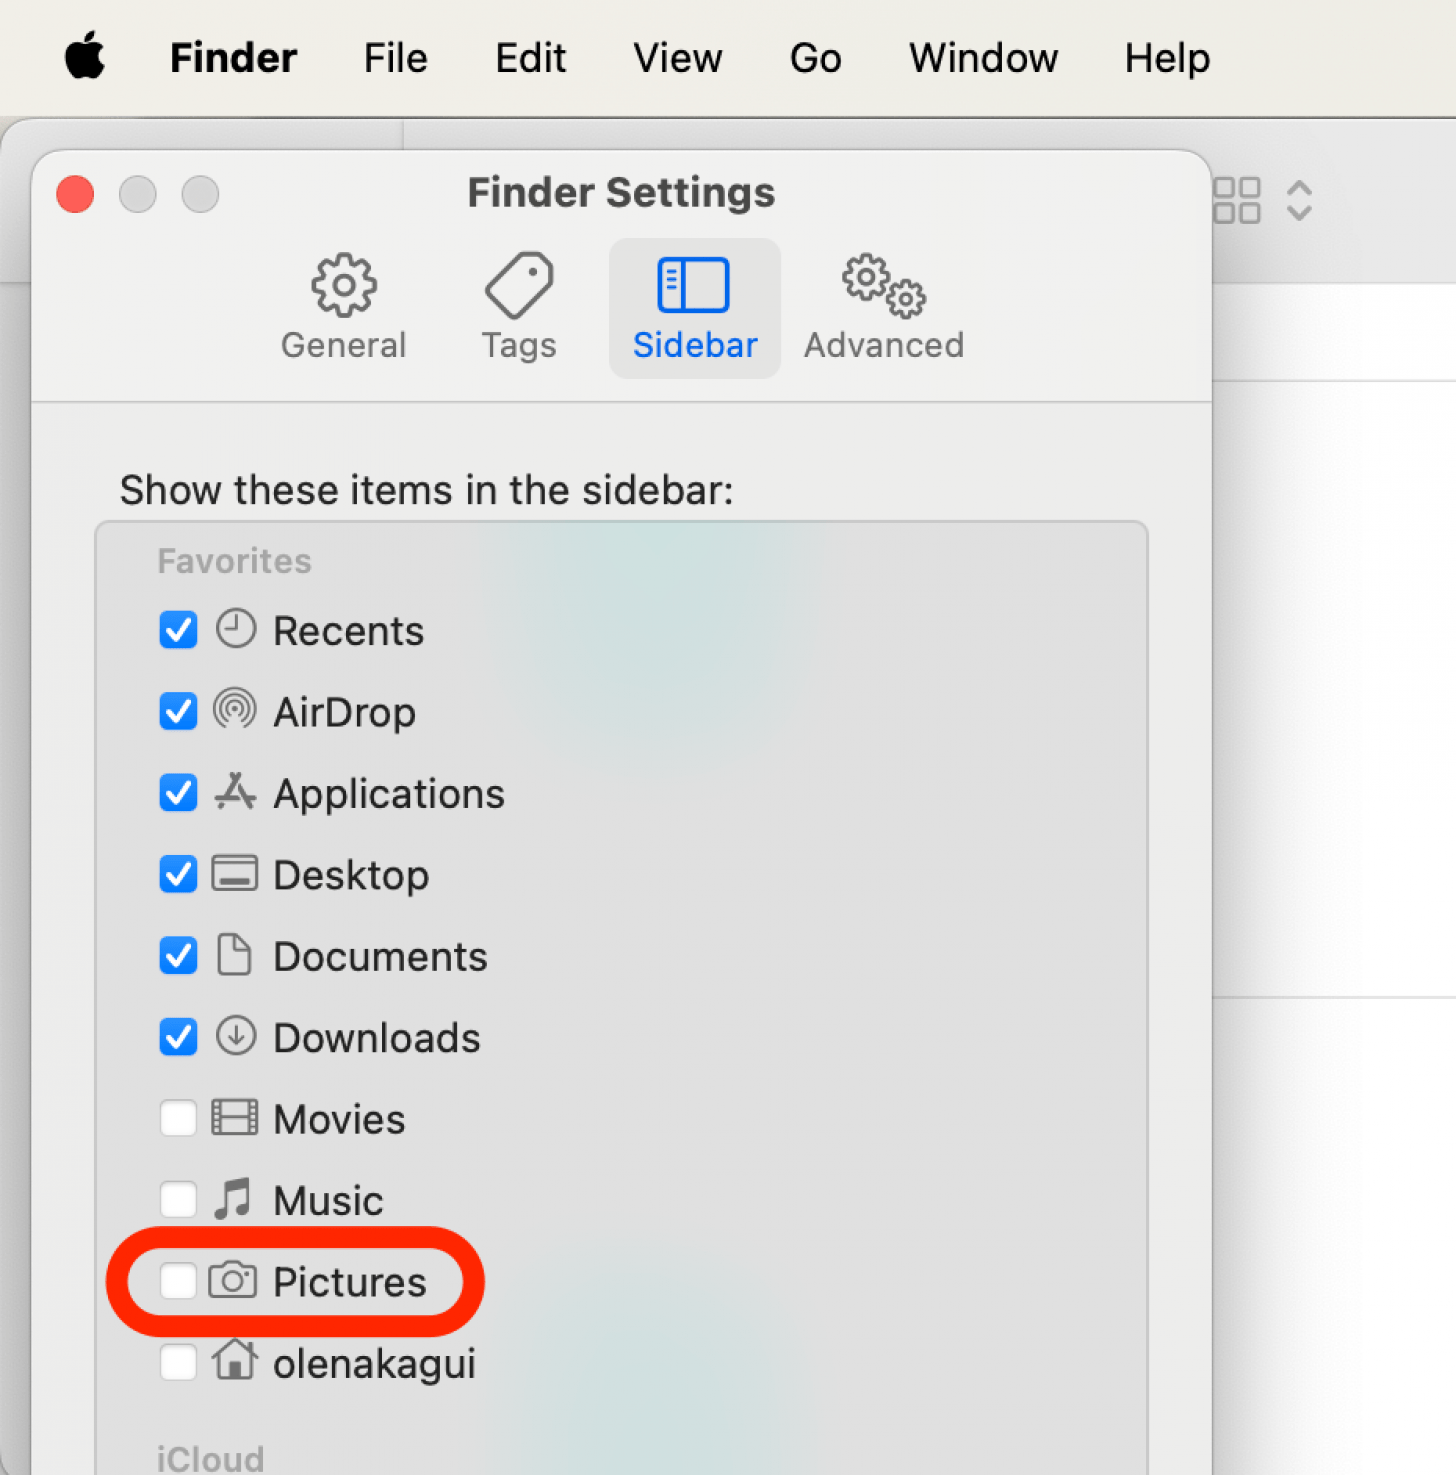
If you don't see the Pictures folder as an option in the Home folder, open Finder�then click on Finder in the Menu�bar and click Settings.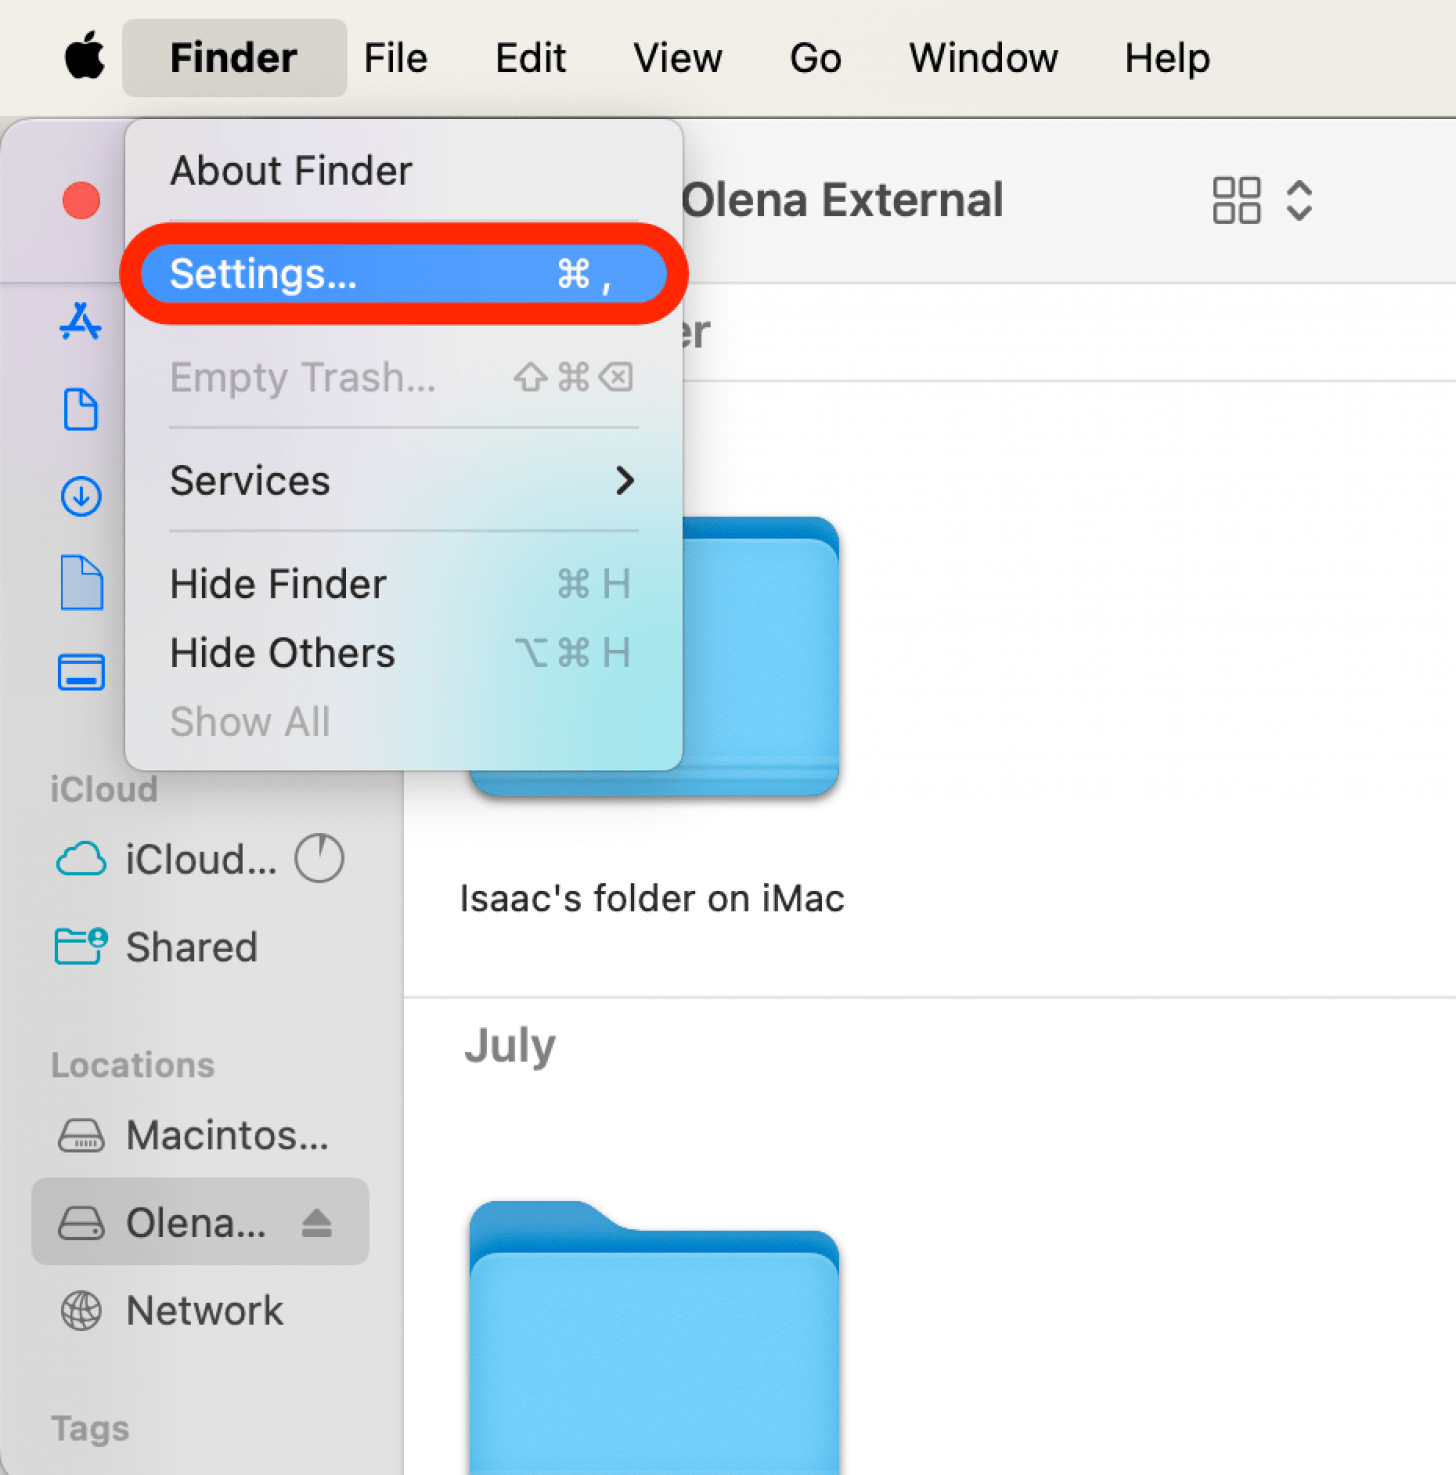 Select the�Sidebar tab, then make sure�Pictures�is checked.
Multiple Photos Libraries: How�to Pick�A Specific Photos Library
If you have more than one Photos Library on your Mac (which happens automatically once you follow the steps above),�you can choose which library to open when you open the Photos app.�To select which Photos Library you want to open when the Photos app opens:
Quit the Photos app. Then press and hold the Option key and reopen the Photos app. Click the Photos Library you want to open, then click Choose Library.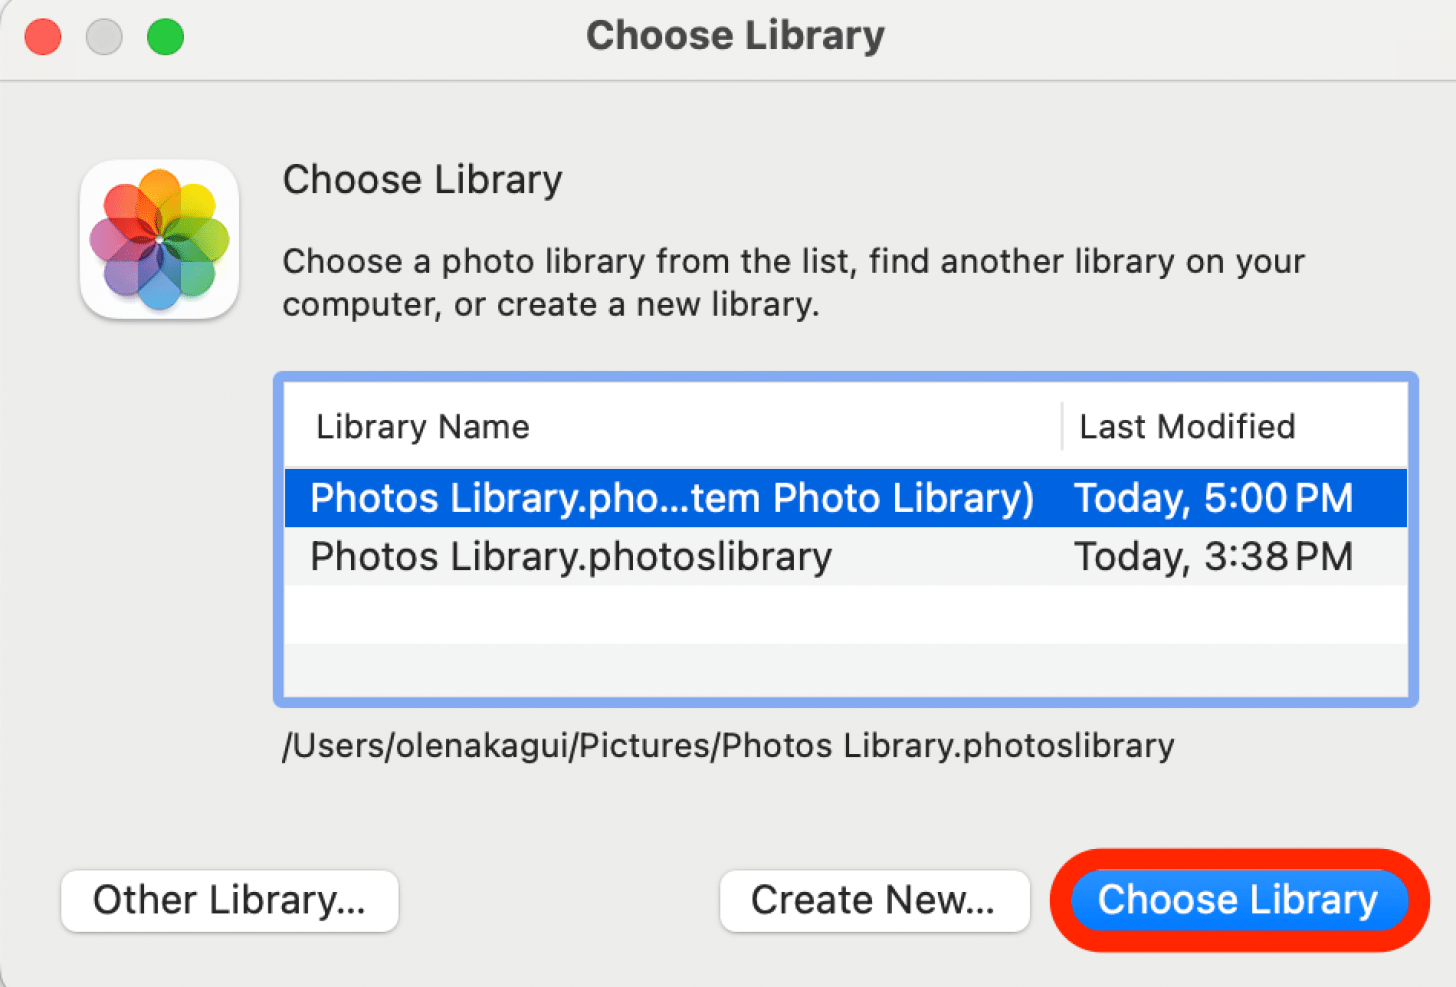
You can also double-click directly on either�Photos Library�either from your external hard drive or the Pictures folder�to open it using the Photos app.
What If There�s an Error Moving the Photos Library?
If you get a�"cannot be moved"�error message, don't worry; we should be able to get you back on track. First:�
Open the Finder,�click on your external storage device, click File, then click Get Info.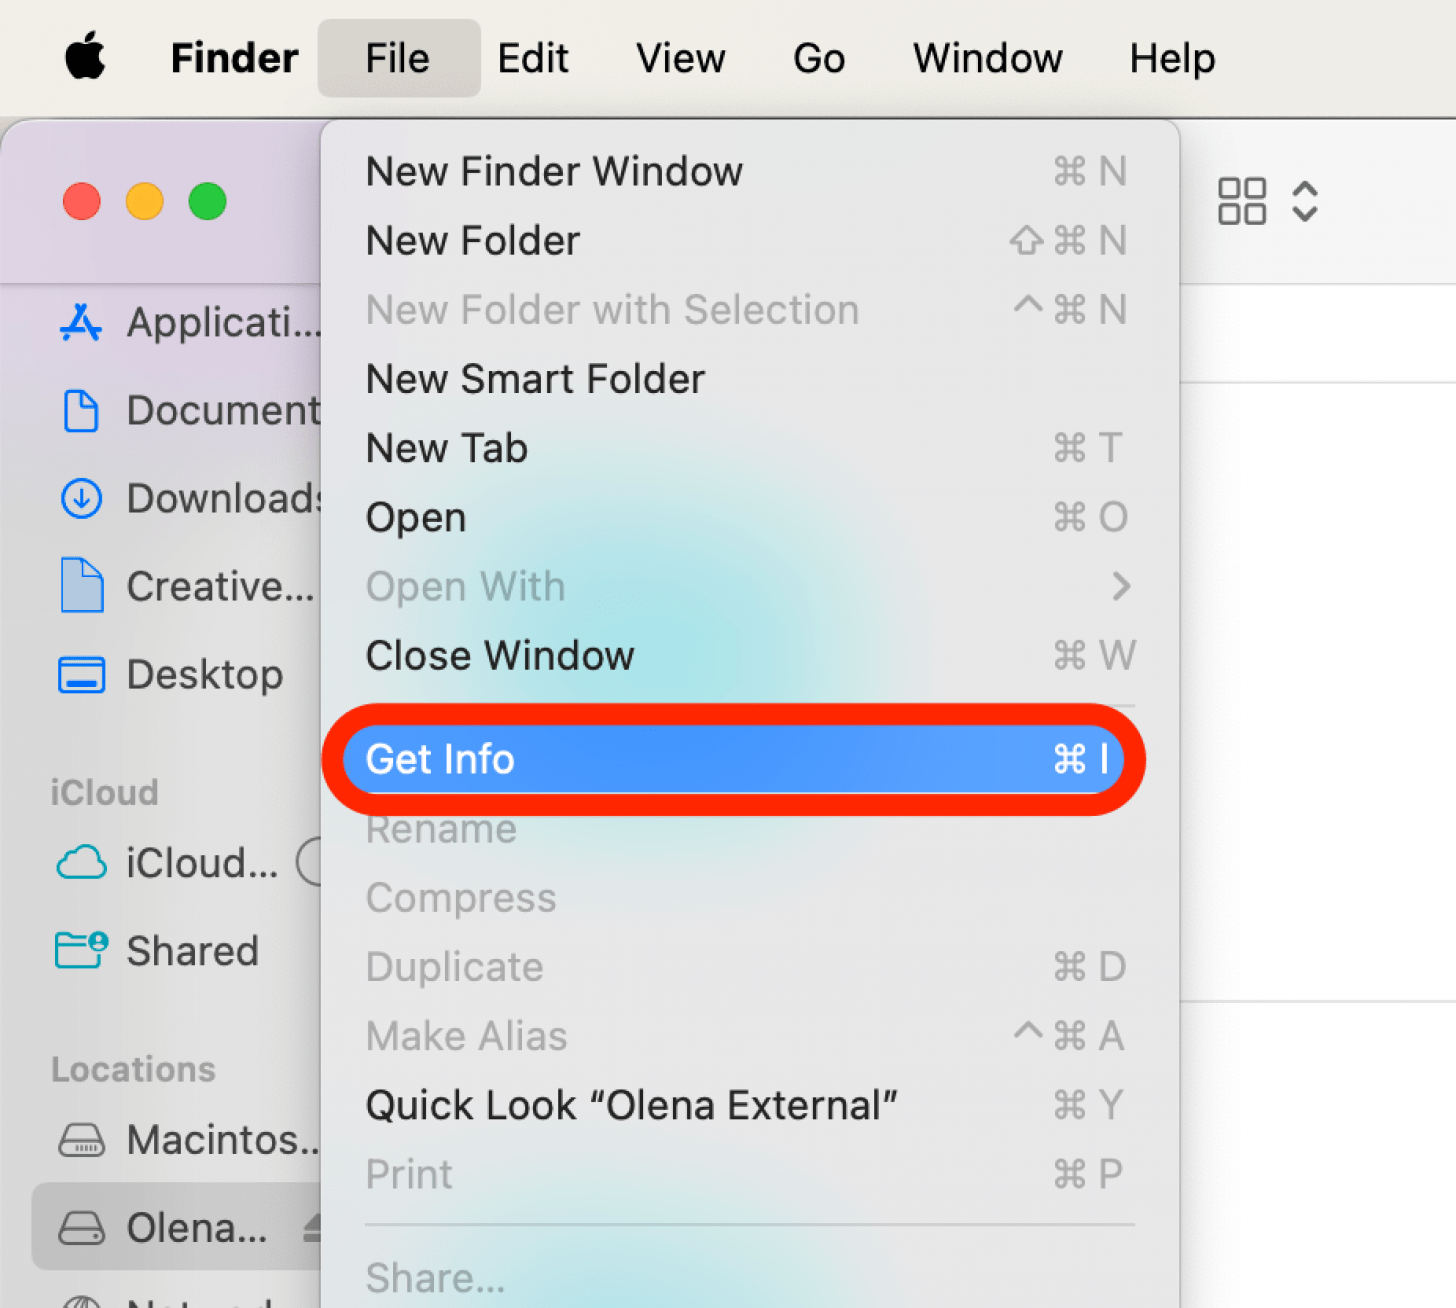 Click the arrow next to Sharing & Permissions to see all the data, and make sure that the box next to��Ignore ownership on this volume� is checked. If this box is unchecked and there's a lock icon next to it, click the lock icon and enter your password to change the setting.�
If there is no Lock icon, you may need to format your external hard drive, or the drive may have been used for Time Machine backups that haven't been erased.�If there is another permissions issue with your Photos Library, Apple has a�Photos Library repair tool�that may help you.�
Now you know how to clear storage on your Mac by moving your photos to an external hard drive. Since an external drive is a physical object that can be lost or destroyed, you may want to keep another backup in a cloud-based archive like DropBox, Google Drive, or OneDrive.
FAQ
How do I format an external drive for MacBook Pro?�First, you have to back up any files on your external drive because formatting will delete everything on it. Then follow these steps to erase and format an external drive for Macs. How do I�delete photos on Mac?�Open the Photos app, locate a photo (or video), and right-click using a mouse or press the command key while clicking on the photo, then select Delete Photo.� How do I�transfer photos from iPhone to MacBook?�You can AirDrop, use iCloud, or an external hard drive. Learn five easy ways to transfer photos from iPhone to Mac (or PC). How do I save images on a MacBook?�Right-click using a mouse or press the command key while clicking on the photo you wish to save, then select save.


![Business-Driven Marketing (BDM): 8 Steps to Drive Business Impact [+14 Templates]](https://gustdebacker.com/wp-content/uploads/2024/07/Business-Driven-Marketing-1024x576.png)


