CLI…WTFCommand line interface (CLI) isn’t for everyone. Trust me; I get it. @iamevltwin forced me out of my comfort zone a few years ago and opened my eyes to the power of Terminal (command prompt on Mac). Now it...
CLI…WTF
Command line interface (CLI) isn’t for everyone. Trust me; I get it. @iamevltwin forced me out of my comfort zone a few years ago and opened my eyes to the power of Terminal (command prompt on Mac). Now it is pinned to the Dock on every Mac I use, but I still struggle at times and that is okay! The internet provides plenty of support to help me along when I just can’t make something work. I use and abuse my Notes application with random commands and ways to accomplish certain tasks in Terminal that I know I will want to recall sometime in the future. Inevitably though, I find my way back to mac4n6.com to read an article because I am cussing at an iPhone I’m struggling to jailbreak because I forget if the port is 22 or 44.
I recently bought a new MacBook Pro and the thing is a beast, but as soon as Apple setup was completed I started installing things to set it up for mobile testing. I figured I would write a set of current instructions on how I setup my Mac, and do so in a way that someone unfamiliar with Terminal can follow along without issues.
DISCLAIMER. Following these instructions worked for me and will work for you too. As with anything else, proceed at your own risk but nothing we are doing here is dangerous for your machine if done correctly. I tried to bold exactly the text you need to type or to highlight a key combination you need to press to grab your eye as you scan this article.
1. Terminal (CLI)
What:
We are going to use it but you don’t have to understand everything we are doing to still achieve the desired outcome. To find Terminal, hold ‘command+space bar’ and Spotlight Search will appear on your Mac’s screen. Type ‘terminal’ and select the application from the results. I choose to pin it in my dock because I use it every day, you might want to do the same.
How:
Hold command key and press space bar
In Spotlight search type ‘terminal’
Select Terminal application and it will open
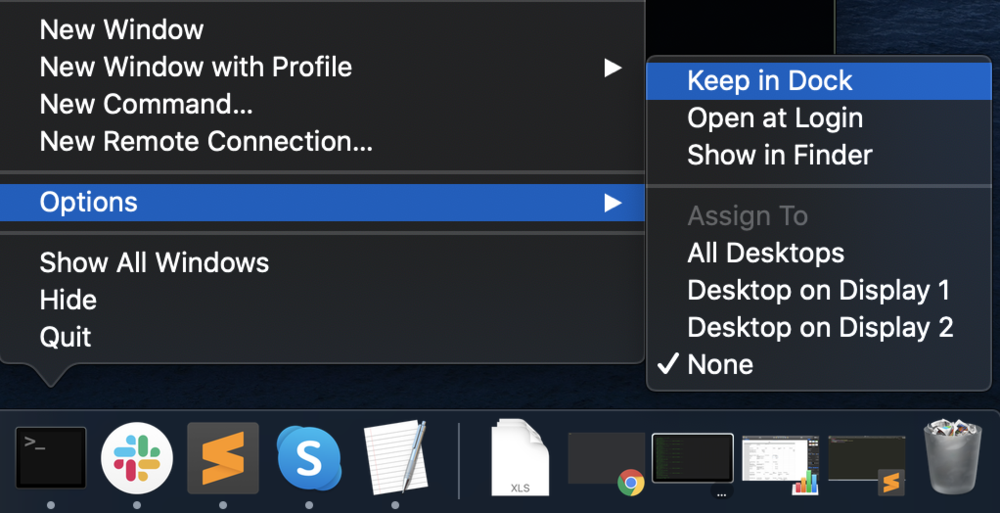
Right click Terminal in your Dock, mouse up to Options and over to ‘Keep in Dock’ and select it.


2. Xcode
What:
Xcode is Apple’s development platform, and pieces of it are used in regular forensics work on iOS and Mac data. This takes a while depending on your download speeds, so this might be a good place to grab a drink.
How:
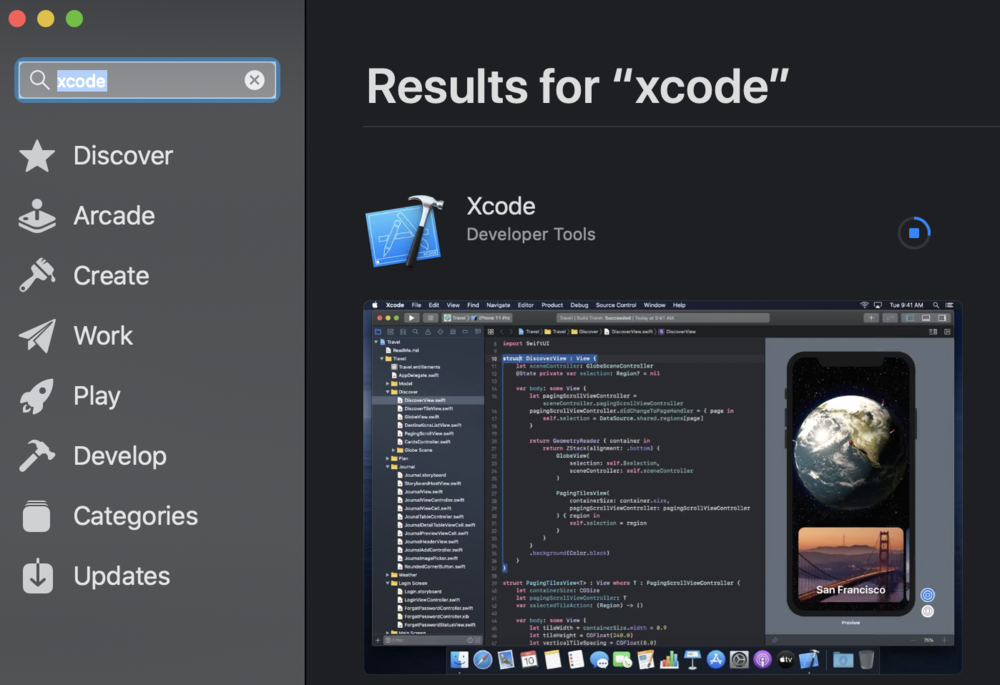
Open the App Store on your Mac and search for Xcode. Download.

3. Homebrew
What:
I am a huge fan of craft beer, so perhaps I appreciate the naming convention here more than others. Regardless of whether you like craft beer or are yet to learn that you love craft beer ? - you need to install Homebrew to install some stuff Apple doesn’t install for you.
How:
In a web browser, go to brew.sh (DO NOT GO TO homebrew.sh, that is a super sketchy place and is not where you want to be)
When the page opens, look directly under “Install Homebrew”, and copy the entire line: /bin/bash -c "$(curl -fsSL https://raw.githubusercontent.com/Homebrew/install/master/install.sh)"


Paste that into a Terminal window and press ‘return’ key. (If you are asked for a password, it is the user password you enter to access the machine so you need to be an admin! Also when you type your password nothing shows up on the screen, you aren’t crazy.)
It tells you what the script will install, and you need to press ‘return’ again to install which will take a few minutes.

4. DB Browser for SQLite
What:
My preferred SQLite database browser for everyday database research and analysis. As with Terminal, I keep this one in the Dock of my Mac also
How:
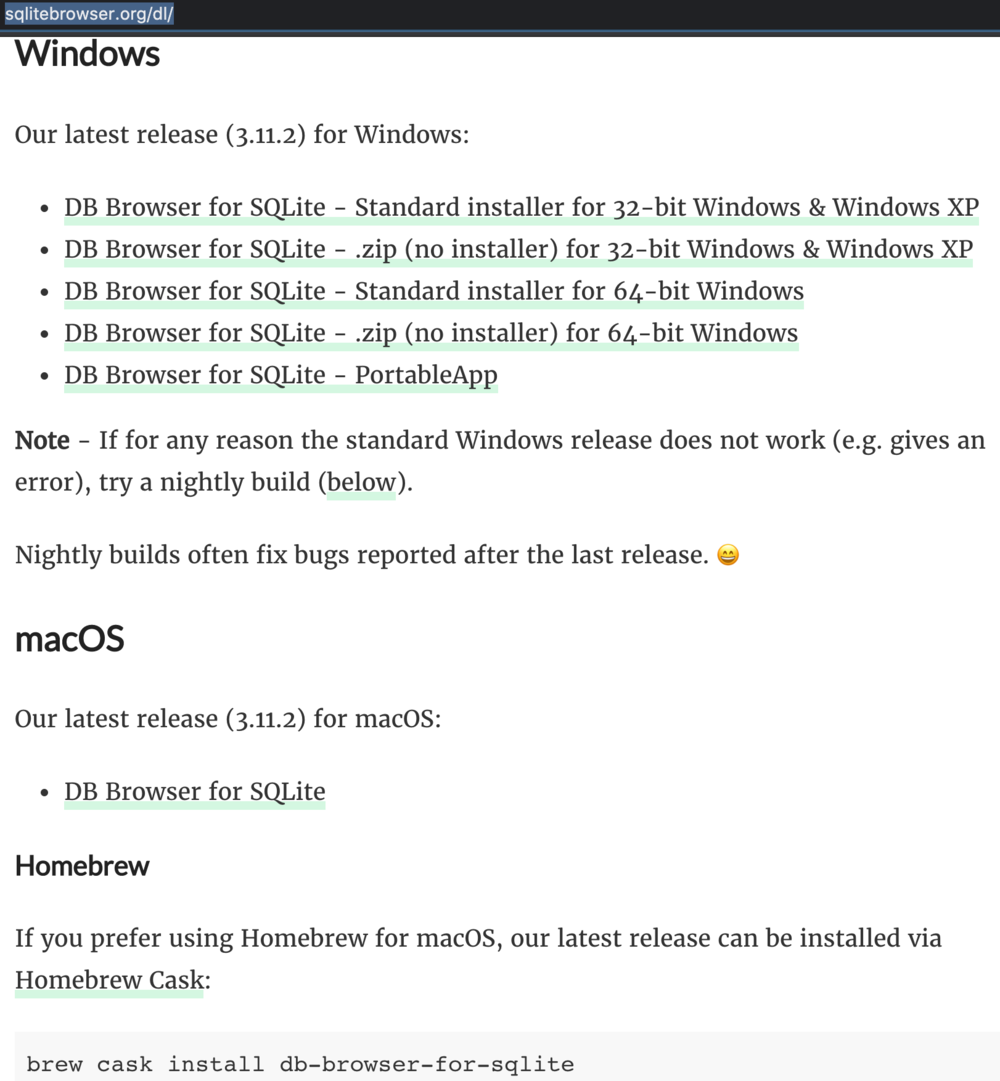
Simply go to sqlitebrowser.org/dl/ and download and install the appropriate version.

OR
Homebrew Install Method: You will notice on the download page that Homebrew is listed there with a command to install the application via Homebrew. Since we already installed Homebrew, you can take a look at how it works by using it to install DB Browser for SQLite!
If you choose to install via Homebrew:
In Terminal, type the following and press ‘return’ - brew cask install db-browser-for-sqlite

5. Hex Fiend
What:
Free hex viewer, and I love it. I drag and drop files into the application to quickly check file contents every day I’m doing research. This one also stays in the Dock.
How
Simply go to ridiculousfish.com/hexfiend and download and install.
OR…I wonder if Homebrew can do this for me?
Homebrew Install Method:
To check if homebrew has the ability to install a certain utility, you can just type brew search hexfiend and press return
The results tell me there is a Cask named ‘hex-fiend’ so I can install via Homebrew just like we did before.
In Terminal, type the following and press ‘return’ - brew cask install hex-fiend

6. libimobiledevice
What:
We will use the “iproxy” utility, which enables TCP service access to an iDevice. It allows us to forward ‘localhost’ to the device, thus allowing an SSH connection over USB to jailbroken devices. If you don’t know what TCP, SSH or ‘localhost’ means - don’t quit here. Once this is setup and your iDevice is jailbroken, you simply need to type a few things in Terminal and boom! You’re surfing the file system of a live iDevice!
How:
In Terminal, type brew search libimobiledevice
The results show us ‘libimobiledevice’ is available, so type brew install libimobiledevice and press return

And with that the Mac setup is now complete! We arranged applications in the Dock for quick access, got Xcode ready to go, setup a SQLite database browser, a hex viewer, and finally the utility we will use to communicate with our iDevice via USB. But wait..what about my favorite <insert tool name here>? Personal preference will drive many other installs or setup tweaks, but if you follow these instructions your Mac is ready to do iDevice testing.
If you successfully followed the instructions above, your iOS testing progress bar is at 51% - congratulations! Part 2 is coming soon and will visualize and simplify the jailbreak process, getting your iDevice ready for testing. You will be setup and ready to answer your own questions about the iOS file system, how it behaves, and you can prove or disprove that hunch you have!
Until next time, “Stay classy, forensicators.”


![How to use Ollama and Open WebUI with Docker Compose [Part 4]](https://geshan.com.np/images/ollama-docker-compose/01ollama-docker-compose.jpg)


![Analysis of Apple Unified Logs [Entry 12] – Quick & Easy Unified Log Collection from iOS Devices for Testing](https://images.squarespace-cdn.com/content/v1/53836afce4b0ea0513df946a/1599530291368-OP6TKIP4EFR5HMUGO7BE/giphy-4.gif)


