Follow(function(d, s, id) {var js, fjs = d.getElementsByTagName(s)[0];if (d.getElementById(id)) return;js = d.createElement(s);js.id = id;js.src = "https://www.bloglovin.com/widget/js/loader.js?v=1";fjs.parentNode.insertBefore(js, fjs);}(document, "script", "bloglovin-sdk"))*This post contains affiliate links. I receive small commissions for purchases made through these links at no extra cost to you....
*This post contains affiliate links. I receive small commissions for purchases made through these links at no extra cost to you. These commissions help me keep this site up and running, in order for me to keep providing helpful and inspiring art content. :)
?
Can watercolor pencils be used to create higher levels of realism? How do you prepare for a successful watercolor pencil painting? How can I choose my colors in order to arrive at cohesive, harmonious results? Can watercolor pencils be layered?
Watercolor pencils are such an exciting art medium!
However, it can be tricky to learn to use them because they are both a drawing and a painting medium, all wrapped up in one.
They can be used in a variety of different ways, depending on the outcome you wish to create.
Do you enjoy drawing mediums and the "sketchy" texture they create? Consider using less water throughout the process.
Do you enjoy more of a painterly effect?
Bring in more water throughout the process to "activate" your pigment.
Looking for a combo of pencil texture and painterly effects?
Use both techniques!
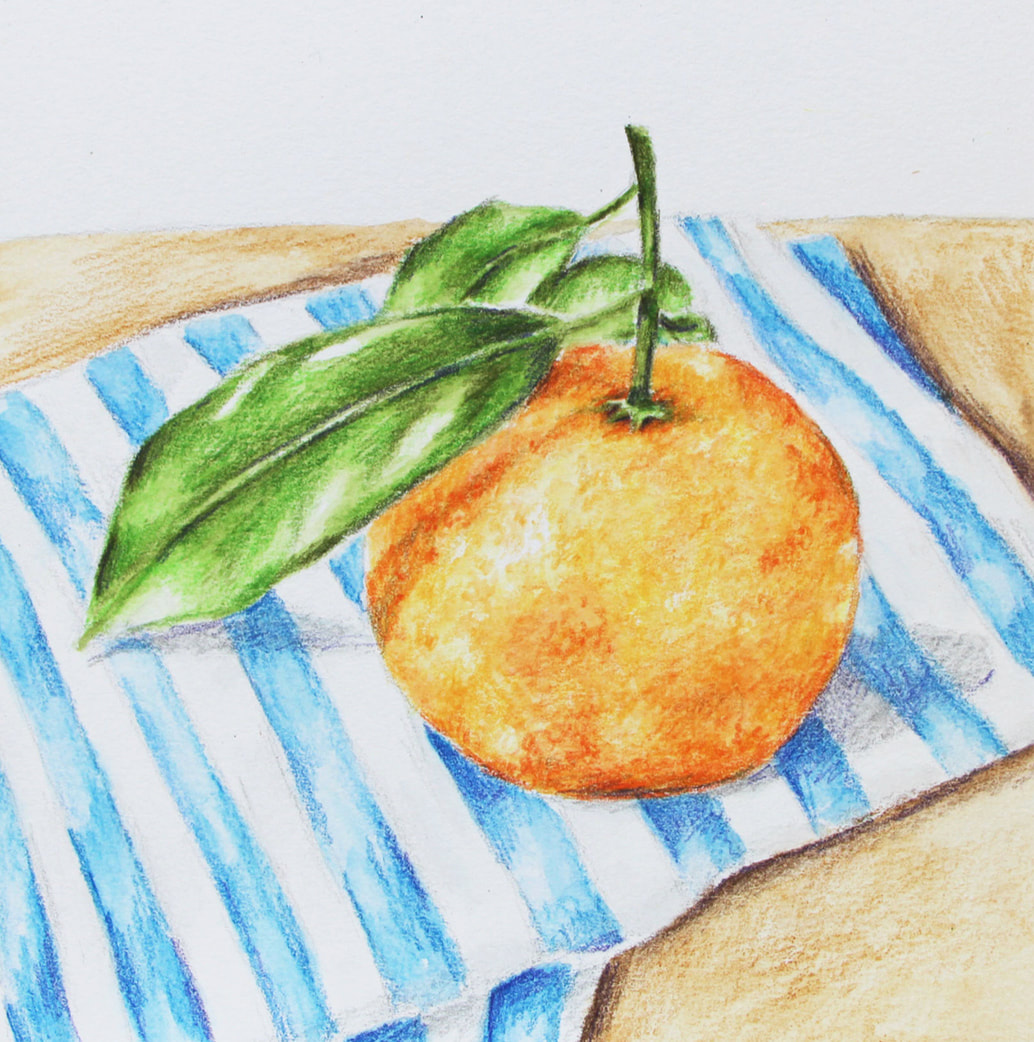
After years of honing my skills with watercolor pencils, I'm happy to say that I've found a process, and specific supplies, that lead to the results I love, every time.
In the full tutorial below, as well as others I've shared over at my YouTube channel (I have a full watercolor pencil playlist!), I spill the tea on my favorite techniques and main tips that have helped me create better work.
?
The tutorial below includes:
-My 5-Phase process for painting with watercolor pencils
-How I create my preliminary sketch using pencil
-How I pick the specific colors I'll be needing for higher levels of realism
-How I layer watercolor pencils to develop believable depth
-How I activate watercolor pencils with water
-How I avoid overworking my watercolor pencil pieces
-How I bring in a "wildcard color" to push contrast as well as develop greater color integration and harmony
-How to create subtle textures
-Must-know? tips for success
?
?
If you enjoyed this video and found it helpful, make sure to subscribe to my YouTube channel. I share a brand new video every week with art tips, drawing and painting tutorials and mindset/productivity tips for artists. *Subscribe HERE*
Original Reference photo can be found here.
Original Reference photo can be found here.
My 5-Phase Watercolor Painting Process
?
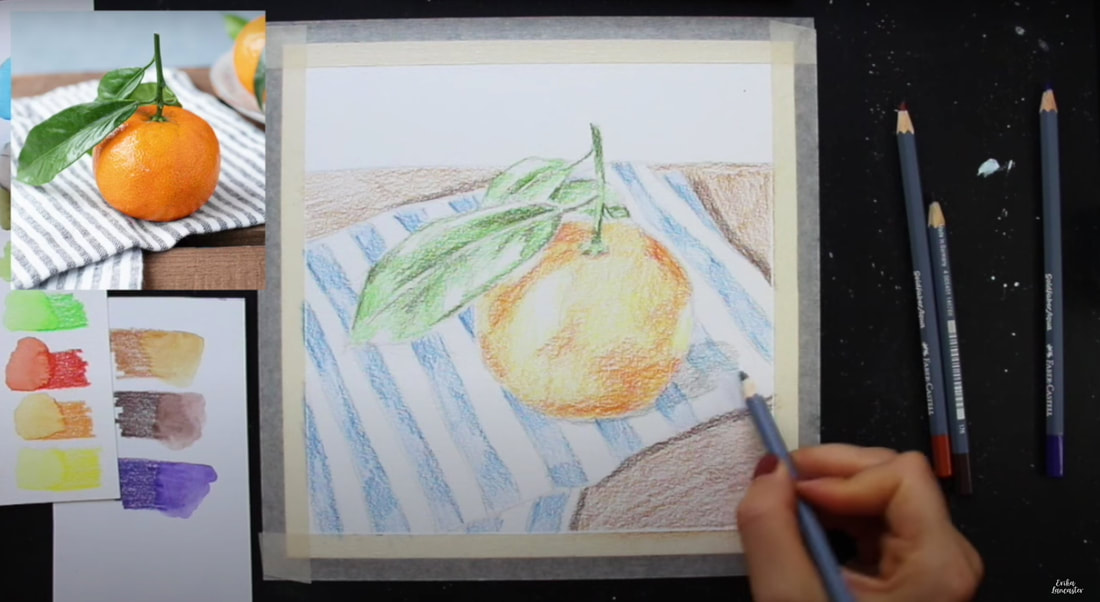
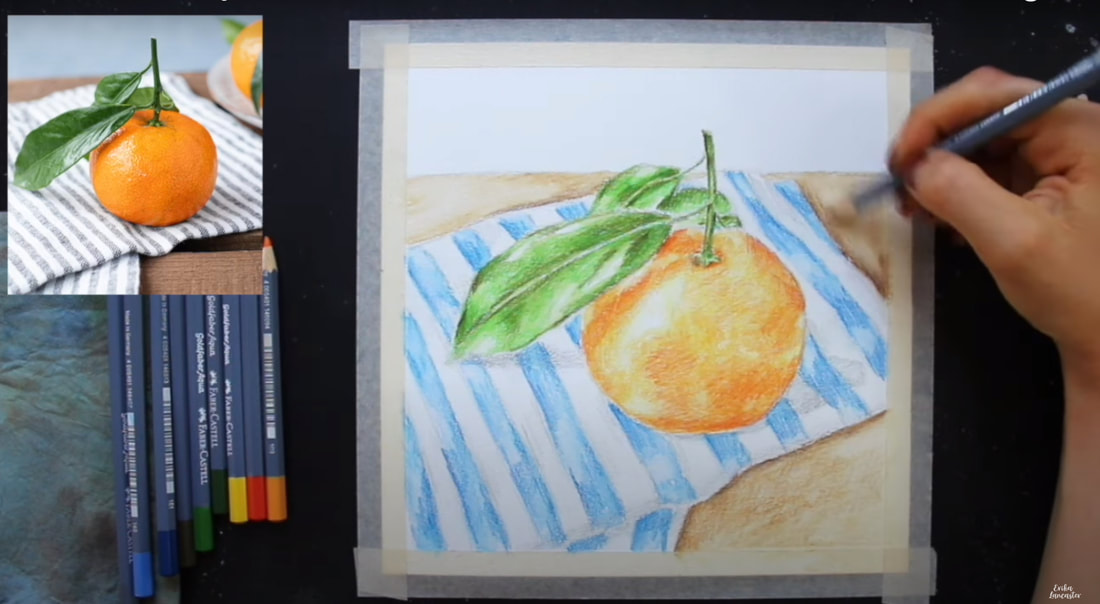
1. First Layer
?
?Use watercolor pencils like traditional colored pencils to start layering process.
?
Make sure you're planning for highlight areas in order to keep them protected throughout the painting process, and start developing values using your first (lightest colors) in each area.
We're working from lights to darks, and our aim is to develop a wide range of values/tones, from very light lights to very dark darks.
This is what will help us create a believable sensation of depth.
*Highlight areas are going to be left free of pigment as the whiteness of the paper will stand in place for these lightest value areas.
*Lighter midtone areas are going to have less pigment applied on them.
?
*Darkest value areas will have more layering of color on them, and the paper will be covered up more.
??
?
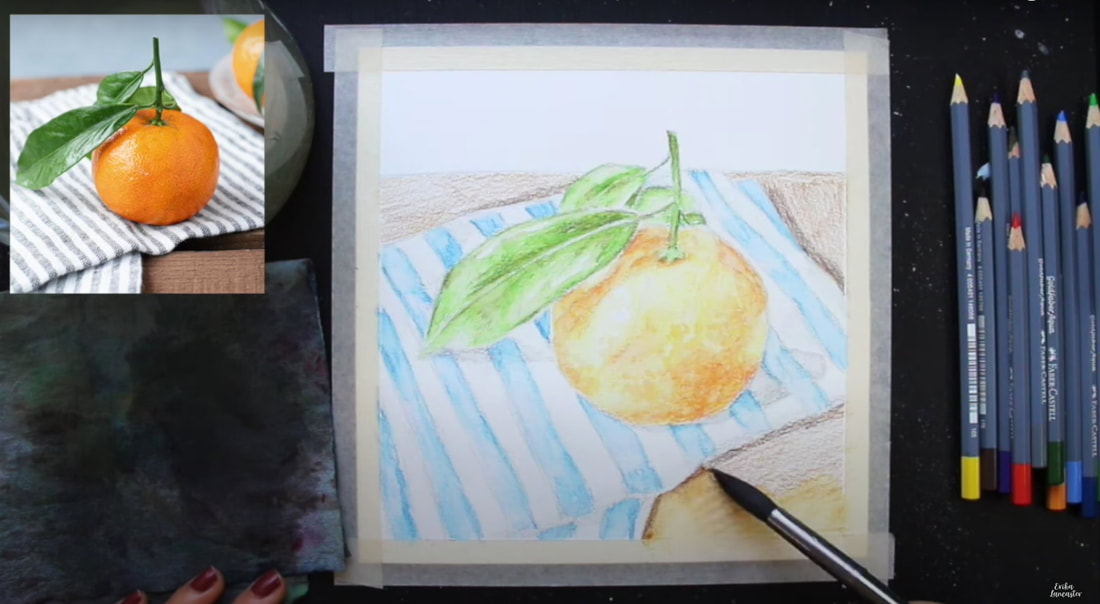
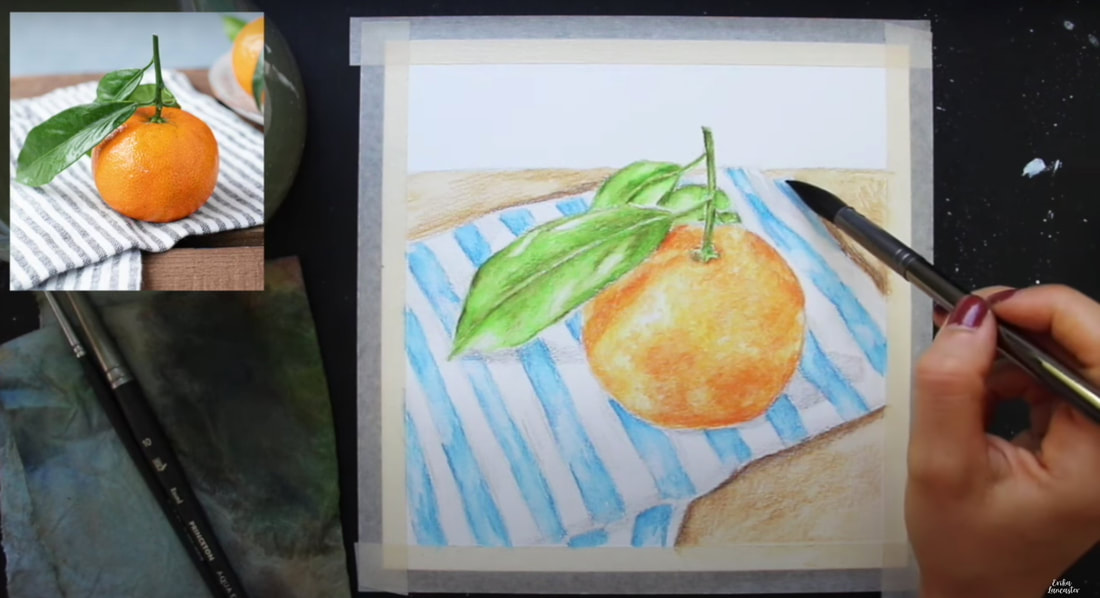
?2. First Activation With Water
Activate pigment using a paintbrush and a small amount of water. Make sure you're using an absorbent towel to help you stay on top of water control.
Try making your way from light value areas, toward darker areas and keep removing pigment from your paintbrush bristles along the way.
?
*Allow to dry completely.*
?
?
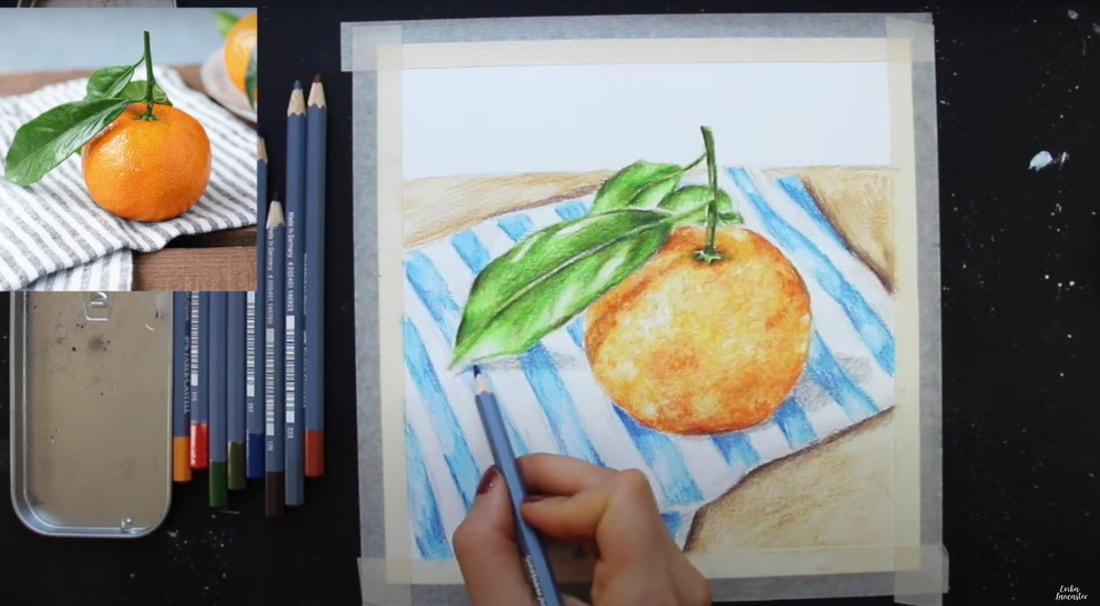
3. Second Layer
Start layering color to develop darker midtone areas and darkest darks using the medium color and darkest color that you've chosen for each section.
?Observe the reference photo in order to avoid layering more pigment in lighter value areas.
Make sure you only apply more pigment in areas that require darkening.
?
?
Check out my FREE Patreon-exclusive tutorial and class samples here.
?
?
?4. Second Activation With Water
Activate pigment using a paintbrush and a small amount of water, focusing mostly on areas where you just applied more pigment in, in the previous step.
?*Allow to dry completely.*
?
?*Allow to dry completely.*
?
??
?5. Third Layer
Using your medium and darkest colors that you've chosen for each section of your painting, focus on pushing darkest shadow areas to increase tonal contrast, which will enhance depth.
*Optional: Bring in a "wildcard color" such as a dark blue or purple, to help you push darkest shadow areas all throughout the piece. This will help add interest, greater color harmony and personality to the piece.
?
?
Art Supplies Used In Video
?
? ? | ? |
?
?


