Want a break from your basic positive/negative space Notan project? This project not only covers positive and negative space but it also covers color theory and line variation. Materials: Watercolor paper Watercolor Brushes or pipettes Straws Various sharpies/markers/pens with...
Want a break from your basic positive/negative space Notan project? This project not only covers positive and negative space but it also covers color theory and line variation.
 Teacher Sample
Materials:
Watercolor paperWatercolorBrushes or pipettes StrawsVarious sharpies/markers/pens with different tip widthBlack construction paperWhite color pencilX-acto knivesCutting pads/boards, to protect tables from knivesGlue, liquid or stick is fineI introduced the lesson by covering basic color theory. I played the famous Scratch Garden: Advanced Color Song before covering color theory. I had my students take notes in their sketchbook over the various color schemes. I then went over positive and negative space.
Click below to access my Positive and Negative Space slides:
https://docs.google.com/presentation/d/1WUFEY9JJZ-QlmnN2DT2t_APFWP41ewTuP8zvIG2z4Zg/edit?usp=sharing
Click below to access the color theory notes. I had 2 copies of this handout laminated on each table. You can print out a copy for each kid and have them glue the copy into their sketchbook instead of having them write out each color scheme.
Click below to access the project handout. This WS provides the project procedural steps, vocab terms and objectives. There is also a zentangle practice section and thumbnail sketch section on the back. I passed out this handout after going over the entire project.
Introducing the entire project and all the vocab terms took 1 class period (47mins). On the second day of the project, we created our abstract watercolor background. You can choose how to create the background but below is a quick video demonstrating how I created their backgrounds. The watercolor background had to be based off of ONE color scheme of their choosing. The following video demonstrates the entire project.
The next 2 days were spent creating zentangle backgrounds. You can either demonstrate how to accurately create certain (popular) zentangles or you can find step-by-step printable sheets online and have the students figure it out themselves. This portion of the project is great for introducing the importance of line variation as well as composition.
After their backgrounds were completed, they drew an animal silhouette of their choice onto black construction paper. Make sure they use white color pencils for this portion. ALSO � Be sure to only give each student HALF a sheet of construction paper. They do not need an entire sheet. Once their animals are drawn out, have them carefully cut out their animal with an x-acto knife. If you care about your tables, you will make sure each kid has a cutting mat underneath their paper before cutting. After their animals are cut out, glue both pieces of paper onto your background in an opposing symmetrical design (see student examples for reference). Then..YOU ARE DONE!
Here are final product student examples
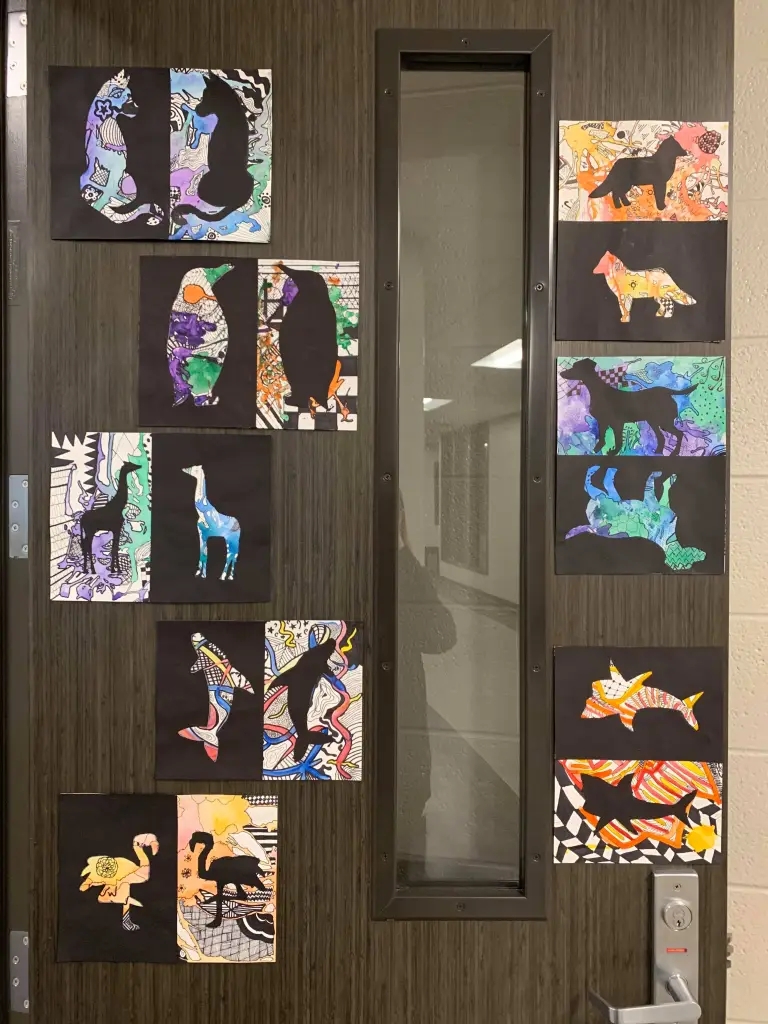
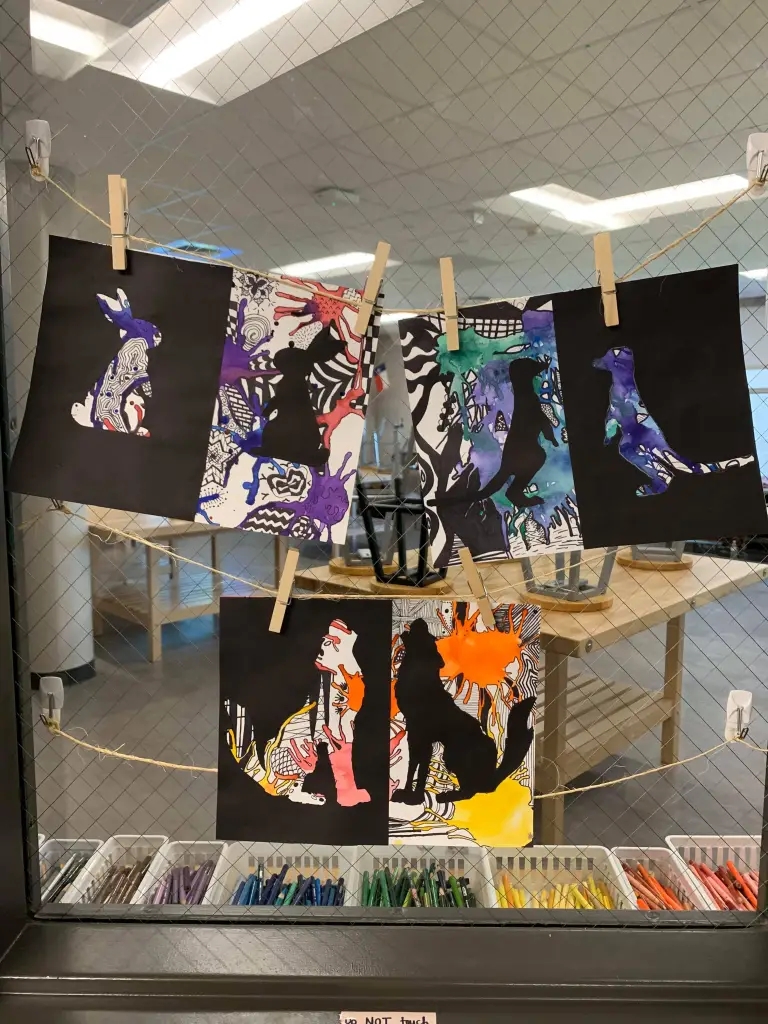 Student samples are from HS Art 1 students