If you know me, you know I�m a big fan of Cricut. So when I found out Cricut was releasing a new heat press I had to try it out. I�ve been wanting to make some Collective Gen shirts...
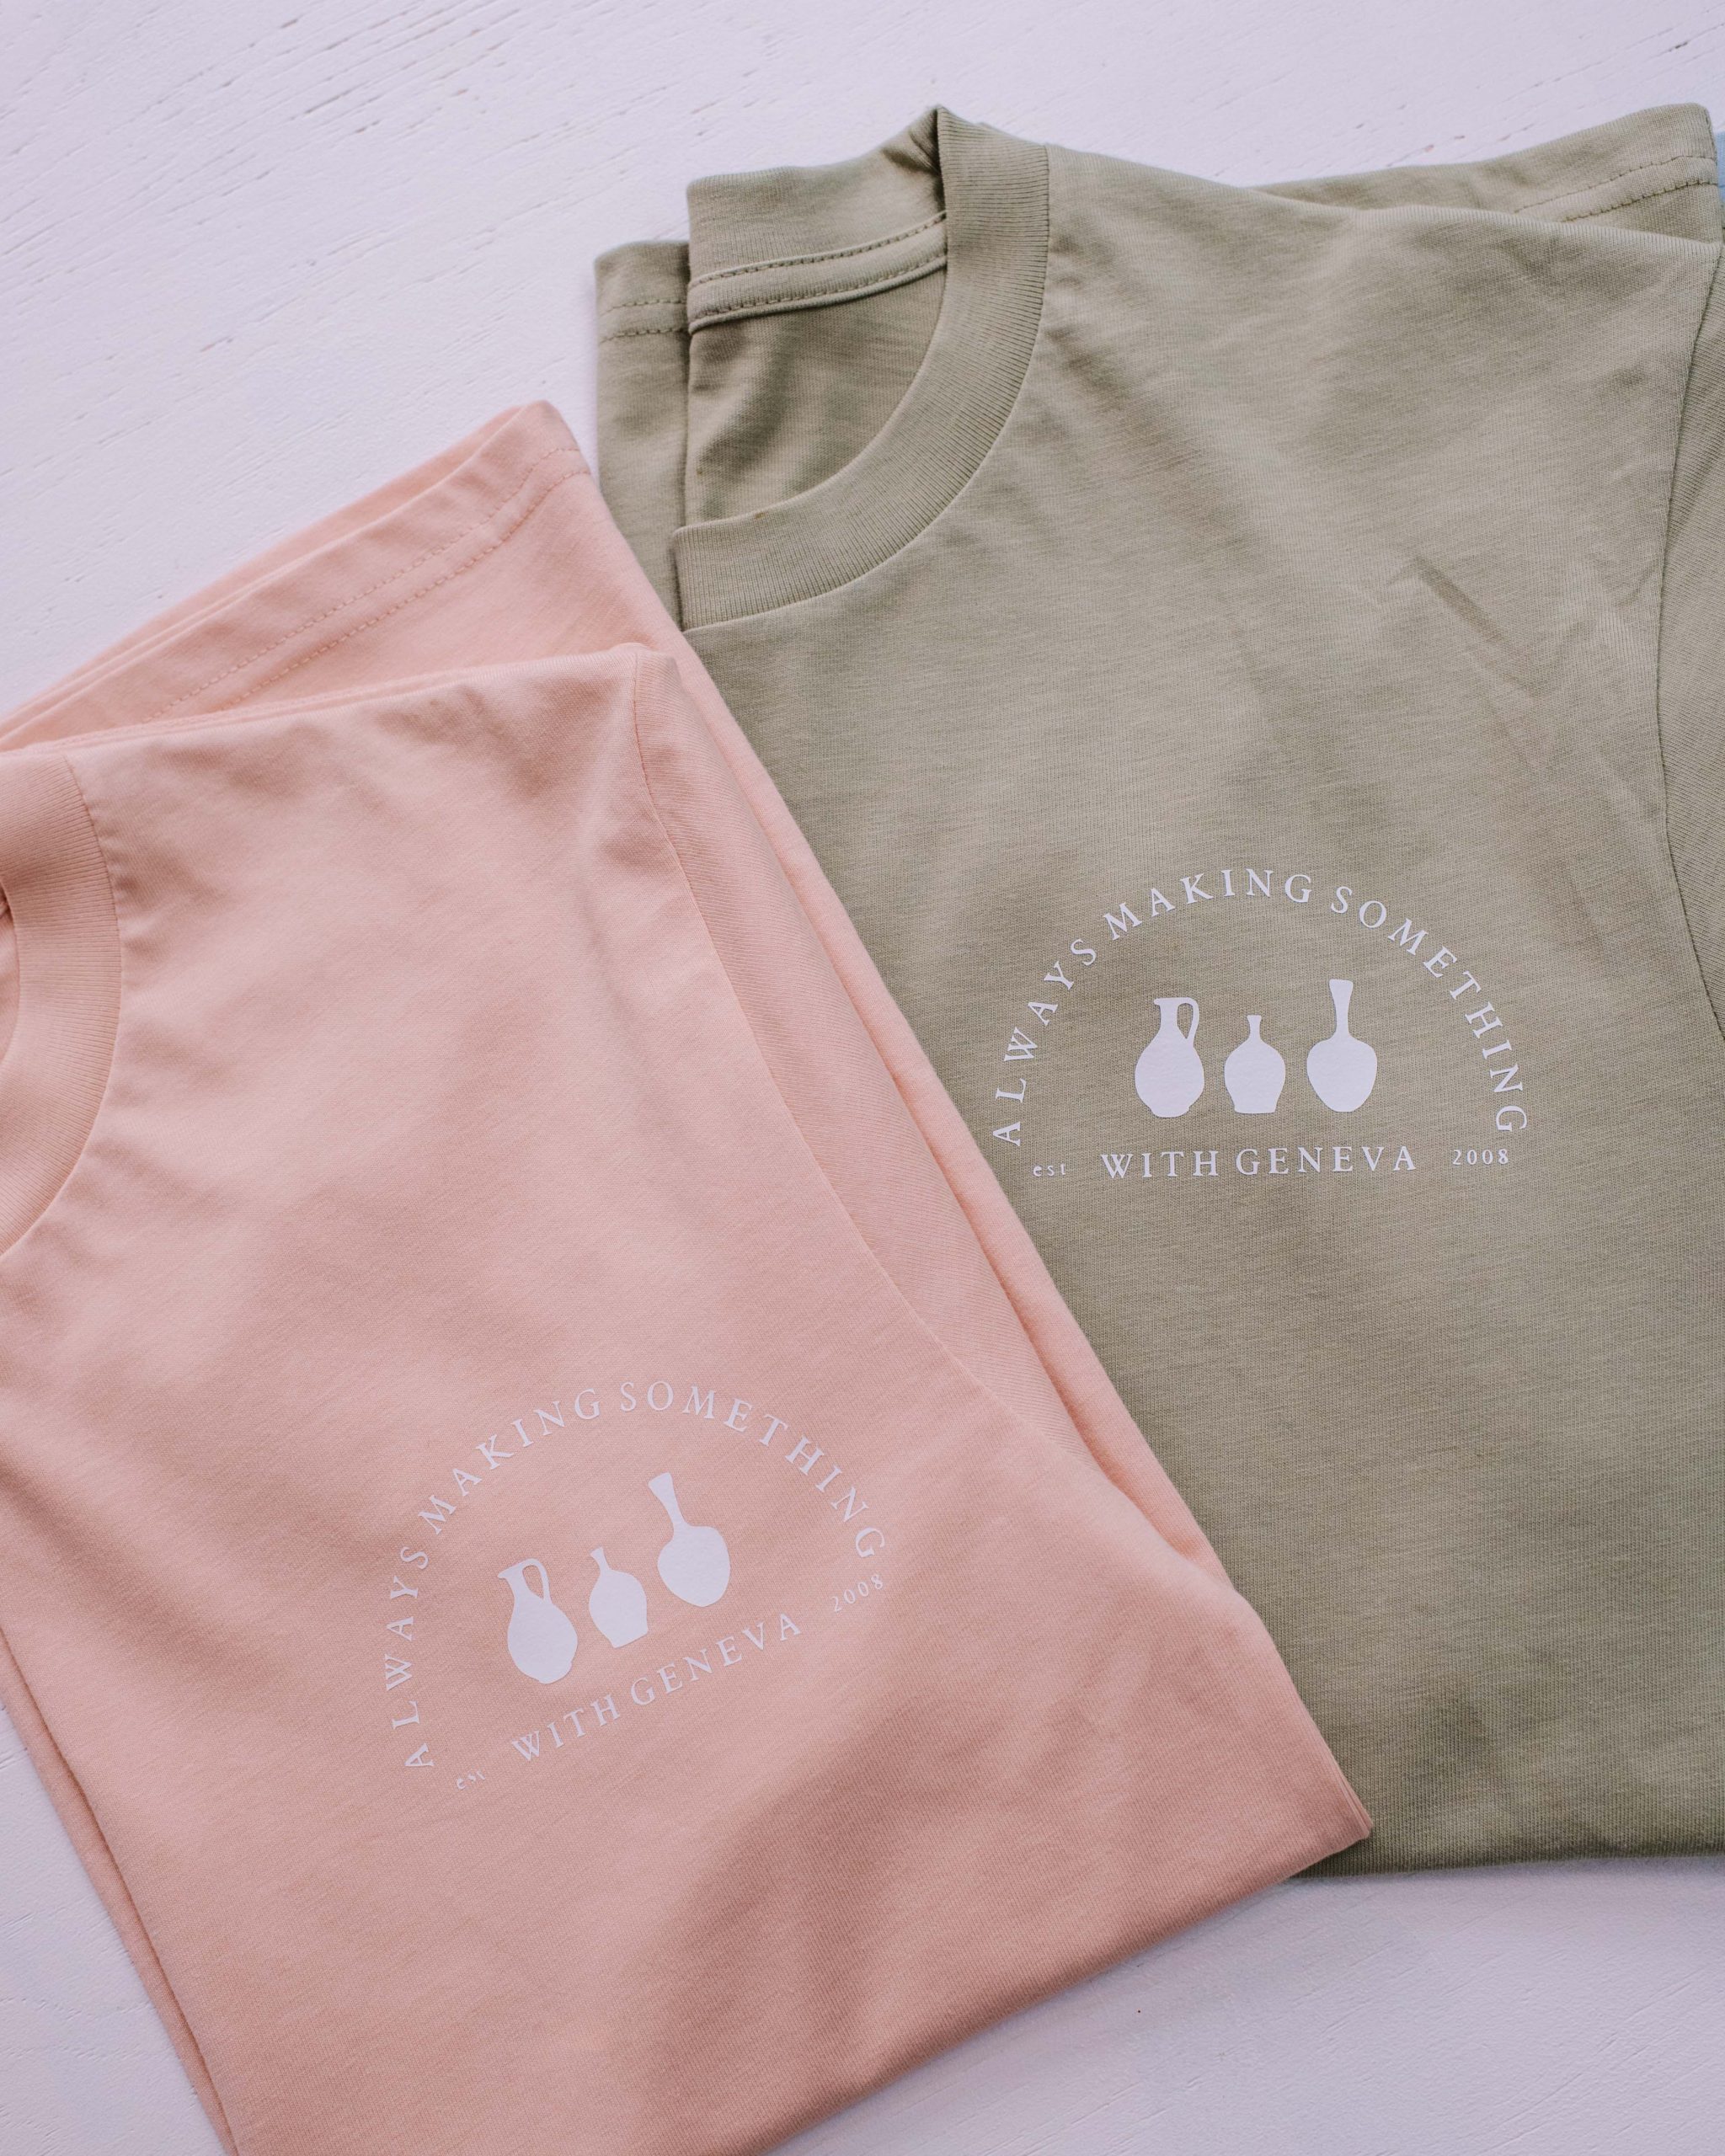
If you know me, you know I�m a big fan of Cricut. So when I found out Cricut was releasing a new heat press I had to try it out. I�ve been wanting to make some Collective Gen shirts for myself and the team for a while now and I figured this would be the perfect tool to use.
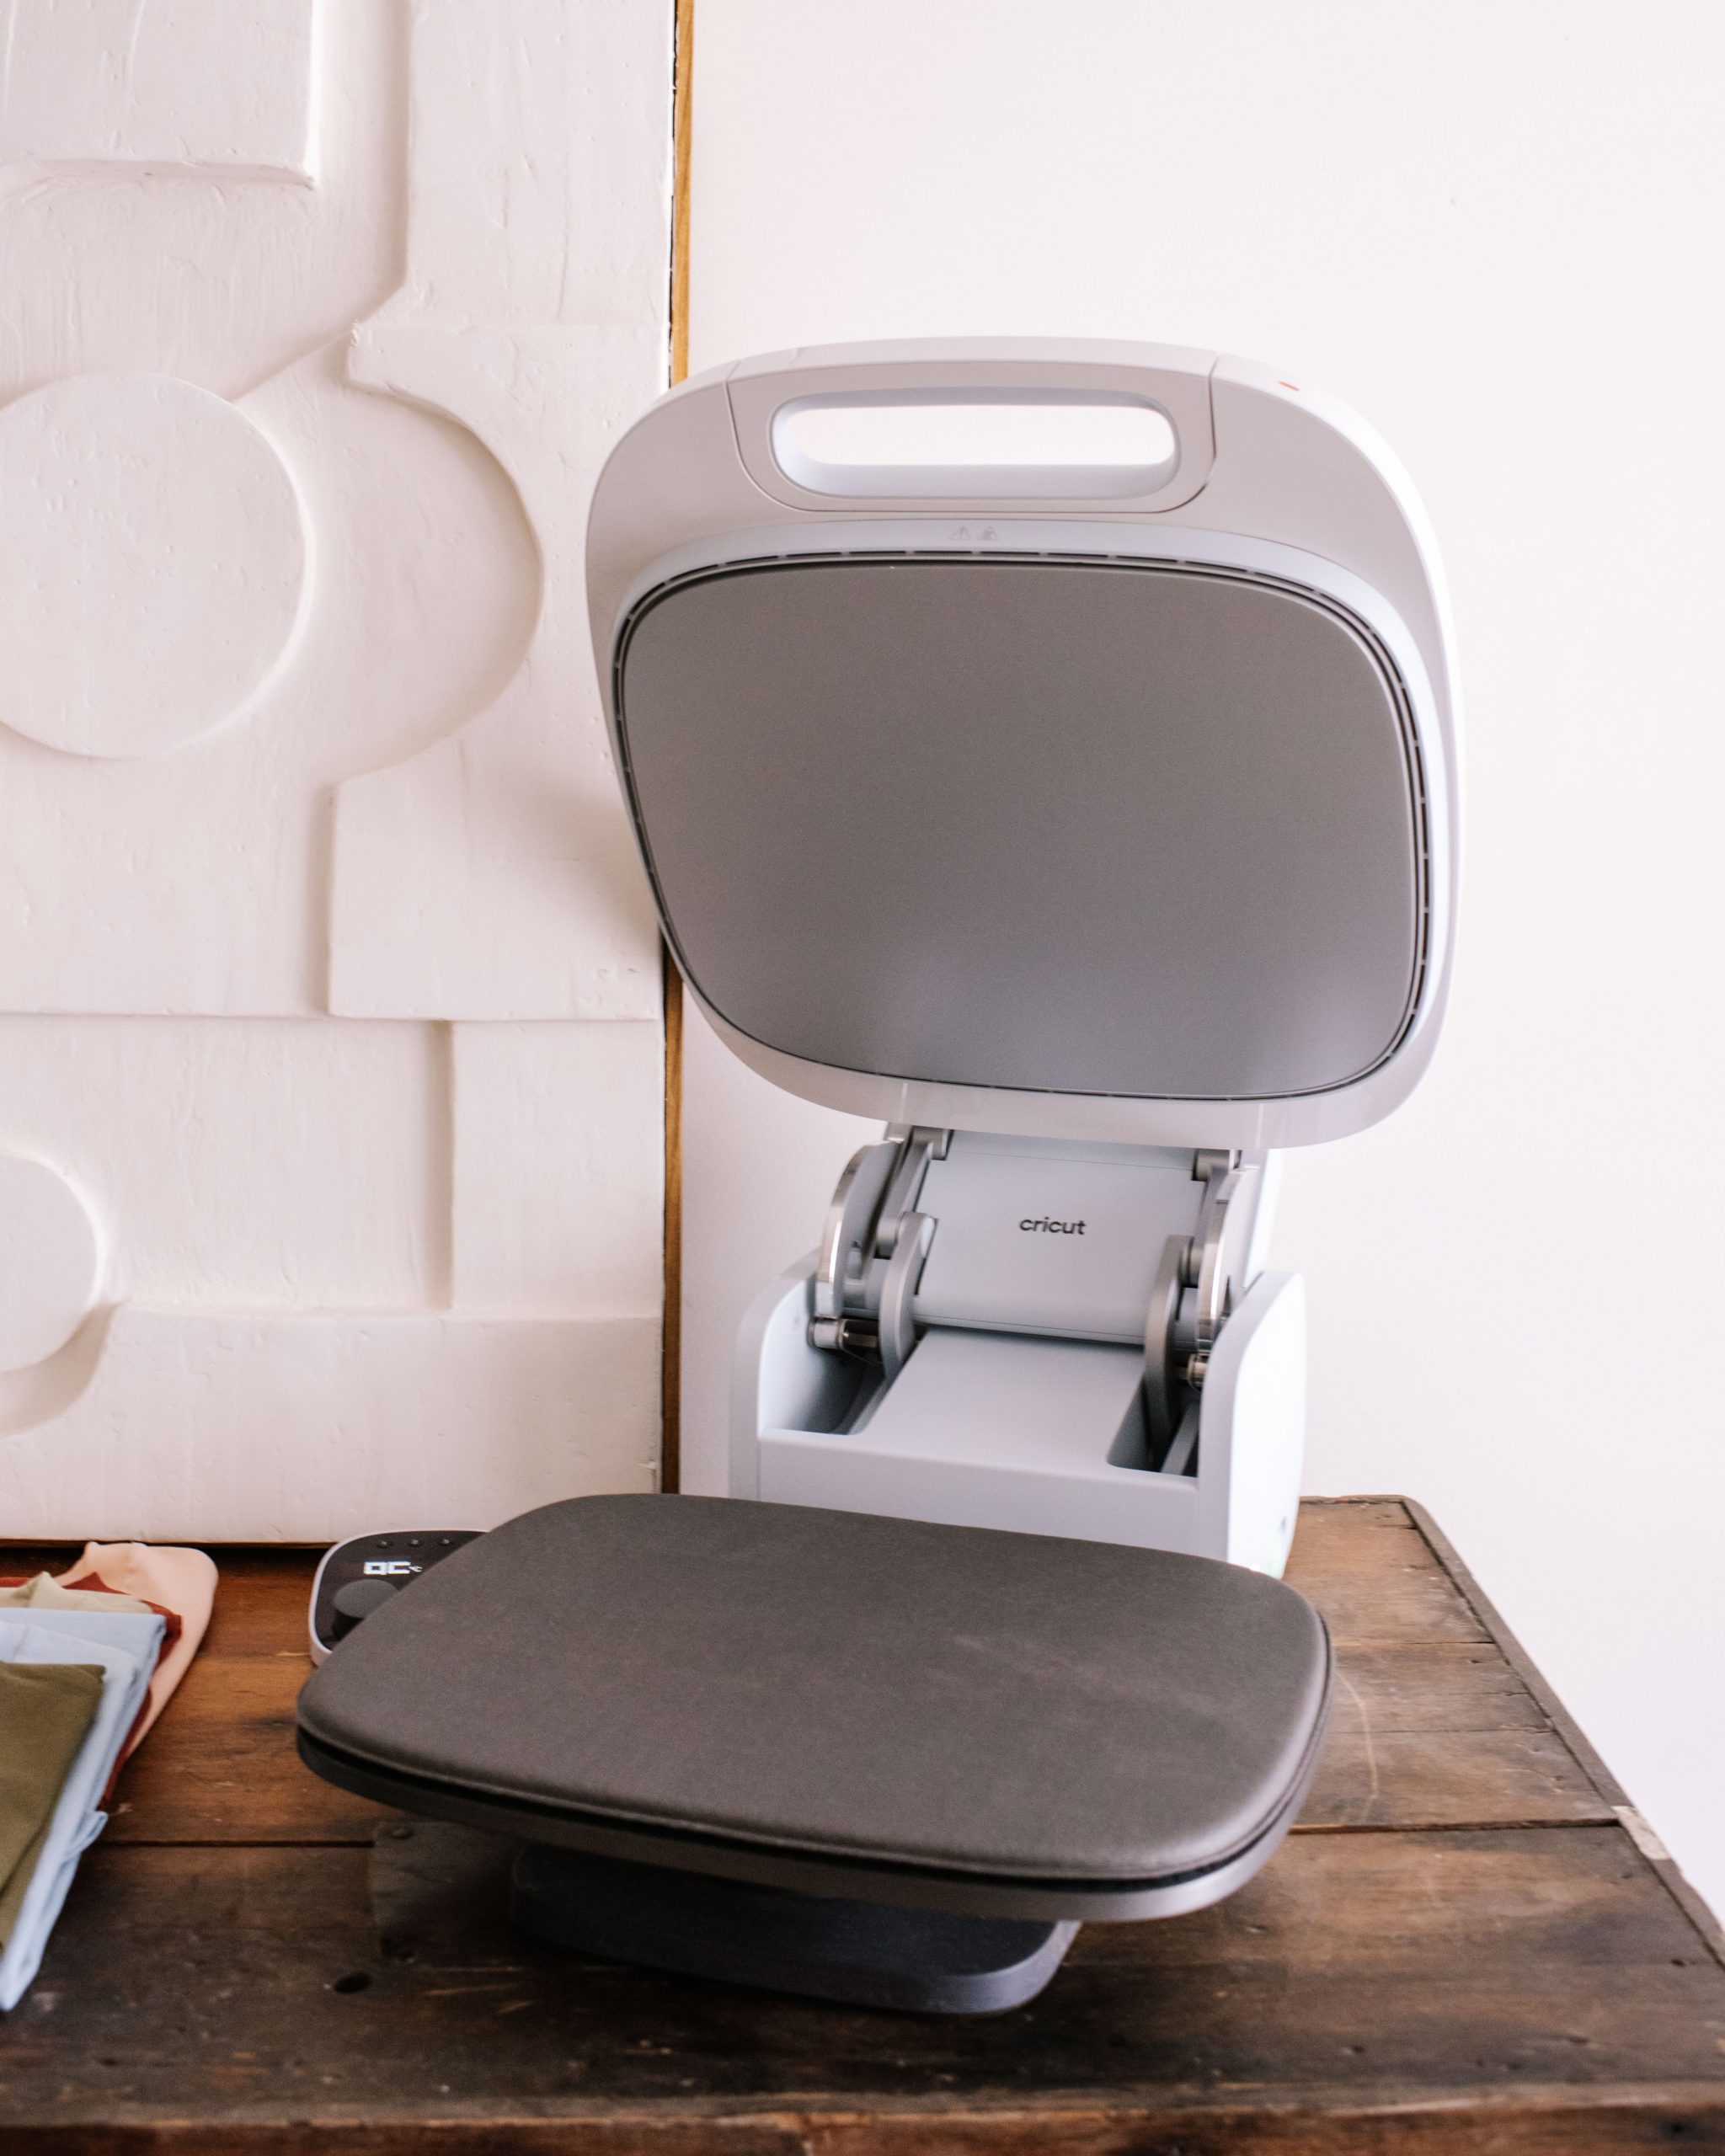
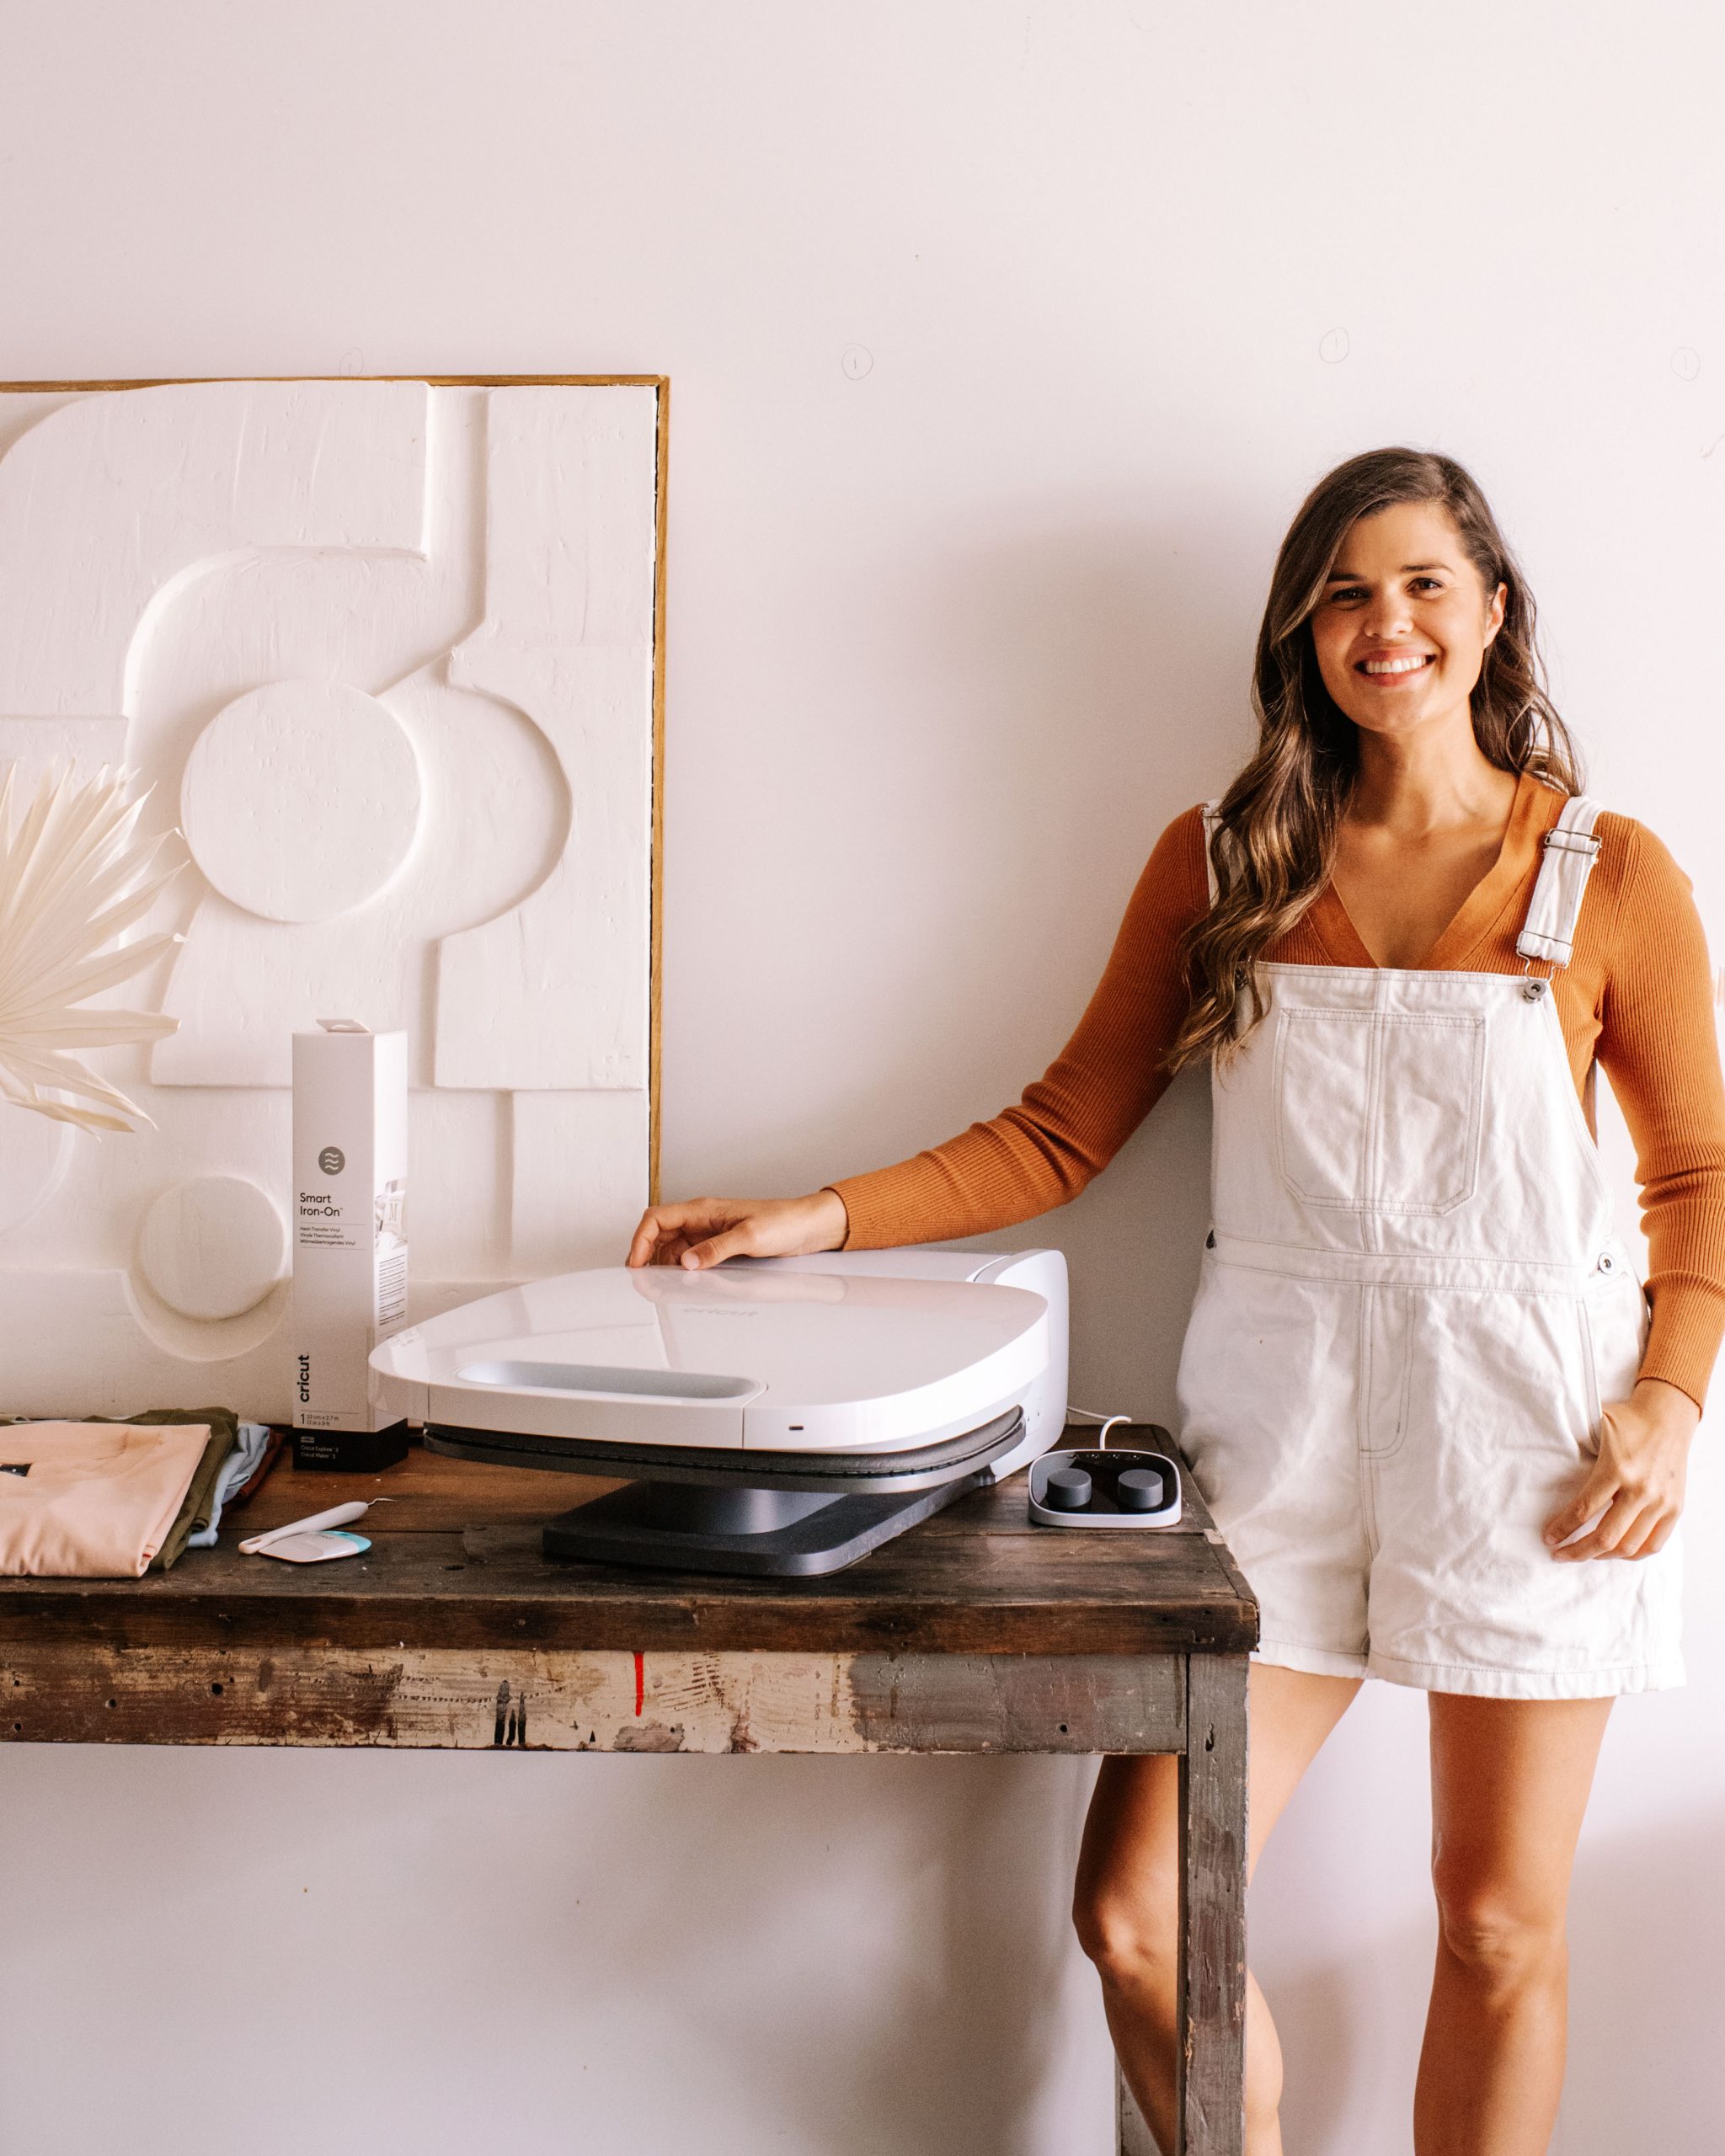
For this project I could have used Cricut�s EasyPress 2 Heat Press, but I was lucky enough to have the chance to try out their new Autopress machine. The Autopress did an amazing job and took half the time.
ďż˝
Cricut�s New Autopress�
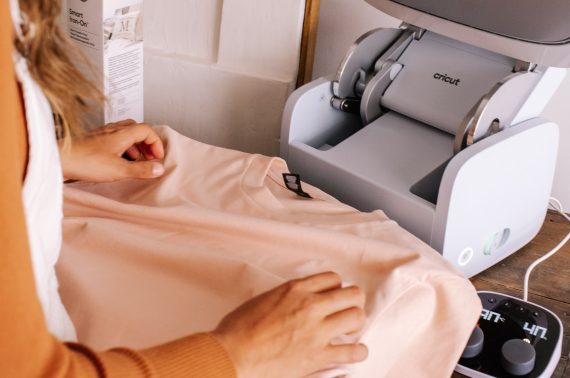
I�ve used my EasyPress 2 and EasyPress Mini so many times in the past to create projects like these table linens and kids backpacks. So when I first heard about the new Cricut Autopress, I knew it would be the perfect machine for creators. The machine design itself is very stripped back and clean looking, it�s something I would be happy to just leave on my craft counter instead of trying to find a spot in the cupboard for it to live. There�s also something very hightech about this machine, for example, it has a motor that automatically engages to measure the thickness of whatever material you�re working with and will calculate and apply the perfect amount of pressure. The Autopress is substantially larger than Cricut�s other heat press products, so it�s a great choice for creating batches of things like the t-shirts we made or even tote bags. Because it�s an investment, I can see this product being really popular with small businesses as it makes the heat-transfer process so much more efficient.
How To Activate Your Autopress
Before you can use the Cricut Autopress,ďż˝ you must activate and register it. Activating Cricut Autopress automatically registers your machine and ensures it has the most up-to-date software and features.
Follow the steps below to activate your heat press.
Remove all pieces, chords and devices from the packaging Connect the USB cable to the micro-USB port on the bottom of the control pod (little black box with dials). Connect the other end of the USB cable to a your computer (Windows or Mac).� Navigate to cricut.com/setup and follow the on-screen prompts. When the activation process is finished, the display will show UPD 100%, and you�ll receive a message on the computer that the pod is updated and registrationis complete. Next, connect the pod into the Autopress. The control pod will use its stored information to activate the press. Update progress will appear on the control pod display. When the update is complete, the control pod display will show UPD 100%, and the press will restart. Your Autopress is now ready to use!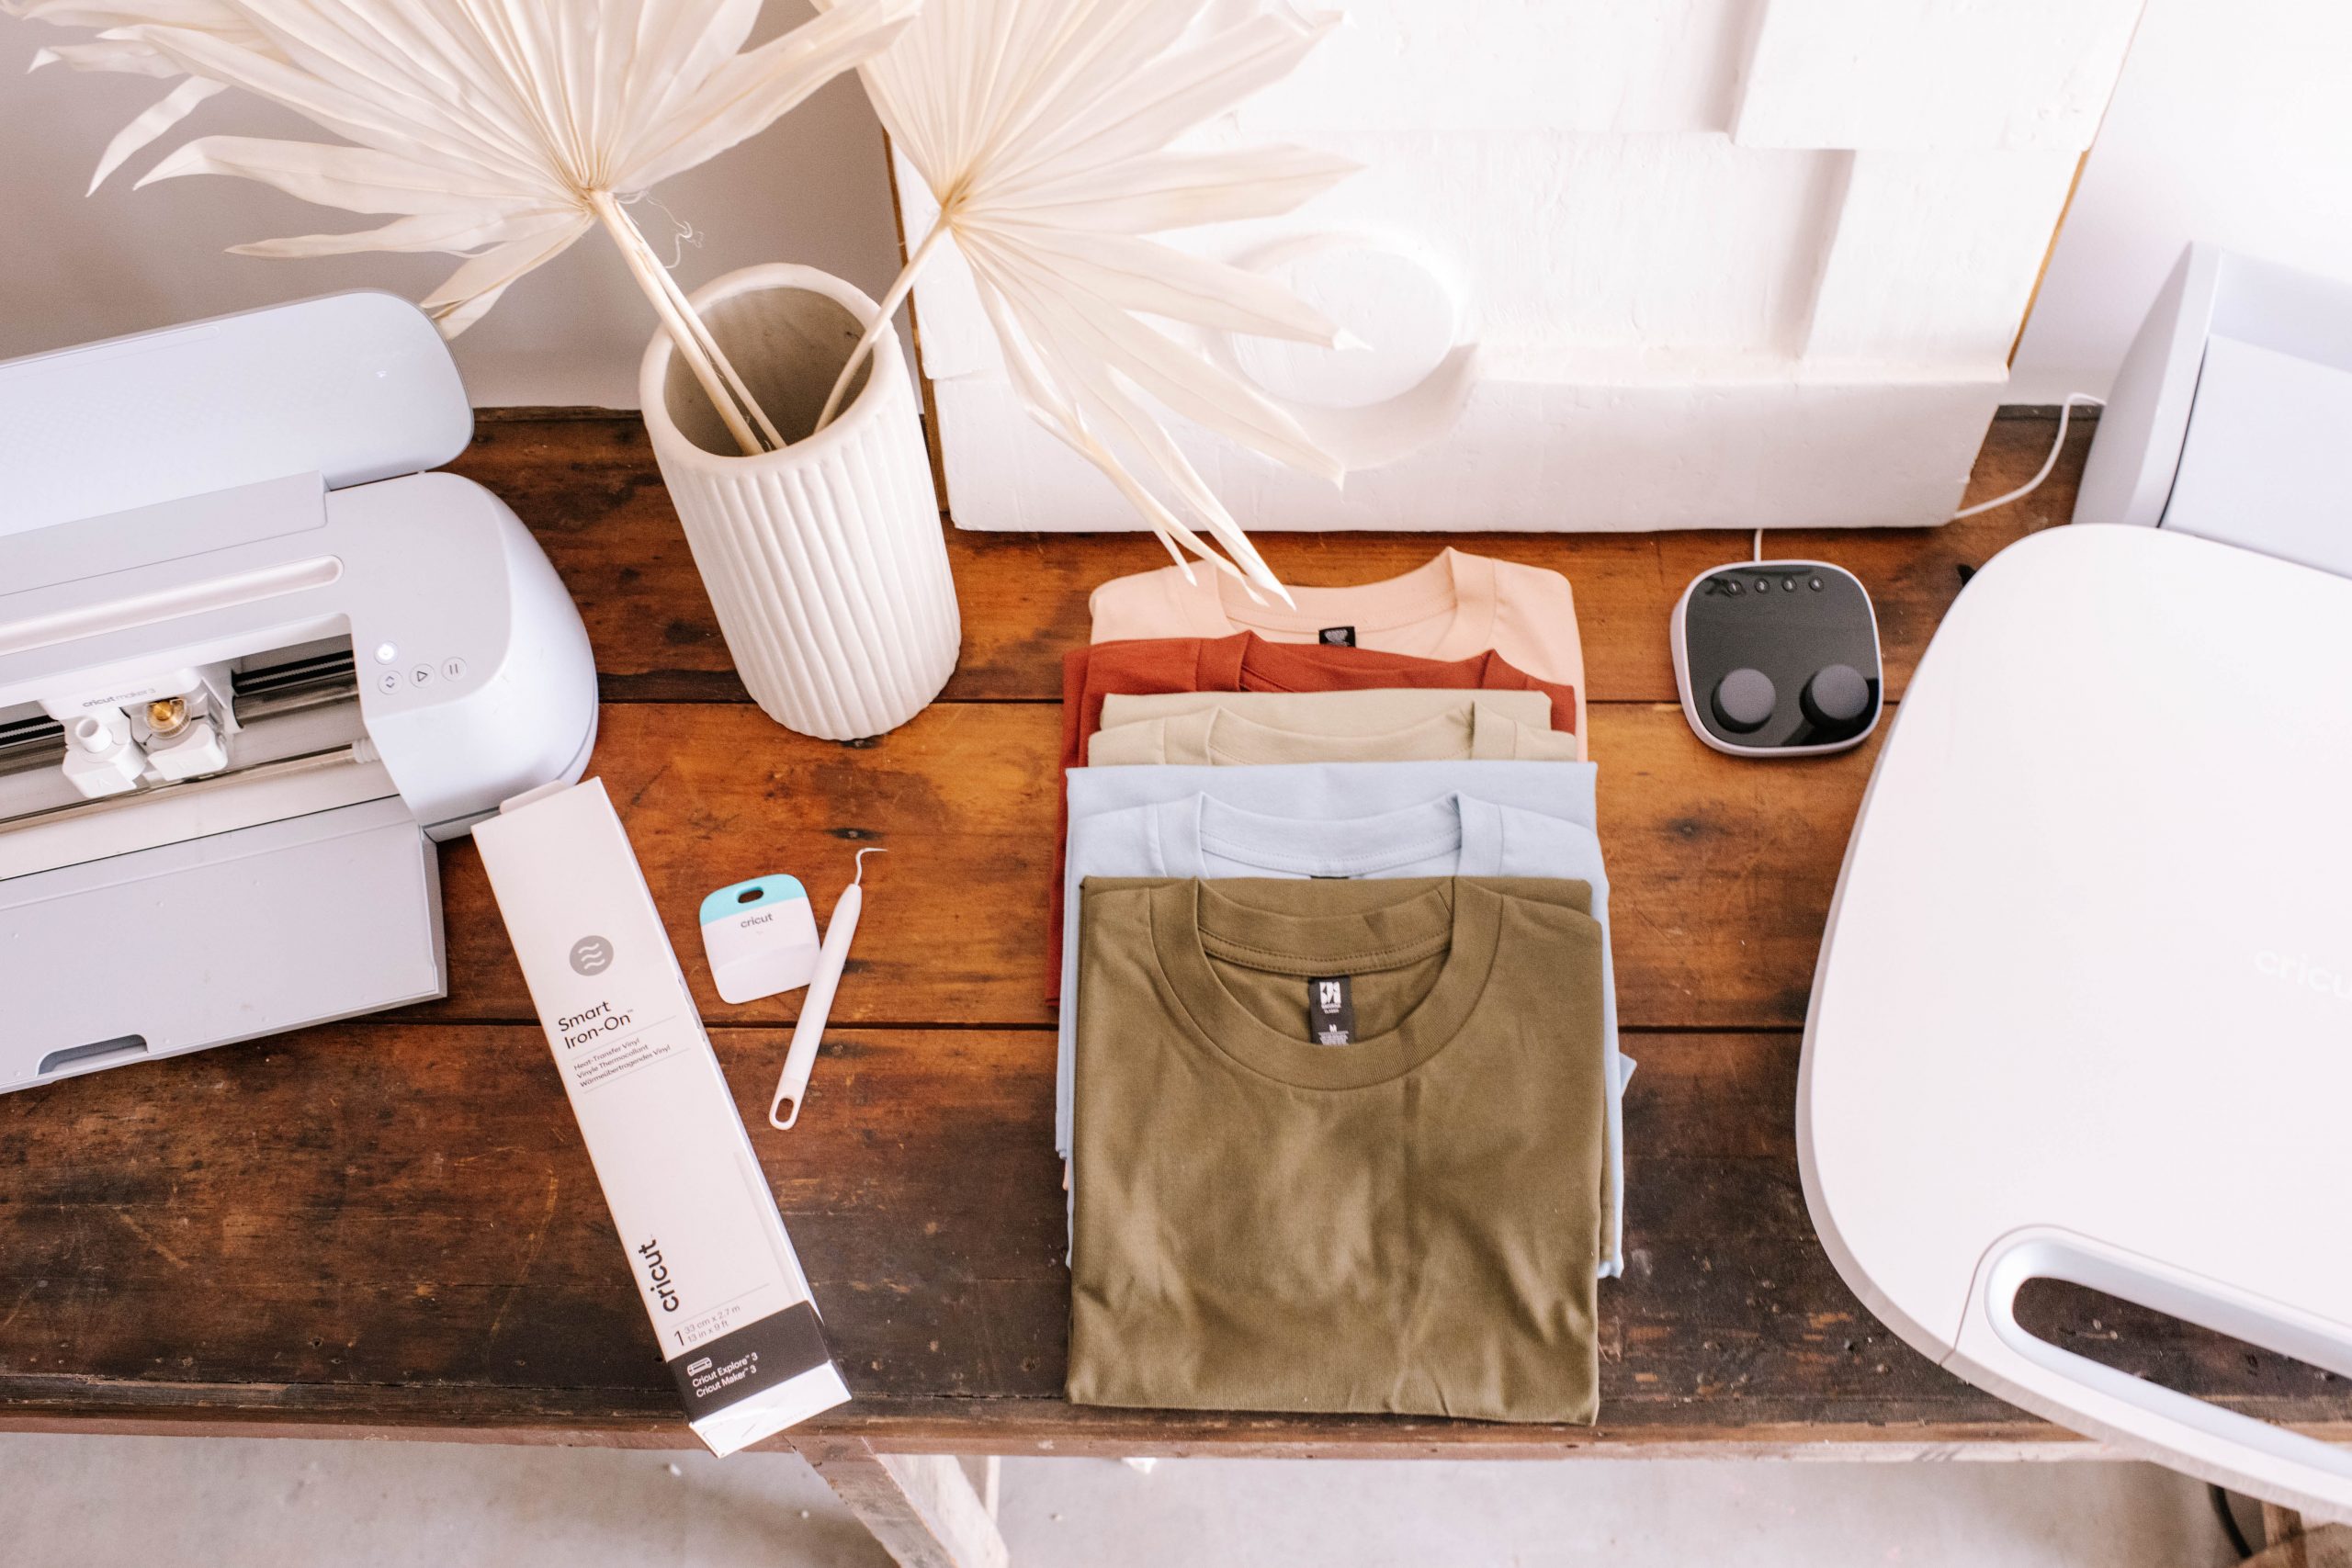
Materials You�ll Need
Cricut Autopress (or EasyPress 2) Plain cotton T-Shirts (these are from AS colour) Smart Iron-On 13 x 36��� Cricut Maker 3 Machine Cricut Weeding Tool Cricut Scraper Tool Cricut Roll Holder for Smart Materials (optional)How To Make T-Shirts Using The Cricut Autopress
7
Start by selecting and setting up your design in the Design Space app. Make sure to turn the mirror option on so that your design is not printed backwards.
8
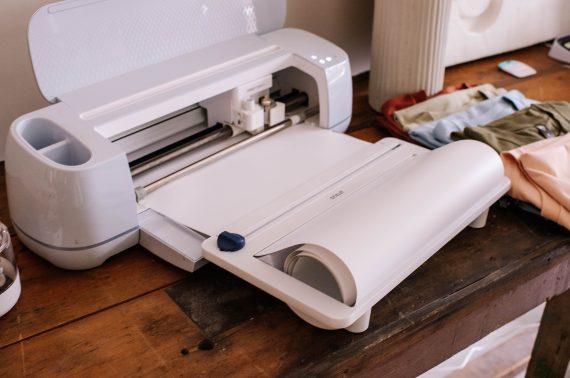
Load your Smart Iron-On material into the Cricut Maker 3 Machine, and press go on your app. This Smart Iron-On material is great because you don�t need a cutting mat. Wait while your machine cuts out the design. Unload your material from the Cricut Maker 3 and you will be able to see it has cut out your design.
9
Using your weeding tool, weed your design to remove all the negative space.
10
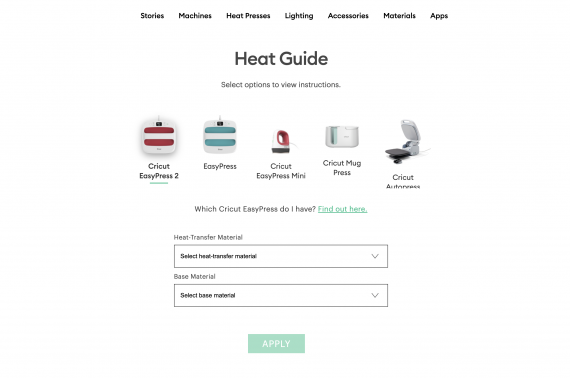
Use Cricut�s Heat Guide to determine what temperature to set your Autopress at so that you can begin to preheat your Autopress.
11
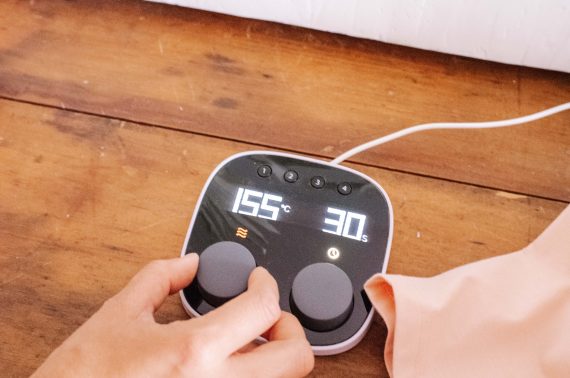
Press the power button on your Autopress, ensure it�s in the open position and set the control pod to your desired heat. I did 155 degrees C for 30 seconds. Keep in mind it takes about 8 minutes for the Autopress to preheat.
12
�Pull down the top of the Autopress, and click the handle. It will then preheat the shirt and will open when finished. Once the Autopress beeps, it means it has fully preheated and is ready to use.
13
Now you are ready to preheat your t-shirt. This will ensure it�s nice and smooth and free of any moisture that may affect the heat press.Lay your shirt smoothly on the Autopress mat and ensure the area which is on the mat is the area which you will be applying your design to.
14
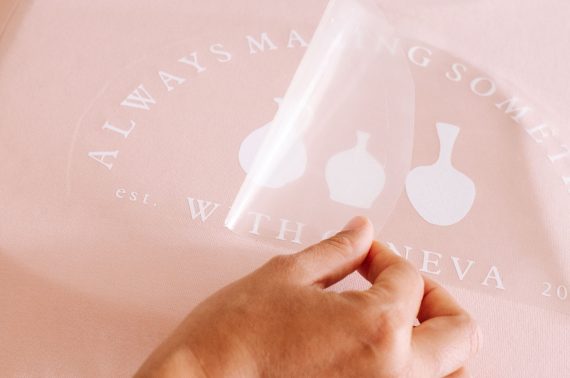
Once the t-shirt is preheated, you will now need to carefully lay your weeded design onto the t-shirt exactly where you want it (sticky side down).
15
Then pull down the top of the Autopress and allow it to work its magic, like before, it will automatically open after the allocated time has finished.
16
Once the Autopress has opened, you may remove the t-shirt, but do not pull off the carrier sheet until it has fully cooled to ensure you get the best outcome.


ďż˝
ďż˝

I�m so happy with how these turned out and had so much fun learning how to use the new Autopress!
This post is in collaboration with Cricut.
The post Making T-Shirts With Cricut�s Autopress! appeared first on Collective Gen.


