Linen. Wrap. Skirt. Need we say more? A great in-between season wardrobe addition that would be a great paired with a white button down shirt for summer, or as the weather cools layered with tonal knits.�The pattern for this...
Linen. Wrap. Skirt. Need we say more?
A great in-between season wardrobe addition that would be a great paired with a white button down shirt for summer, or as the weather cools layered with tonal knits.�The pattern for this skirt is modelled off a one you already own, and the beauty of this wrap style is that the fit is very forgiving so your pattern doesn�t have to be 100% perfect to the millimeter. We like that!
For best results, start with an a-line mini skirt that doesn�t have any stretch to it, a denim skirt is a good option you�ll likely have in your wardrobe. The other pro for this tutorial is that it is free of zips and buttons, all you really need to create it is some great fabric and your sewing kit � perfect if home isolation has kept you from the fabric store lately!

�
What Fabric To Choose
Linen works wonderfully for this style (this is what we opted for), the structure in the material holds up well and who chose a neutral colour which compliments this safari inspired style really nicely. But you can go for any colour! Corduroy or cotton drill could be equally as cool, what you want to look for is a fabric that holds shape well, so that it�s not too clingy and maintains the somewhat structured silhouette.
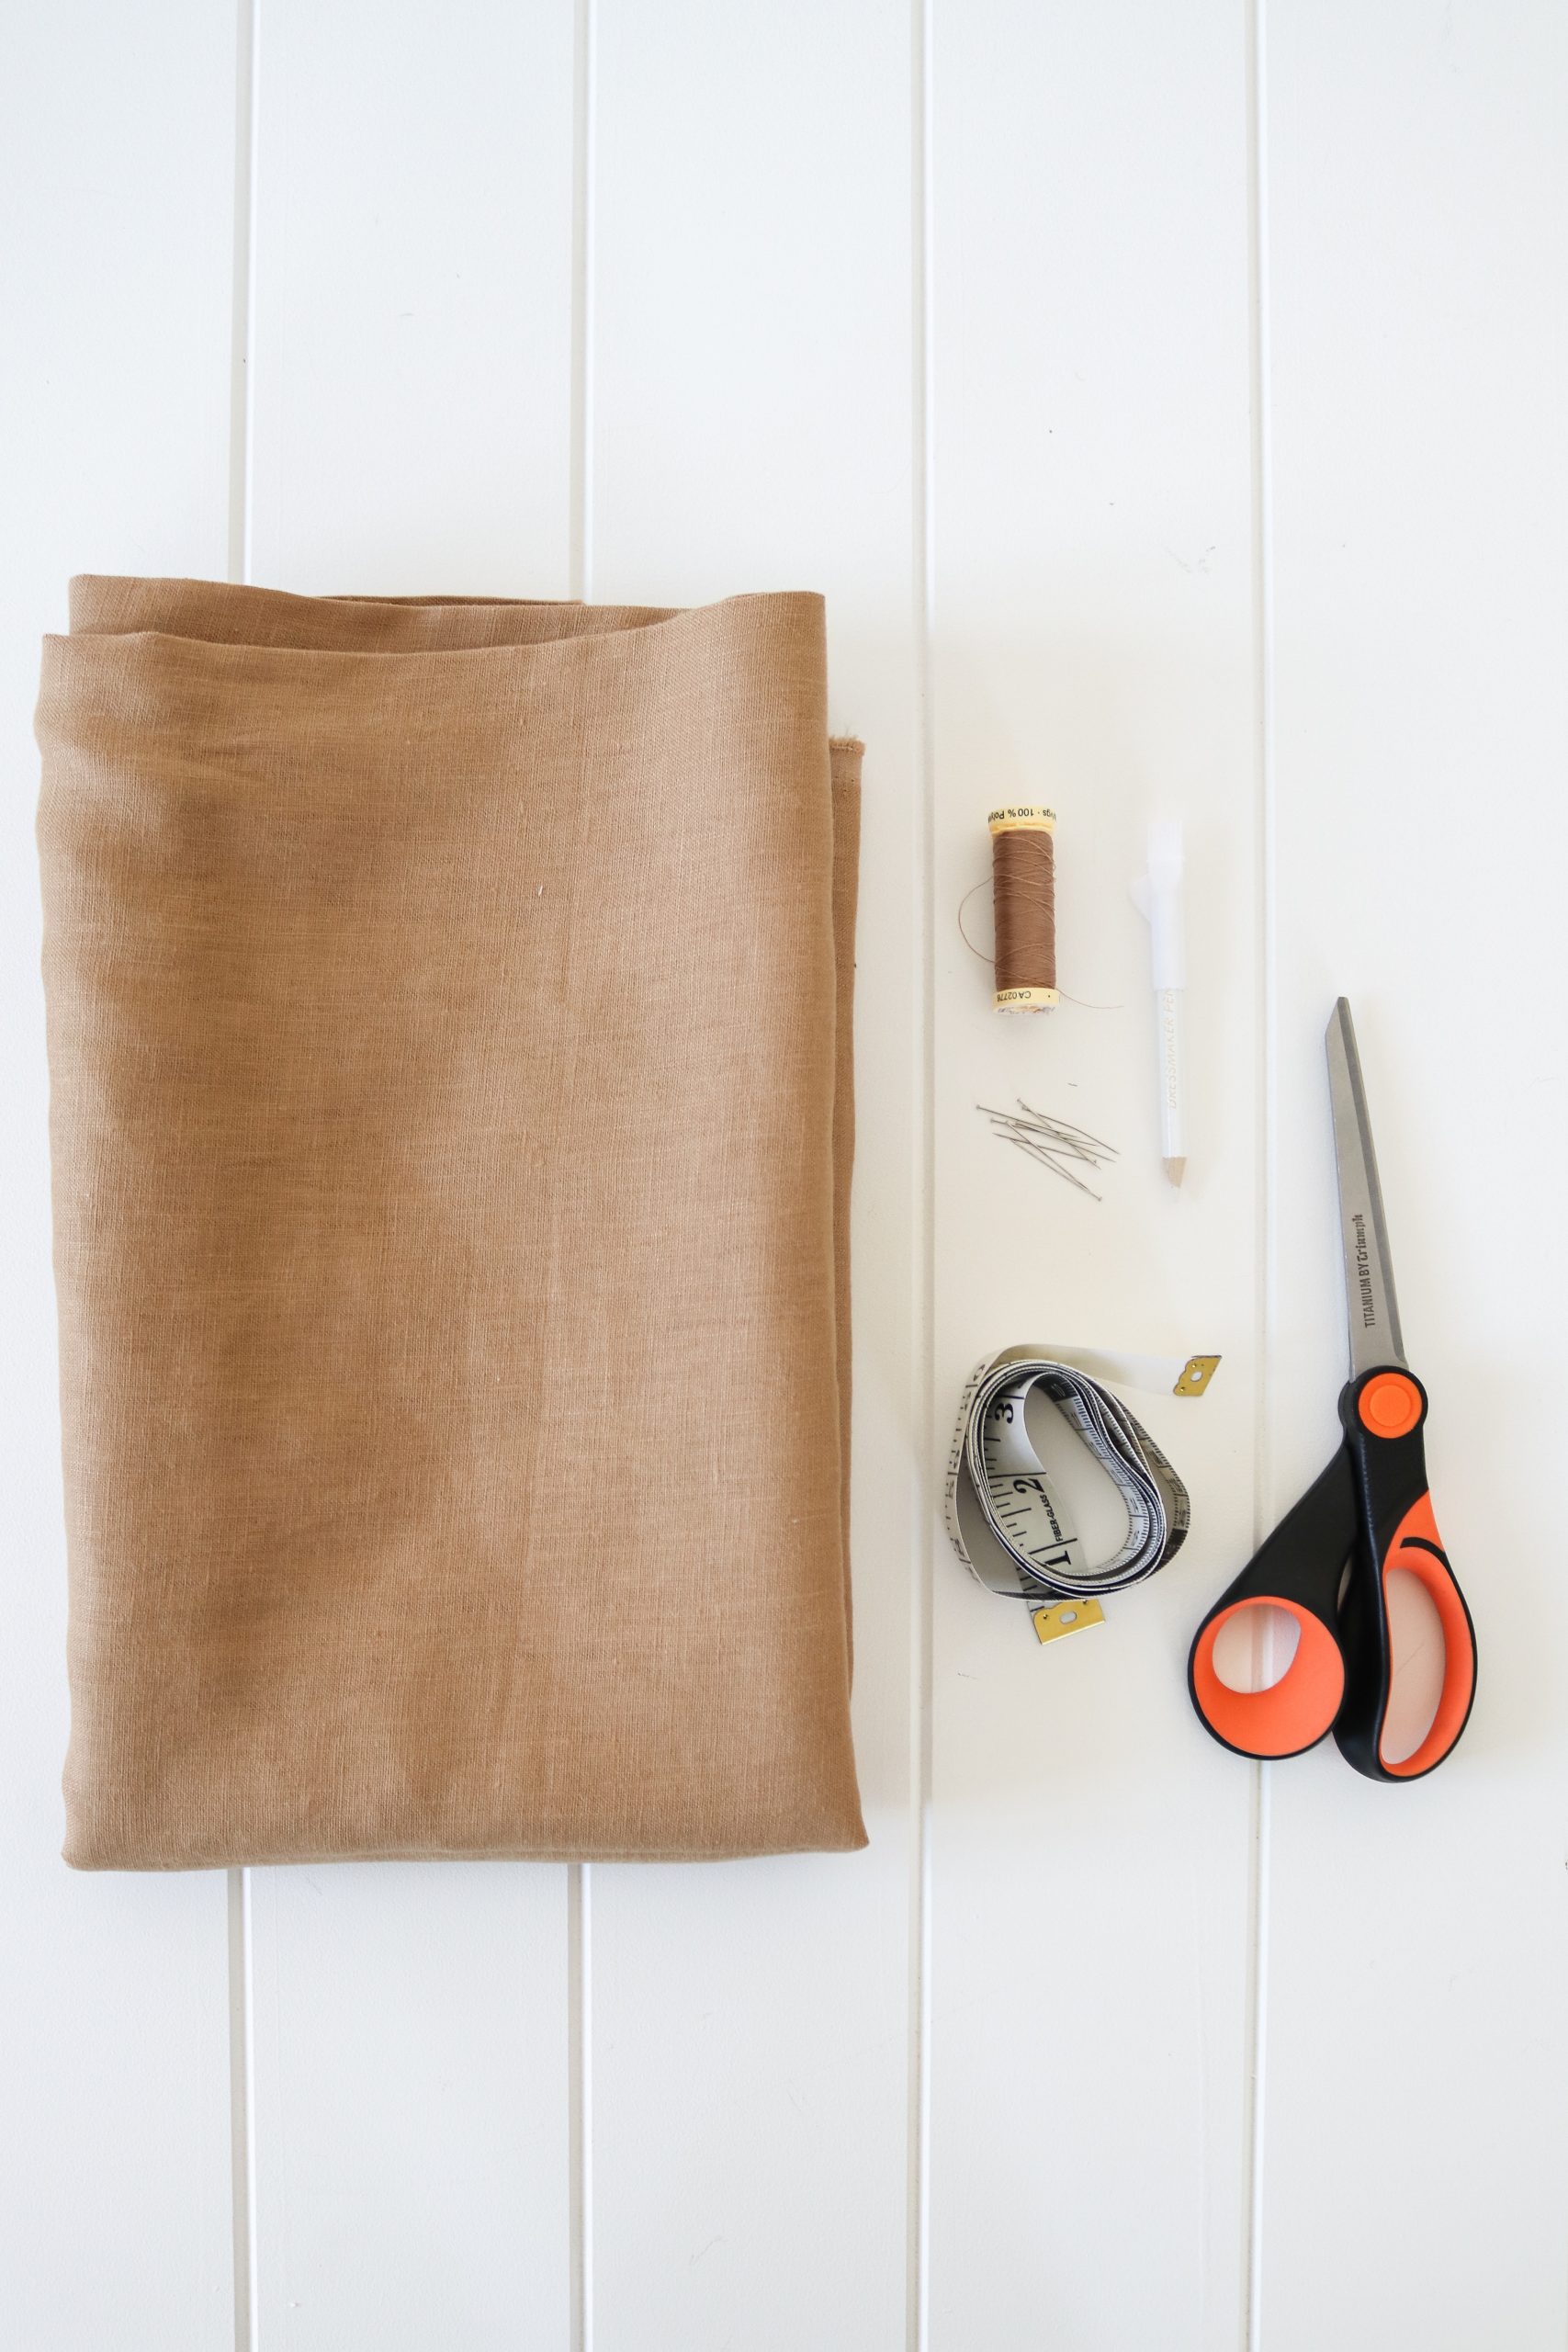
You will need
An a-line skirt you already own 1-1.5m fabric Matching thread Ruler/dressmaker�s measuring tape Dressmaker�s pins Chalk or pencil An iron and ironing boardSewing Tutorial For Linen Wrap Skirt
17
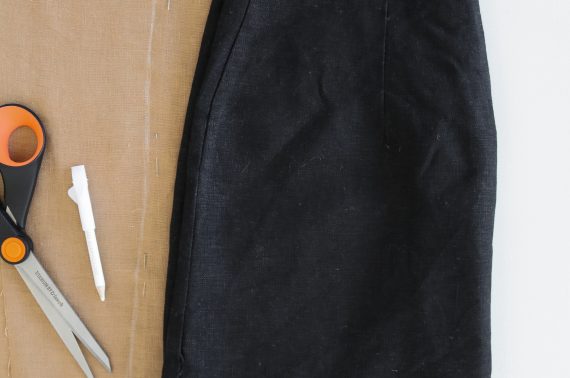
To create the right sized skirt for you take one that you already own, fold it in half and place it along a folded edge of your fabric. Trace around the edge, adding a 1cm (half inch) seam allowance to the side, 2cm (1 in) to the top and 3cm (1.5 in) to the hem. When you trace the sides also add additional width to create a dart on either side.
18
Position your darts at the halfway point of each side (so they are a � width in from the side edges). Pin and sew the darts in place.
19
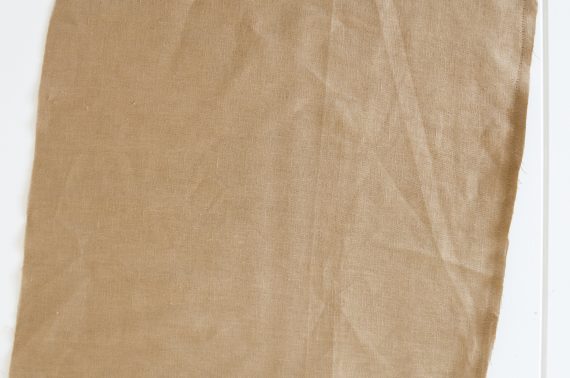
Fold your excess fabric so that there�s 2 layers, we�re going to use the back panel we just created as a template for the front wrap panel. As we want this front wrap to overlap on an angle, fold your back panel away from the bottom corner to create a diagonal line. You can eyeball your desired angle, or we measured and started our fold � of the way along the bottom edge.
20
After you have traced and cut out the front panels, pin them together (right sides facing in). Sew along the diagonal edge, leaving 5cm (2 in) open at the top, then sew along the bottom edge 3cm in (1.5 in). Trim excess fabric away from the hem.
21
Cut out the front inner panel by once again using your back panel as the template. This time only one layer of fabric is needed.
22
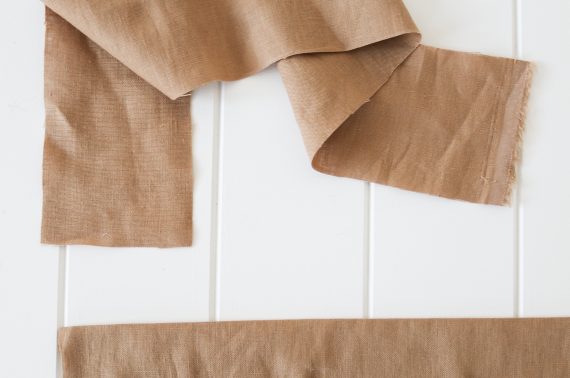
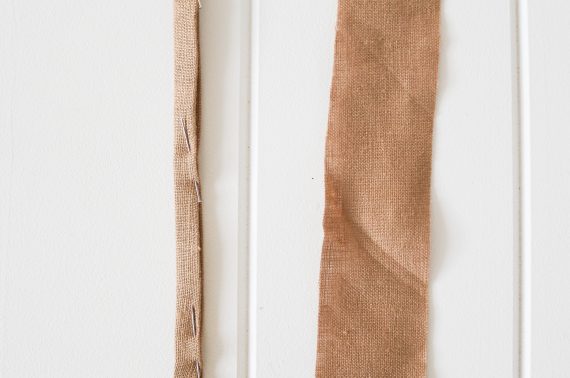
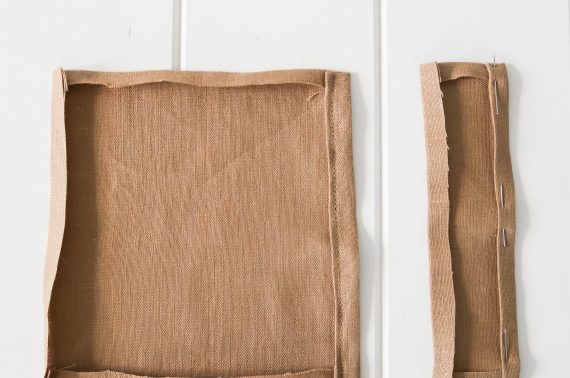
For your wrap ties cut two 10 x 85cm lengths (4 x 33 in). Fold them in half along the length, then iron flat and pin in place. Sew along the long raw edge and along only one of the short sides.
23
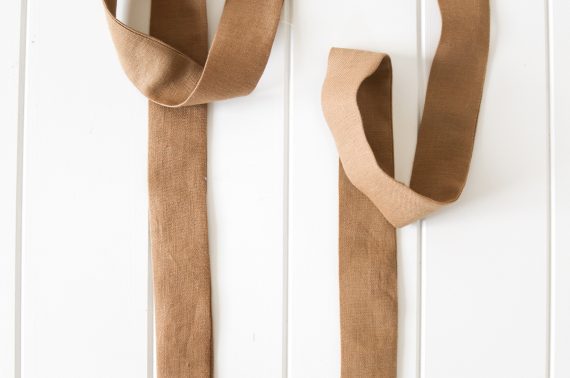
Turn the ties inside out through the open end, and iron flat.
24
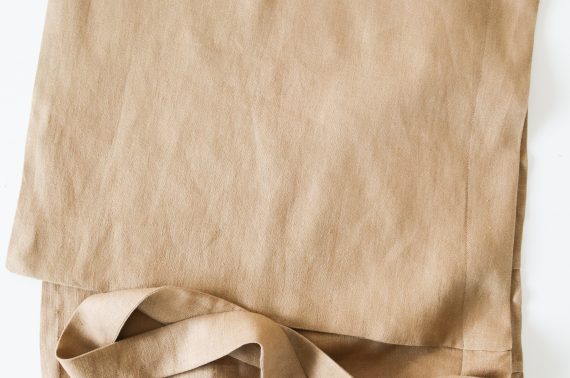
Taking the back panel and front inner panel, face the right sides together and match up the long sides. Insert one of the ties (raw end first) between the two layers, positioning it 2cm from the top. Pin in place the sew along the long edge. Finish the raw edges using either a zig zag stitch.
25
Now we�ll secure the other tie to your front panel. With the right sides of the fabric still facing in, place the tie in between the two layers where you left the 5cm gap in step 4.
26
Pin along the top edge and sew with a straight stitch, making sure that the tie is tucked out of the way inside.
27
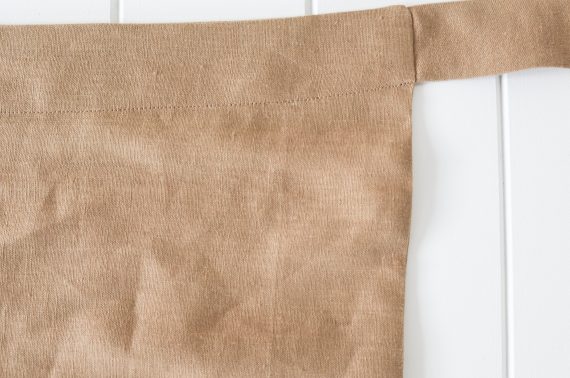
Note- This step is optional but adds a nice detail to the front of the skirt. Measure and discreetly mark a line the same width of your tie along the top of the skirt then sew along this line with a straight stitch.
28
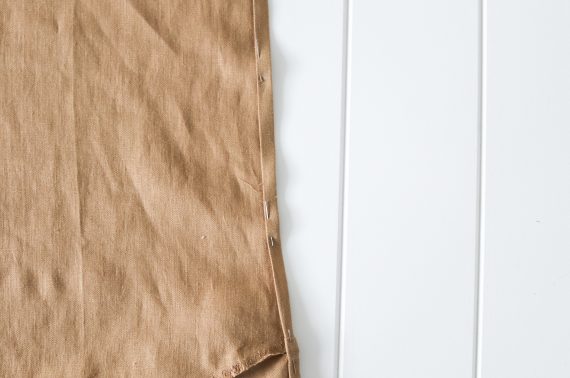
Before we attach the front panel we just worked on to the rest of the skirt we�ll finish the edges of the other sections. To close the waistline make a .5cm (� in) fold along the top edge towards the inside of the skirt. Iron flat, then fold over once more, this time 1cm (� in) thick. Again, iron flat and pin before sewing to secure using a straight stitch.
29
Hem the bottom edge and the open end of the front inside panel using the same folding method above. Although for these two edges measure your first fold 1cm in (� in), then your second fold 2cm (1 in) in to create a wider band.Tip - as you create the bottom hem double check the length of the skirt against your front panel. If necessary adjust the fold measurements above to ensure that the skirt length is even.
30
Attach the front panel to the rest of your skirt by aligning the raw edges of both sections together along the long sides, with the right sides facing in. Pin along the edge before sewing with a straight stitch. Finish with either an overlocker or zig zag stitch.
31
To hold the inside front panel in place when wearing the skirt, create two ties by cutting out two 25 x 4cm rectangles. Fold and iron 1cm in from each edge, then fold in half longways and pin. Sew along the open long edge so that it sits flat like a ribbon.
32
Attach these to the inside of the skirt - one at the top corner of the inside panel (on the open side) and the other to the opposite inside hip seam.
33
To create the front pocket, lay your skirt flat and measure out your preferred size. We decided to create ours as a 18 x 18cm (7 x 7 in) square (inclusive of 1cm (� in) seam allowance around all edges). Cut a rectangle for the top flap to the same width, and a quarter of the height.
34
Fold and iron 1cm (� in) in from each edge, although on one edge, fold over twice and pin in place. Sew over this pinned edge, these finished edges will be the opening of your pocket. On the top flap only, also sew the side edges.
35
Pin the body of the pocket in place on the front of the skirt, so that the bottom edge runs parallel with the hem of the skirt. Using a straight stitch sew along the sides and bottom of the pocket to secure them to the skirt. Then pin the top flap of the pocket above, and sew along the top edge.


Editors Note: If you like wrap skirts, you might like this pompom hem skirt, this rounded hem mini and this gingham midi skirt.
The post Make This Pocket Front Linen Wrap Skirt! appeared first on Collective Gen.


