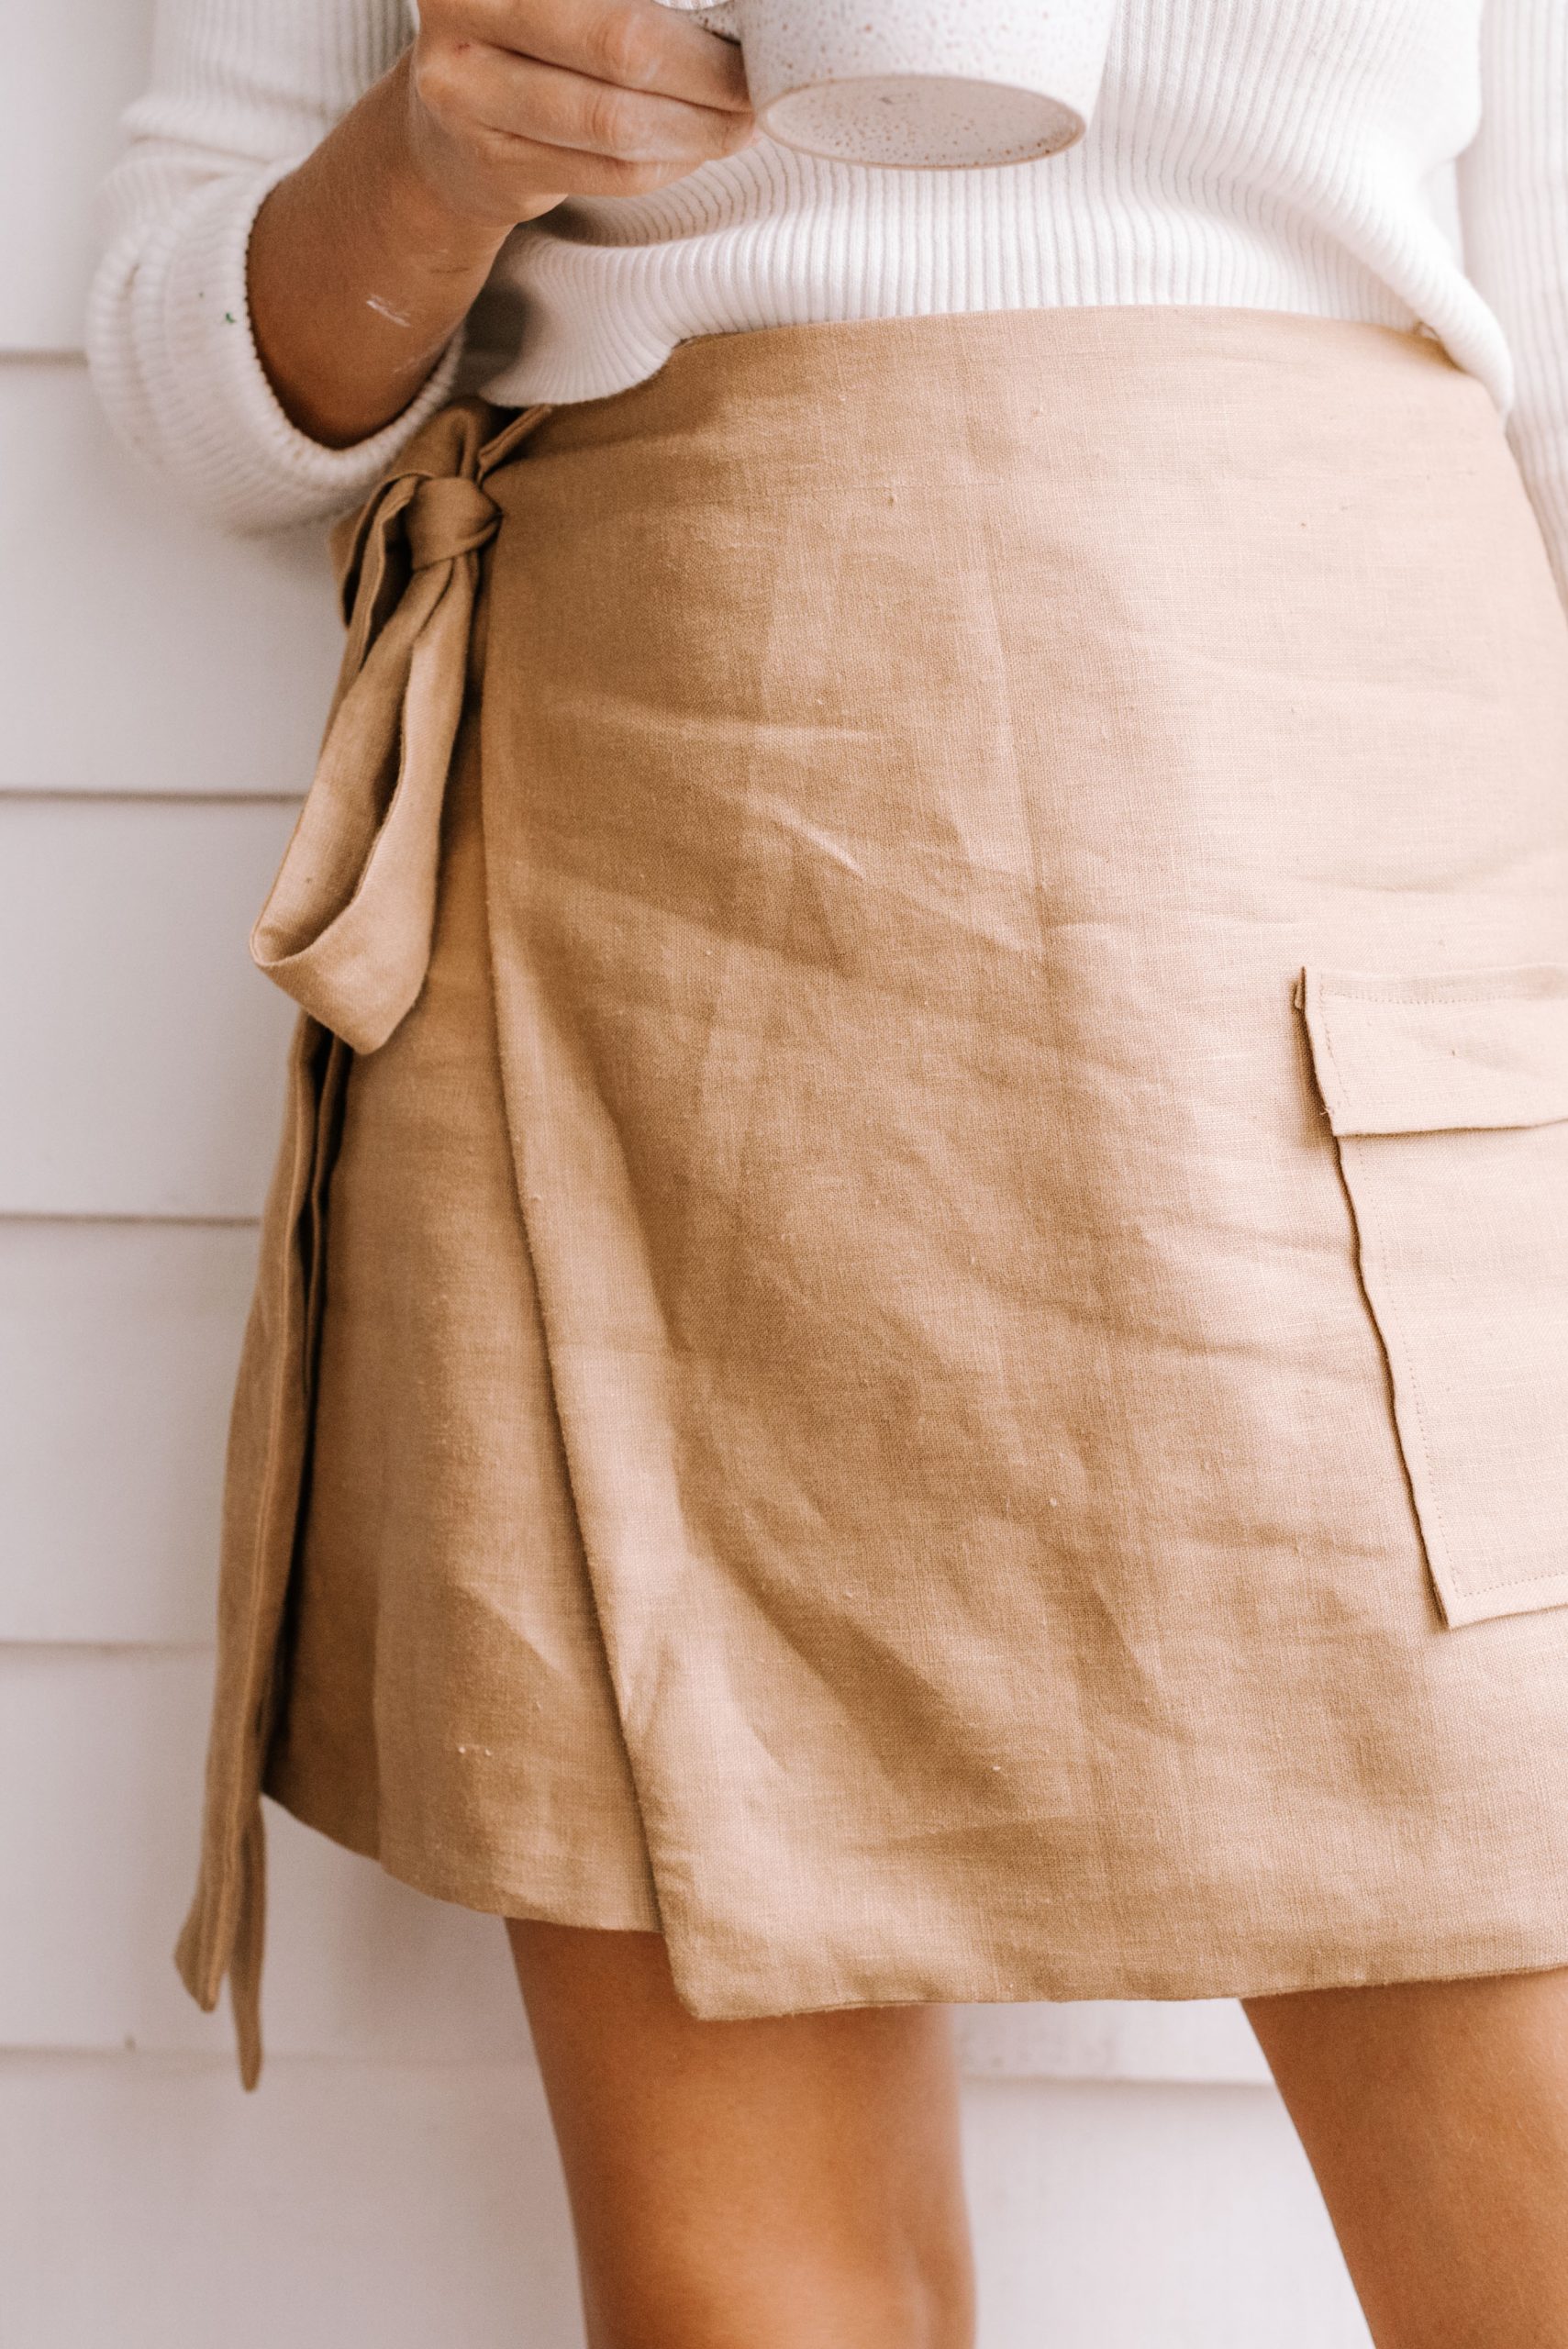
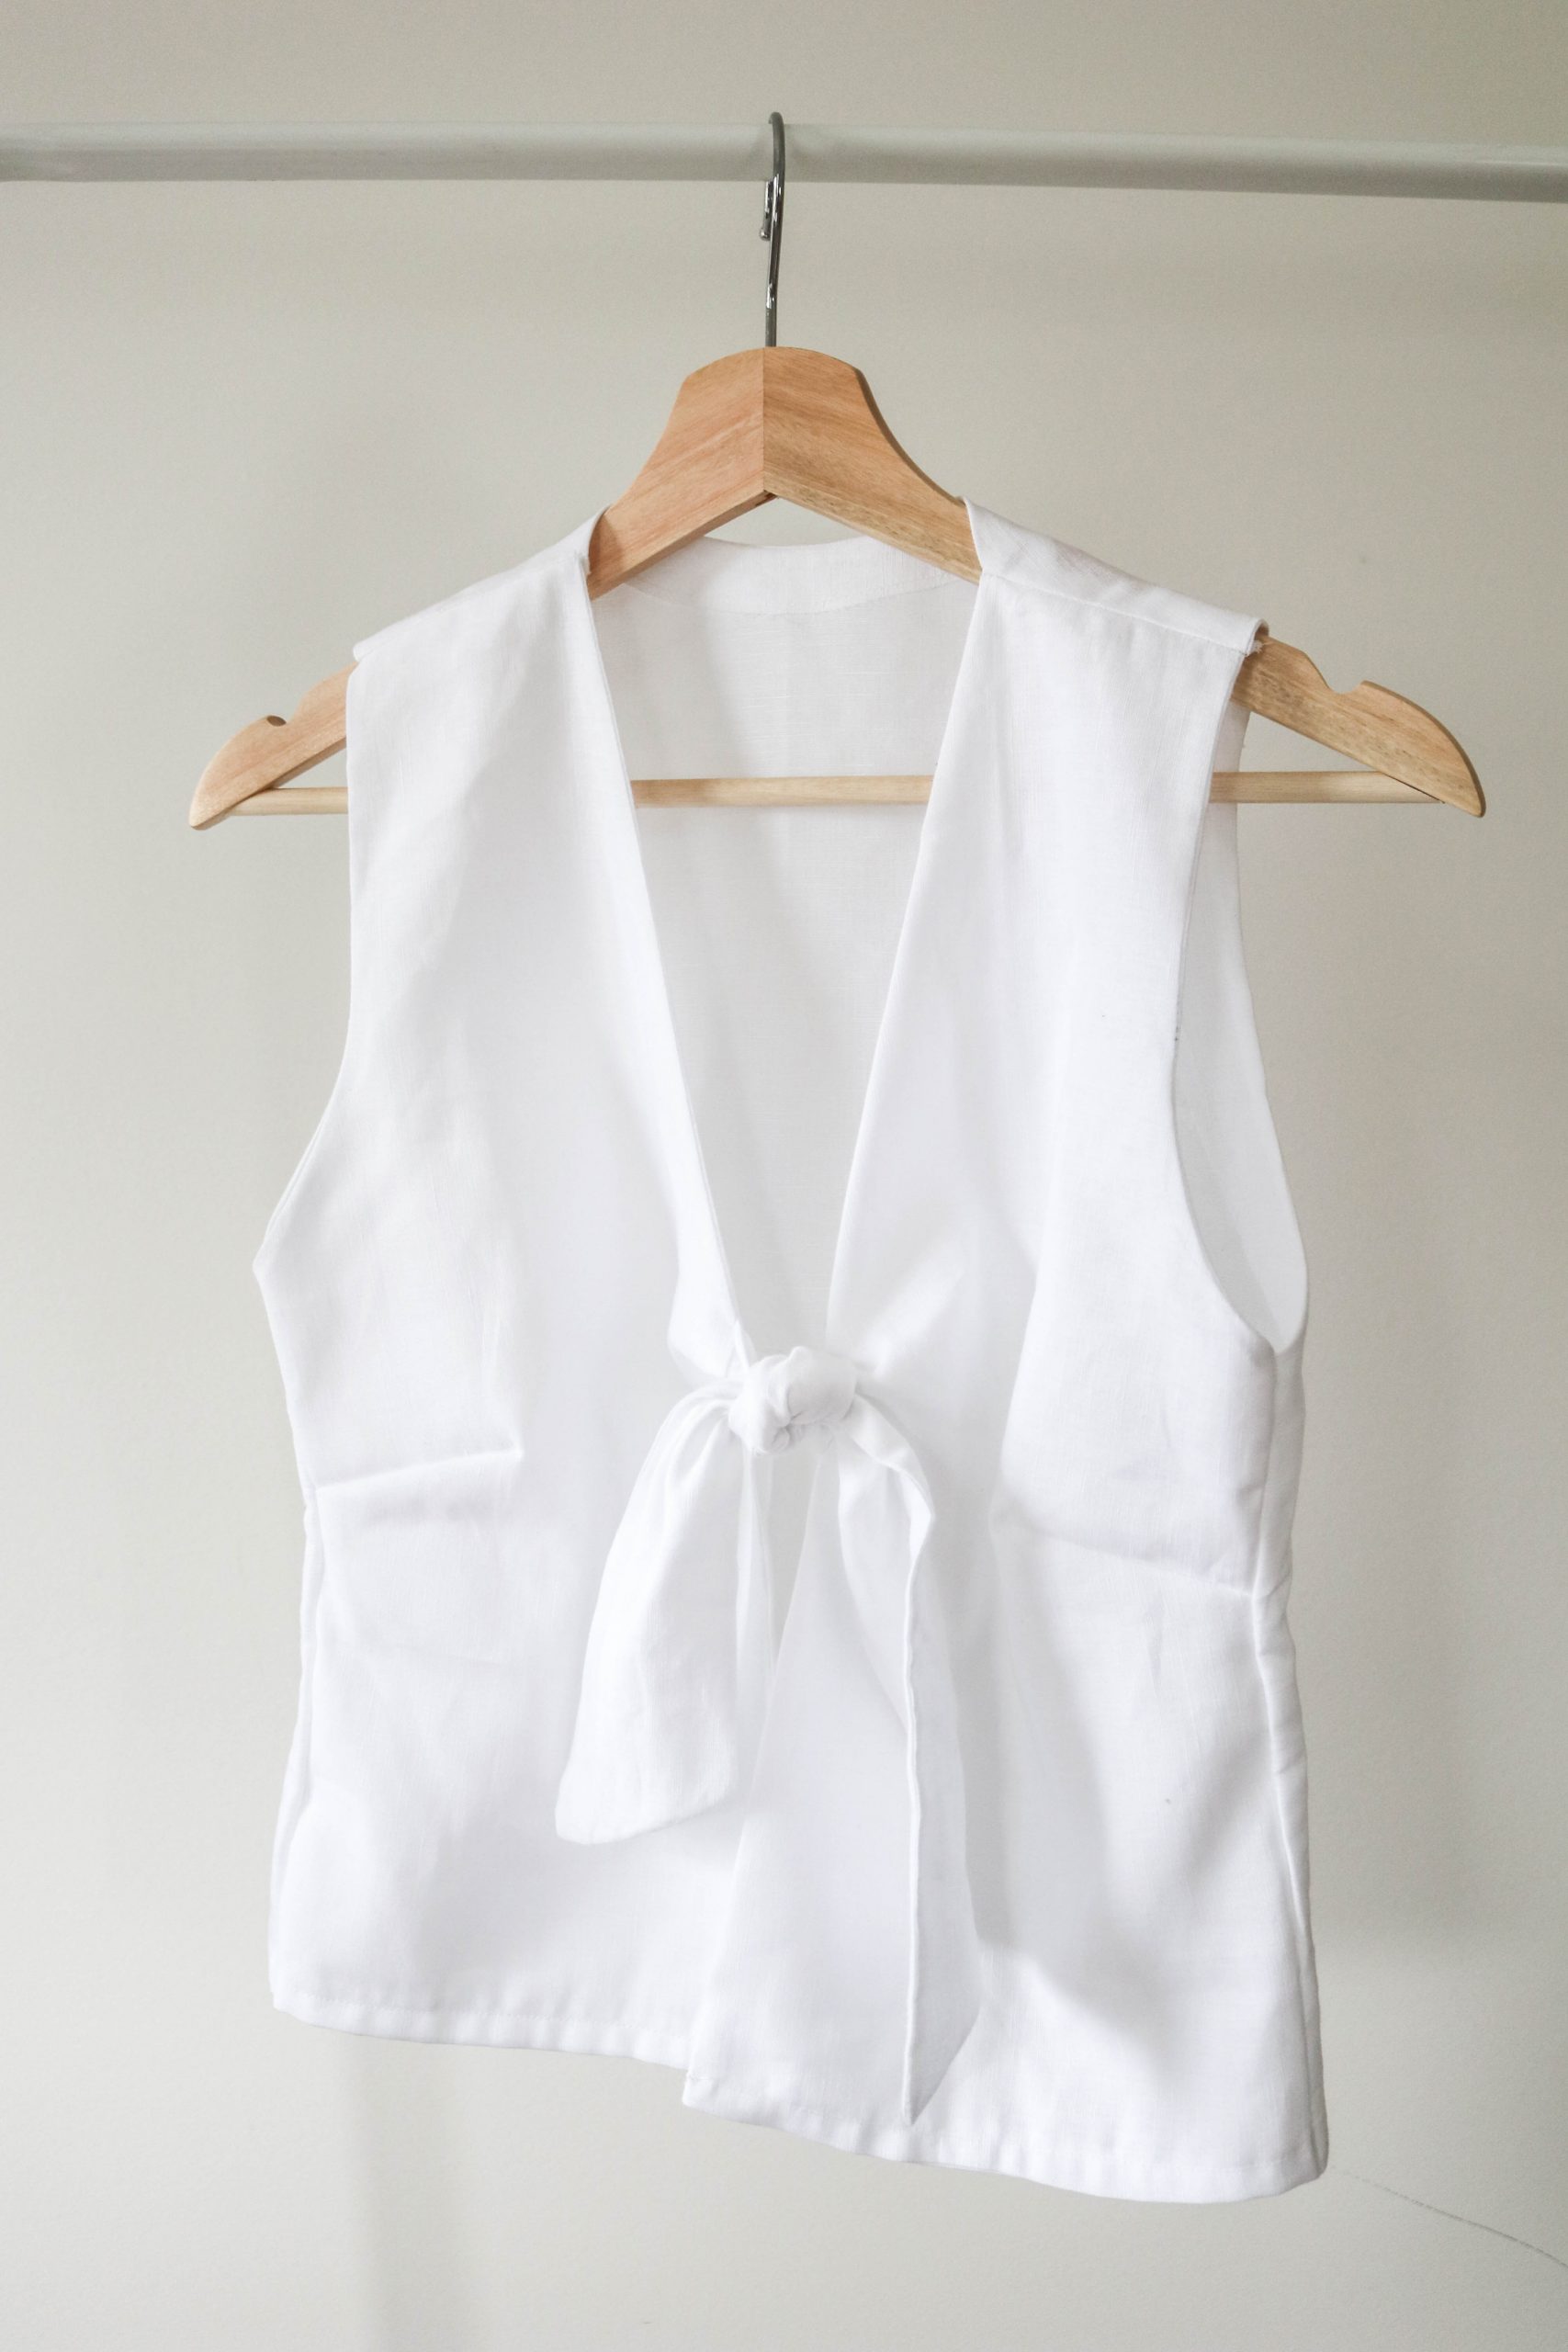
There�s nothing like a little bow detail to add interest to a simple top. We dreamt up this cute tie front top envisaging effortless white linen accented by a minimal not-too feminine bow. Adding just the right amount of...
There�s nothing like a little bow detail to add interest to a simple top.
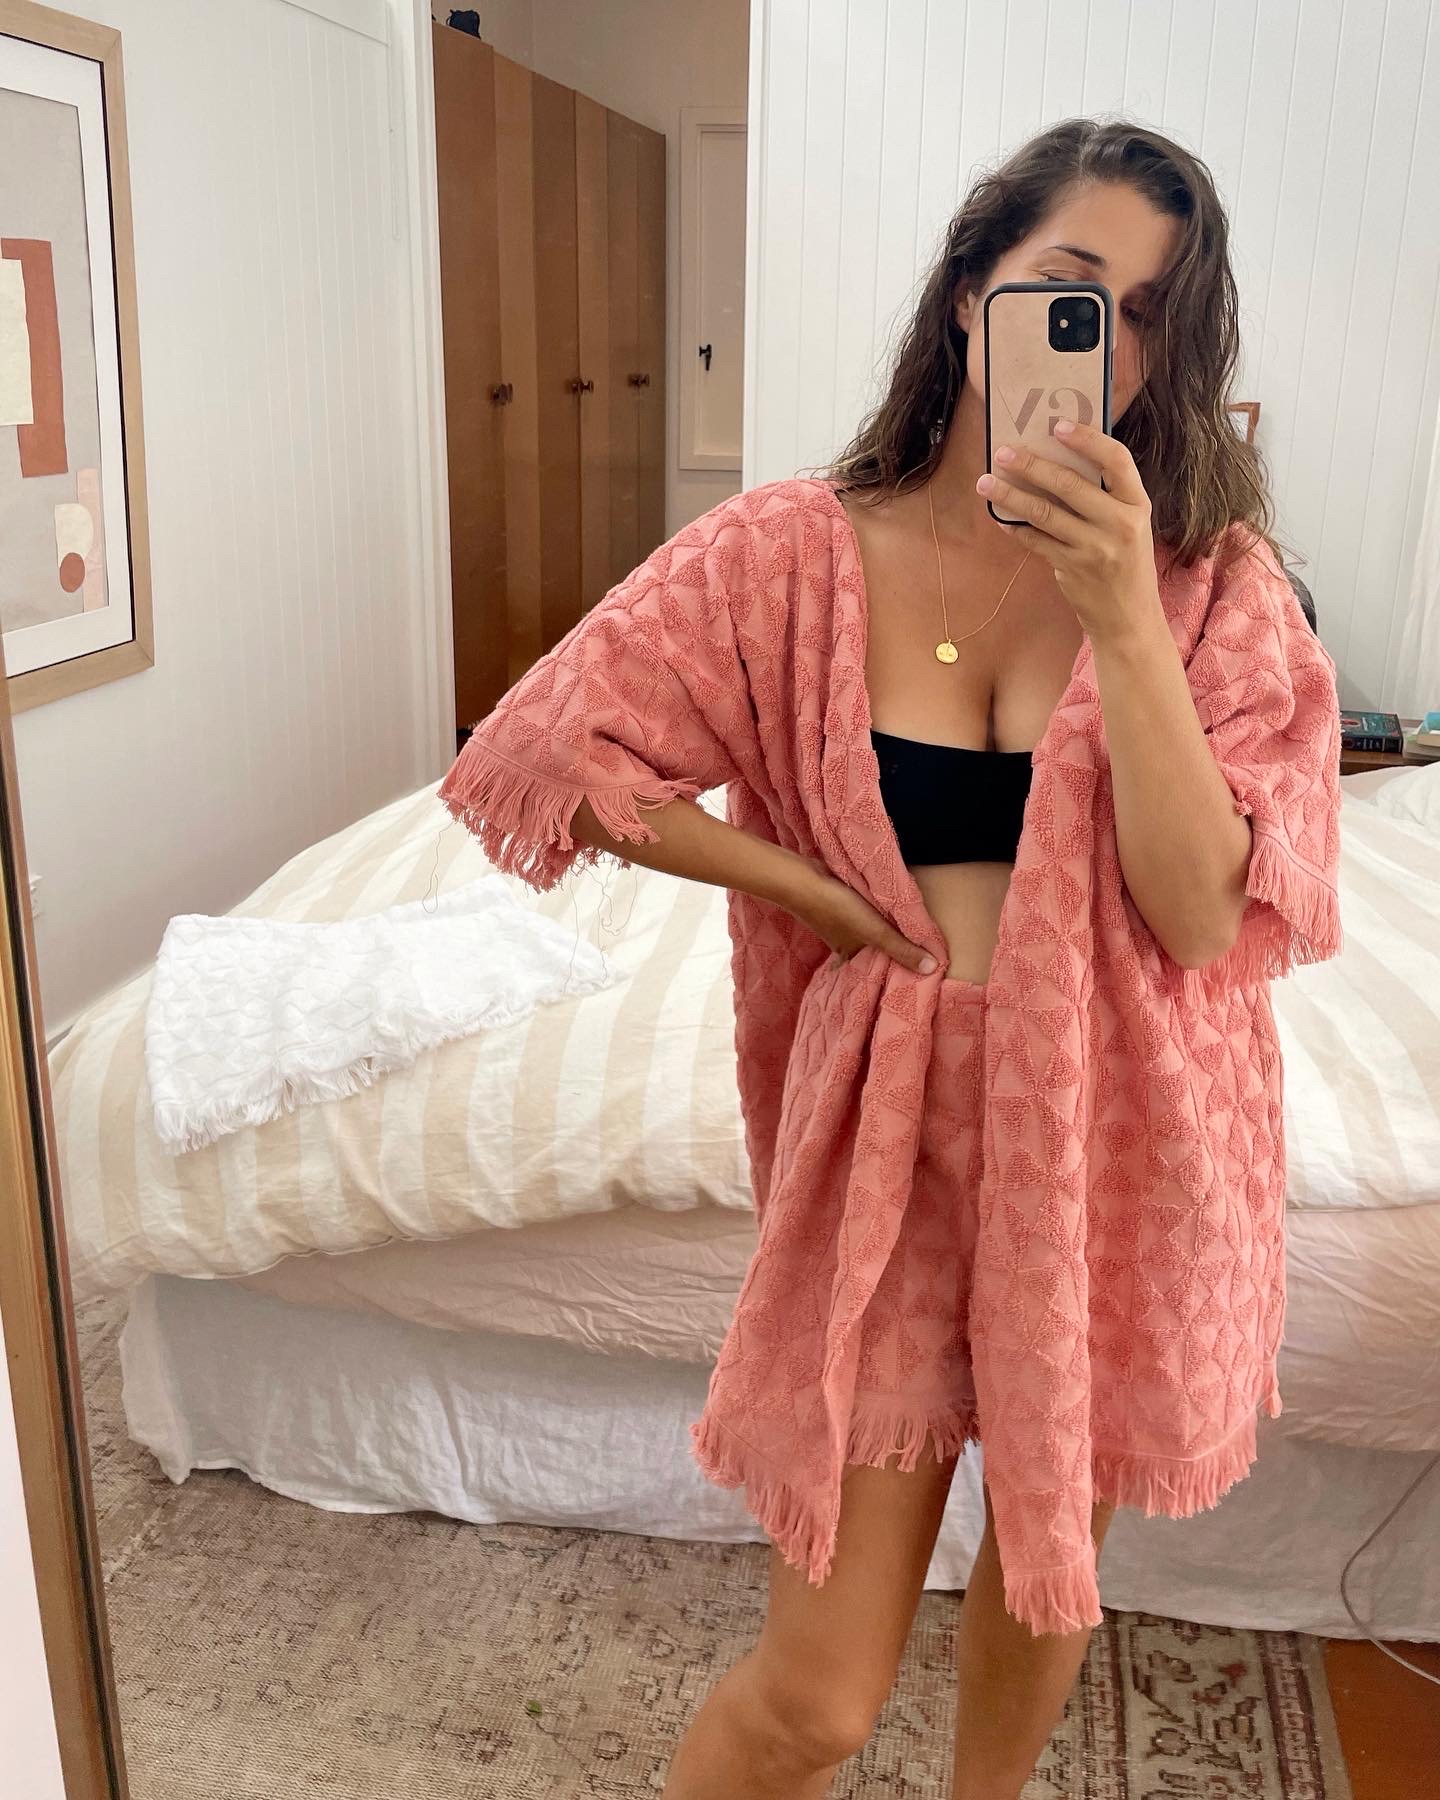
We dreamt up this cute tie front top envisaging effortless white linen accented by a minimal not-too feminine bow. Adding just the right amount of detail, we�re picturing this tied over a bikini in summertime, layered over other linens with our favourite straw hat� or in cooler weather worn with the tie peeking out from beneath a blazer to add a feminine twist to an ultra minimal ensemble.

You need
Thick strap cami top to use as a size template 1m of fabric Matching thread Pencil Scissors Measuring tape & ruler Dressmakers pins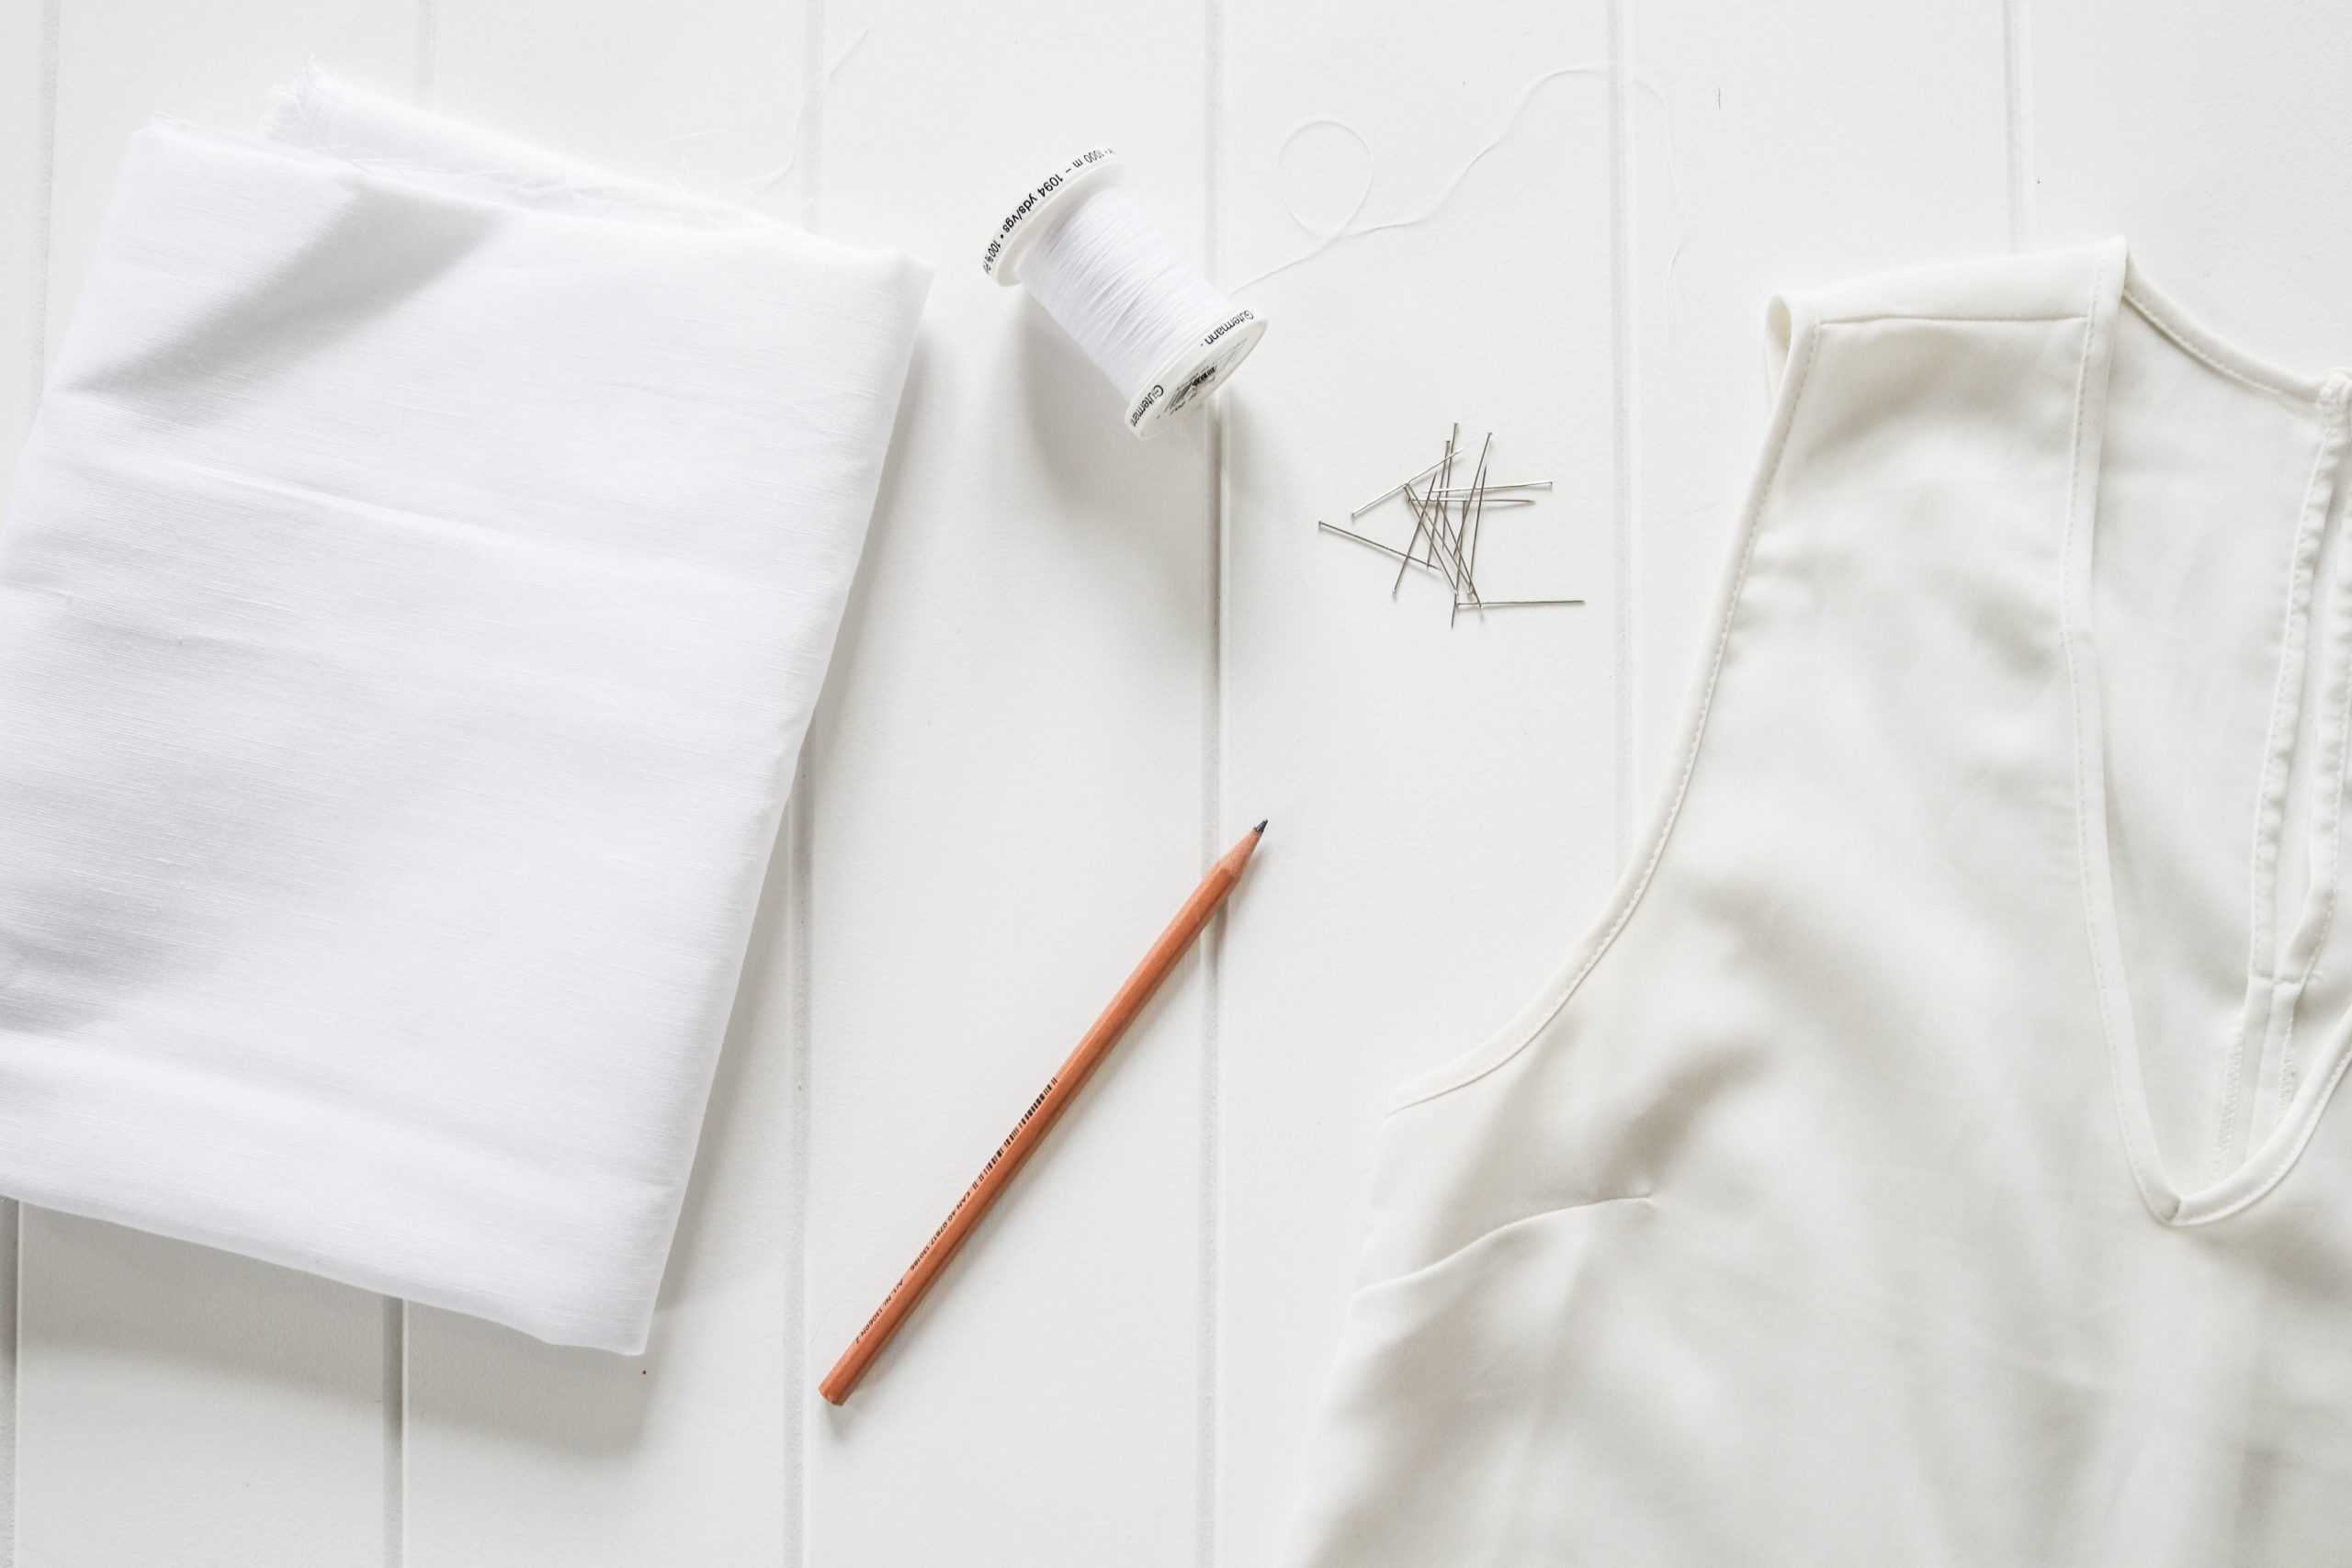
How to
36
Fold your fabric in half with the right sides facing inside. Also fold your template top in half with the back of the top facing out. Line up the folded edges trace the shape of the back panel adding 1cm to allow for seam allowance.
37
Fold your template top the other way, so that the front side is facing out. Place on your fabric (which is still folded too) and trace the straps, arm holes and a straight line where your fold is again adding 1cm for seam allowance. If your top isn�t a v-neck draw a diagonal line from the neck to the bust. To get the correct measurement make your �v� measure a straight line on your body from the collar bone down to where you�d like the top of your bow to sit. Mark this along the folded edge of your template top and connect a line from this point to the top of the strap.
38
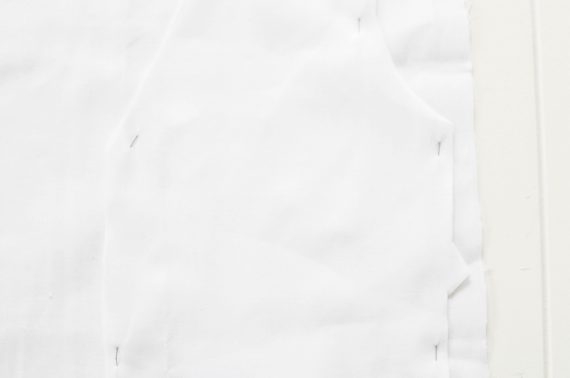
To create a dart for the bust, add 3cm to the side measurement, if you have a dart on your template top match the centre of your dart measurement with this. If not, place approximately 5cm from the underarm edge. Once you have traced this pin the 2 fabric layers together and cut out.
39
Flip the shape that you have just cut to create a mirror image. Trace this and cut out.
40
With your fabric still folded, measure a 30 x 10cm rectangle for your bow ties. Along one long side add an additional 5cm, creating a diagonal tapered edge. Pin together and cut out, then repeat to create your other tie strap.
41
Sew along the long sides and diagonal side of your straps. Trim at the corners then turn inside out so that the right side of the fabric is facing out. Iron flat.
42
Sew along the long sides and diagonal side of your straps. Trim at the corners then turn inside out so that the right side of the fabric is facing out. Iron flat.
43
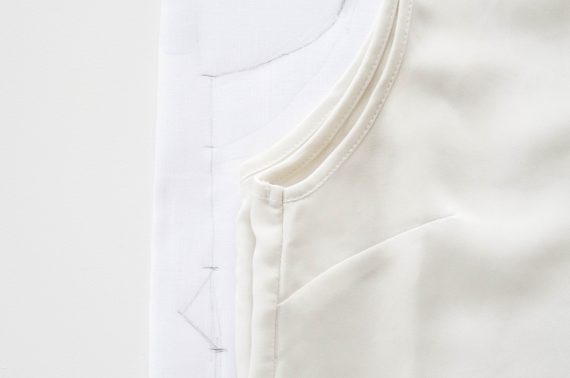
To create nicely finished edges on the back panel of your top, we used the technique featured in our Guide to Sewing Collar Facings. For this piece, we cut a 3cm facing.
44
Repeat the steps for your arm holes on the back panel too.
45
Pin your bow ties to your front panels, by placing them inside the two layers of fabric level with the base of your neckline. Ensure that the diagonal edge of your tie is facing up, so the short edge should be towards the top. Sew around the perimeter, excluding the bottom edge.
46
Create your dart by measuring 9cm in from the top point of your dart. Pinch together and sew along this line.
47
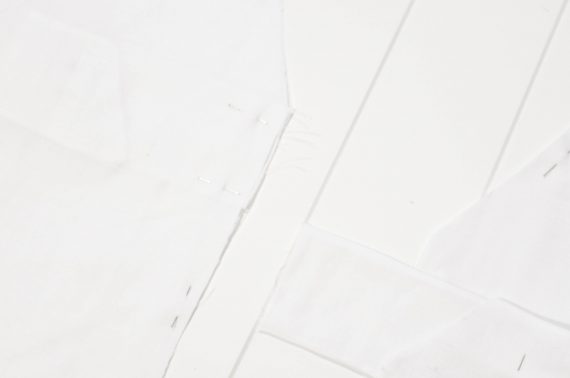
Line up the straps of your back panel to your front 2 panels. Ensure that the right sides of each panel are facing inwards. Sew along the strap line, use a zig zag stitch or overlock to prevent these edges from splitting.
48
Turn so that your top is facing the right way out and line up the side seams to check the length of the front and back panels. Create a hem on the back panel by folding .5cm and pressing with an iron. Then fold up another 1cm to cover the raw edge. Iron flat and sew.
49
Hem your front panels by keeping them facing the right side out, tuck the raw edges inside the panel and iron flat. Make sure that the length of these match your back panel. Iron and sew 1cm in from the bottom edge.
50
Flip the top inside out to complete your final side seams. Pin together and sew 1cm in from edge.
Voila!





51
Flip the top inside out to complete your final side seams. Pin together and sew 1cm in from edge.
The post Make This Tie Front Linen Top! appeared first on Collective Gen.


