This fork stamping Christmas tree is a great easy christmas craft for toddlers. Getting creative for Christmas can be fun and super easy with this … The post Fork Stamping Christmas Tree appeared first on My Bored Toddler.
This fork stamping Christmas tree is a great easy christmas craft for toddlers.
Getting creative for Christmas can be fun and super easy with this fork stamping Christmas tree painting idea. Christmas crafts and art projects are among our families' Christmas traditions.

Fork Stamping Christmas Tree
This painting idea for your toddler can be doubled as an introduction to early numeracy concepts around length and measurements.
Language around the longest and shortest length is perfect for incidental learning.
This can be further extended while waiting for the paint to dry with household items. Play-based learning is so much fun!

What you need to make a Fork Stamping Christmas Tree:
White Paper Red Paper Yellow Paper Green Paint Glue Fork Coloured Dot Stickers Painting PlateAdding a pencil to this list could be useful if you think your child would benefit from some guidelines to follow.
A series of faint lines to follow could be a useful visual guide to give the Christmas tree the traditional triangle shape.
How to Make a Fork Stamping Christmas Tree:
This fun painting activity is made easier bottoms up! Start from the base of the Christmas tree and work your way up.
That being said, it’s also handy to make it upside down.
To start with, cut a square or rectangular piece of red paper to create the pot for your Christmas tree to grow in.

Glue the pot to the centre of the page, close to the top.
The goal here is to create beautiful texture for our Christmas tree leaves while also working on creating the different lengths of stamping lines to create a traditional Christmas tree shape.
That and some incidental early maths surrounding length and measurement, too!
Gently press the head of the fork into the paint before starting the fork stamping pattern on the pot.
Lift the fork from the page and repeat next to the first stamp.

The first row of leaves is the longest length.
With each following row, make them shorter than the one above.
The final row at the bottom of the page should be a singular fork stamp.

Spin the page so the Christmas tree is the right way up.
What’s a Christmas tree without decorations?
Decorate the tree using the dot stickers. This is a great opportunity for your little one to decorate in their own unique way.
Will they put their dot stickers in lines or randomly around the tree? Whatever they choose, they are creating a masterpiece as unique as they are!
Cut out two triangles from the yellow paper and glue one on top of the other to create a star for the top of the tree.

Glue the star to the top of the tree and then stand back to admire the end result and compliment the process.
This fork stamping Christmas tree painting idea is quick to set up, has loads of incidental learning, and looks amazing!
Use it as a stand-alone masterpiece, create some personal Christmas cards, or have everyone in the family make one to create a family fun Christmas bunting to hand on the wall. The final result is as versatile as the fork you used to create the look!

Some fun FREE toddler Christmas printables:
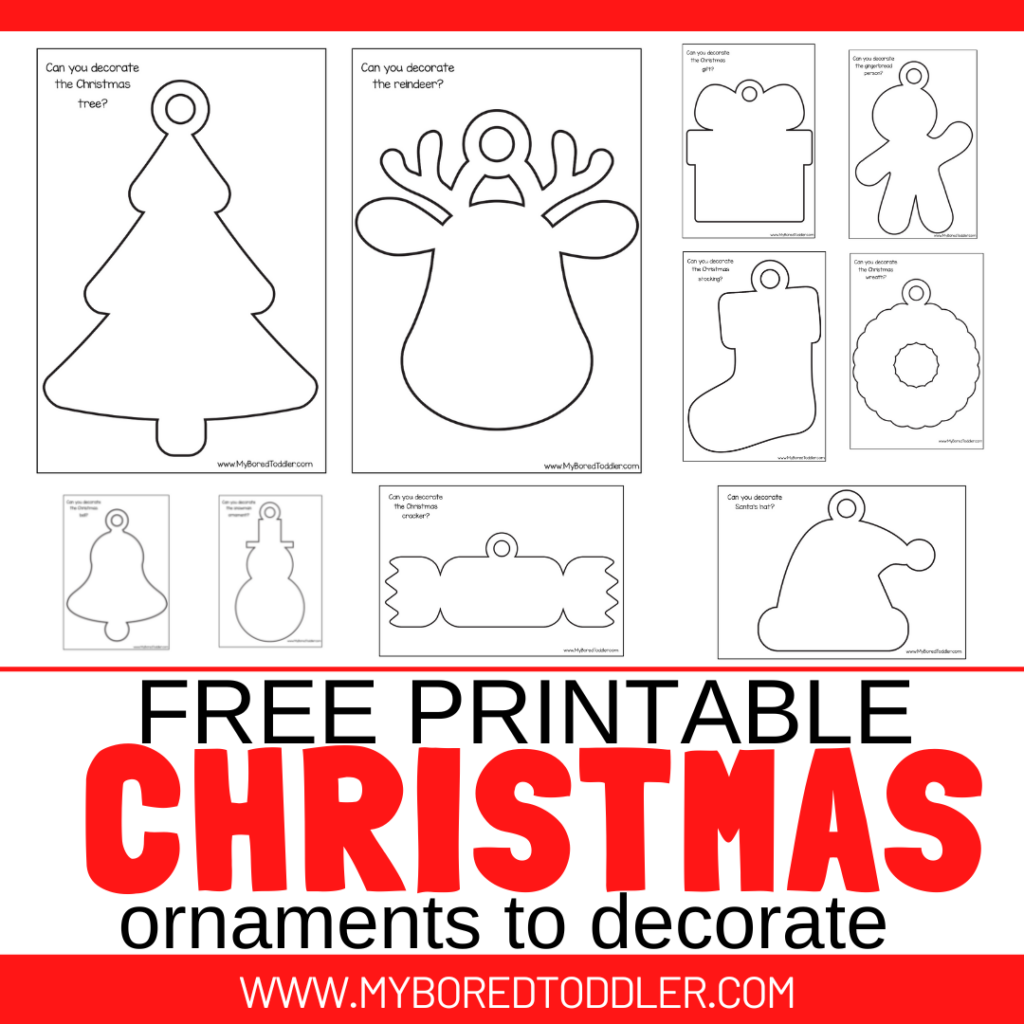
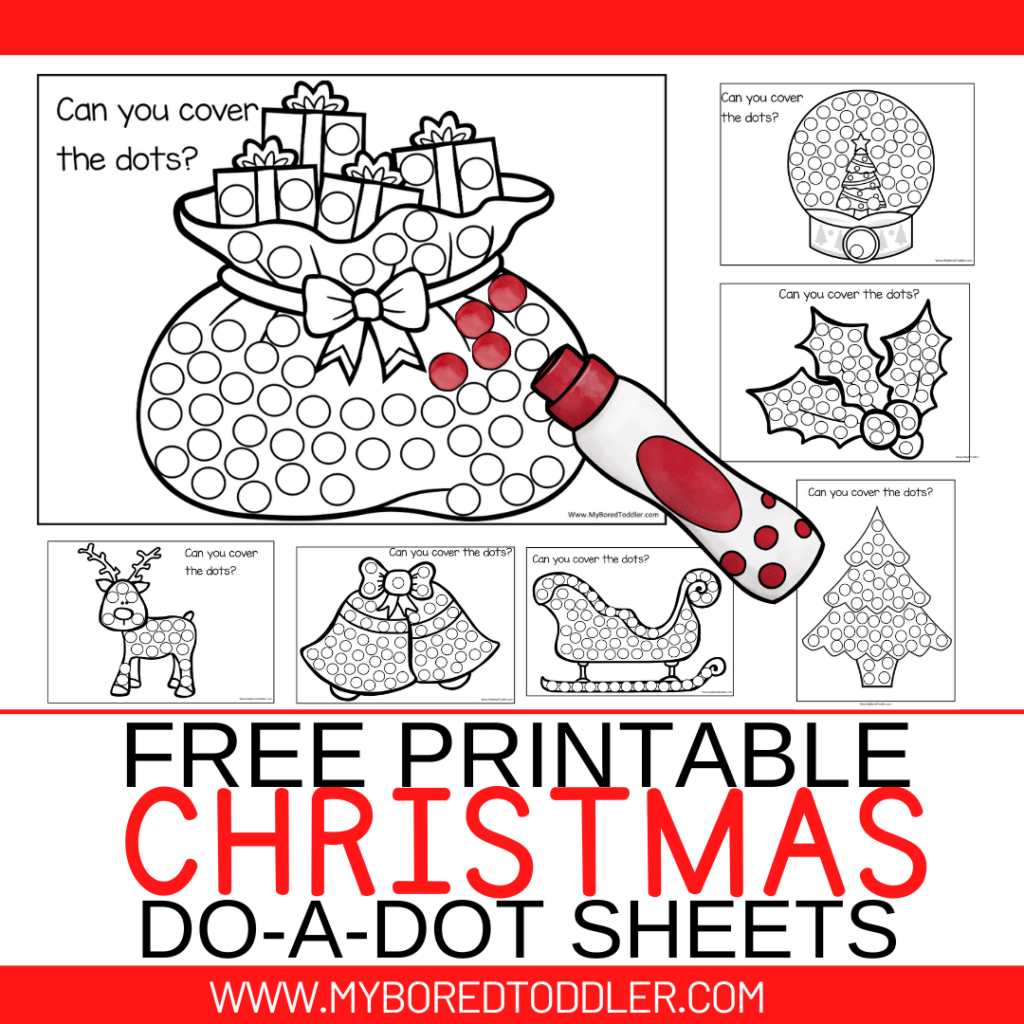
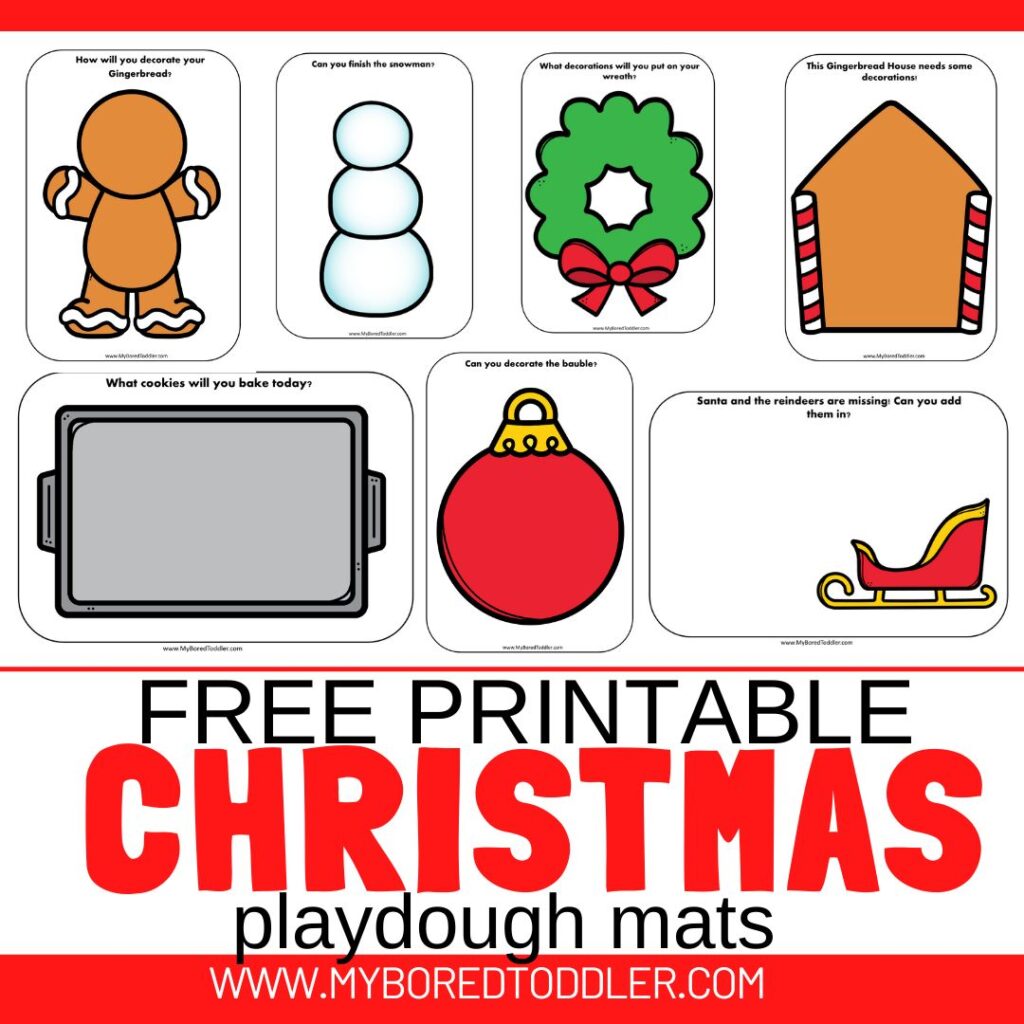
For more fun toddler activity ideas, why not join our Facebook Group or follow us on Instagram – follow @myboredtoddler and use #myboredtoddler.
Follow us for more toddler activity ideas
SOME MORE FUN TODDLER ACTIVITY IDEAS YOU MIGHT ENJOY ARE:
Paper Plate Cotton Ball Snowman Wreath
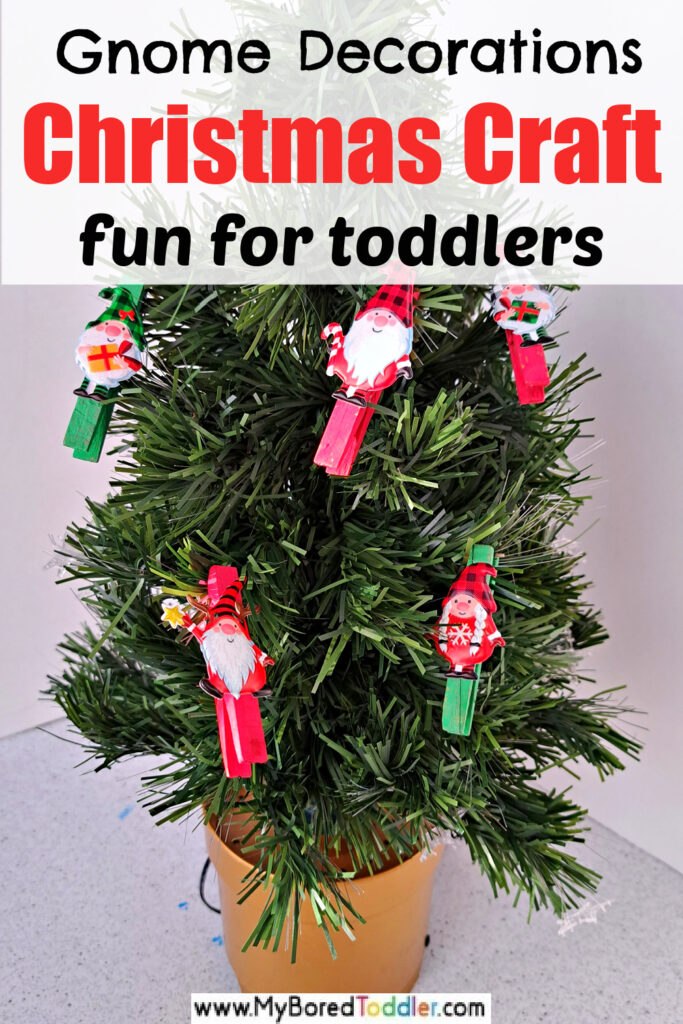
Clothespin Gnome Ornament Craft for Toddlers
About the Author
Dani is a busy stay-at-home Mum of 3 and an early childhood teacher in training who is passionate about play-based learning throughout early childhood. For educational play ideas that you can do at home and parenting tips visit Play Inspired Mum Check her out on Instagram andFacebook
The post Fork Stamping Christmas Tree appeared first on My Bored Toddler.




![Pets Scavenger Hunt [FREE PRINTABLE]](https://myboredtoddler.com/wp-content/uploads/2023/11/free-printable-pets-scavenger-hunt-for-toddlers-preschoolers-pinterest-683x1024.jpg)


