Regardless of how often you use your car or how many miles you average, general maintenance should keep everything working as it should. But while regular servicing helps prolong engine […] The post Car Detailing: The Steps of Interior...
 Regardless of how often you use your car or how many miles you average, general maintenance should keep everything working as it should. But while regular servicing helps prolong engine life and reduce fuel costs, most drivers forget the importance of routine cleaning, inside and out. Of course, you can skip the costly bills demanded by the growing number of pro detailing businesses and, with a little elbow grease, do the whole thing yourself. The task is made easier with specialised cleaning products for different car parts, and these get you a near-showroom shine in the paintwork, and a squeaky clean interior. All this while saving a bit of cash. In this article we will discuss Interior Cleaning and how to do it.
The Importance of Interior Cleaning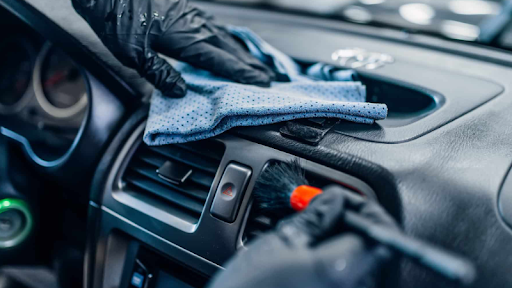
Dust, mud, food scraps, spilt drinks and pet hair are just some of the nasties that get ingrained in the carpet and seats and leave obnoxious smells. These soon become eyesores. Left unattended, they can also do a lot of harm in the long run. Microscopic bacteria and fungi can start to eat their way into plastic, leather and cloth, but they also do a number on driver and passenger health. And this, besides aesthetics, should be your top priority.
Regular surface and deep cleaning get most of the contaminants out. The job isn’t necessarily a chore considering the wide range of car interior products to speed things up. Like cleaning and detailing the exterior, interior car products are applied in a defined order, dealing with specific areas, materials and car parts one at a time.
Steps for a Cleaner Car
1 – Get Rid of All the Rubbish
Interior cleaning starts with getting rid of big and small items that don’t need to be there. Check for rubbish in the door bins, under the seats, in the seat pockets, cup holders, ashtrays and in cubby holes. Also, clean out the glove box, under-seat drawers, and the boot.
2 – Remove and Clean the Mats 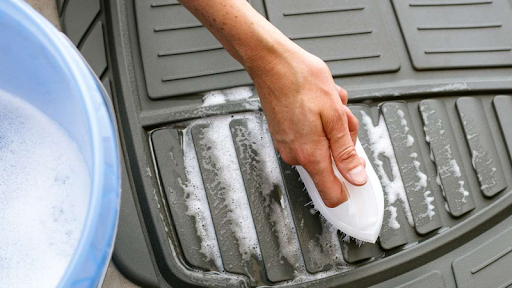
Floor mats pick up all the mud and dust from shoes and everything you bring into the car. They’re the dirtiest part on the inside, so they’re the first to get a makeover. Remove the mats and give them a good shake to remove bigger contaminants.
Carpet mats are either steam-cleaned or vacuumed and cleansed with specially formulated carpet cleaner to get out stubborn stains and rid of nasty smells. Rubber and vinyl mats are soaked in warm water and a gentle dish soap solution, or general-purpose interior cleaner, pressure washed and left to dry.
3 – Remove Seats and Vacuum
If you want a thorough clean, the seats need to be taken out as they’ll hide a lot of dirt and grime that’s hard to reach. If that’s too much, use attachments on the vacuum to get to nooks and crannies and brush out crusted stains to reach embedded dirt deeper in the carpet. Continue with the rest of the floor, as well as the door panels, the centre console and the boot floor.
4 – Do the Dash, Doors and Other Hard Surfaces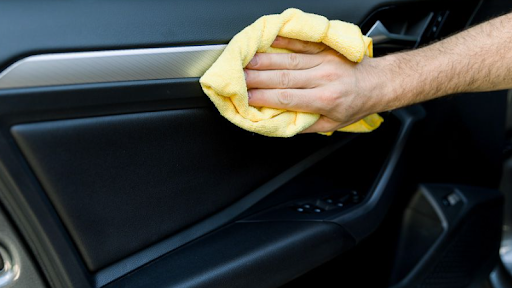
Successful removal of staining, surface damage, encrusted dust and odours and bringing life back to the interior is largely based on differentiating between materials and using the proper car interior products on each part. Dashboards are lined with soft-touch materials, plastic or metallic inserts, and wood or leather trim, and each part can be cleaned with general-purpose interior detailing spray (there are several trusted brands used even by pro detailers) and wiped off with a microfibre cloth.
There are also specialist products for specific materials, such as rubber and vinyl cleaners, plastic protectors that tend to scratch parts lower down, and wood polish. Additionally, look for products that have UV protection to prevent cracks and fading.
Once you’re done with the dashboard and centre console, continue with the door trim, air vents and other parts, again paying attention to materials. Use tweezers and cotton swabs to get dust and grime out of tighter spots. Moreover, look for scuff marks on brittle plastics lower down. These can be repaired with a baking soda and water solution, applied with a swirling action.
And if you get stuck with stubborn stains or ingrained grime, use the appropriate interior brush. There are brushes used on plastic or synthetic rubber dashes, those that work better on leather, and brushes that tend to hair and loose fibres. Buy a
Step 5 – Bring the Glass to a Sparkle
For a perfect finish in glass, use an anti-static glass cleaner and a microfibre cloth to remove dust, and fingerprints and prevent swirls and streaks. You can also make your own glass cleaner by diluting soap and warm water. If you have tinted windows, check that the cleaner is appropriate and doesn’t contain ammonia. In both cases, make sure that it doesn’t get on the plastics.
Step 6- Steering Wheel and Gear Knob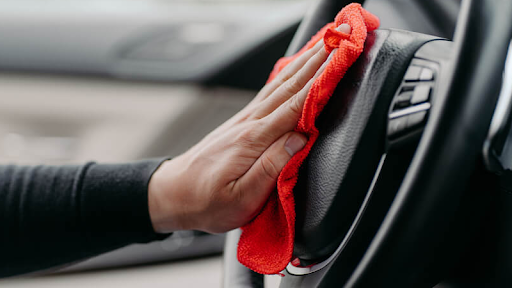
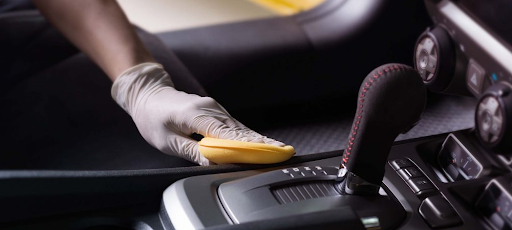
Most steering wheels are leather, and here you can use leather balm, cleaner or a diluted all-purpose interior cleaner applied with a spray bottle or with a microfibre cloth. This should get rid of oils, grease and other grime that has hardened over time while bringing back the supple feel. To keep it that way, add leather conditioner as a final touch. The same applies to the gear knob.
Step 7 – Seats
Seats will take most of your time. For fabric seats, vacuum each seat thoroughly, use an upholstery brush to loosen ingrained grime, then apply shampoo, let it stay for a minute or two and rinse with a wet cloth. Repeat with the remaining seats. For leather, use leather cleaner, followed by a conditioner. Replace the seats in your sitting position, and don’t forget the seat belts. Use upholstery clean for the belt fabric, and wipe down the metal clasps with a clean cloth.
Step 8 – Use Protectant and Remove Odours
Protectant brings back the sheen in gloss finishes, leaves a satin finish in leather, rubber and plastic parts, repels dust buildup by being anti-static and helps reduce fading in cars that have been left out in the sun. Again, there are both specialised and general-purpose protectants that can be used on all surfaces.
Odour removers, air fresheners and deodorisers are car interior detailing supplies usually left for last. They not only remove smells but also prevent the buildup of mould that can potentially hurt your health. If serious about this, also have a look at the air-con filter and have it swapped out.
What Else to Consider
All car interior cleaning products are formulated to get rid of all kinds of grime without damaging your car. That’s why you’ll find a large selection of products. In this respect, avoid using heavy-duty chemical cleaners, no matter how stubborn stains or spills are.
Lastly, have the habit of routinely cleaning your car, especially minor jobs like a simple swipe of a clean cloth, periodically vacuuming seats and cleaning floor mats. Thorough cleaning and detailing are recommended every six months, or once monthly if you use the car for work purposes or do more miles.
The post Car Detailing: The Steps of Interior Cleaning appeared first on Gauge Magazine.


