Waxing, while enhancing your car's shine and colour depth, also offers a protective layer against potential damage. Think of it as a shield, safeguarding your car's paintwork. Given the costs associated with surface treatments and repainting, a consistent wash...
Home Ľ Lifestyle
Waxing, while enhancing your carís shine and colour depth, also offers a protective layer against potential damage. Think of it as a shield, safeguarding your carís paintwork. Given the costs associated with surface treatments and repainting, a consistent wash and wax routine is a wise investment. It not only saves you money in the long run but also contributes to maintaining your vehicleís resale value.

Frequent washing prevents the accumulation of harmful substances like tree sap, acid rain, salt, bird droppings, and UV rays. These elements can wreak havoc on your carís paintwork and metal structure. By consistently removing these hazards, youíre preventing corrosion, cavities, staining, and colour fading, thereby prolonging your vehicleís exterior lifespan.
†
Waxing elevates this protection. Acting as a sealant, the wax layer adds an extra barrier to your carís paint finish, resisting both chemical and environmental damage. Regular waxing repels water and prevents contaminants from adhering to your vehicleís surface. The glossy finish achieved through waxing not only extends the life of the paint job but also enhances your carís aesthetic appeal.
But the benefits donít stop at protection and aesthetics. Regular washing and waxing also contribute to car safety. Clean side-view mirrors and windshields ensure a clear view for safe driving. Additionally, a clean car is more visible on the roads, enhancing safety for you and other drivers.
Furthermore, a disciplined washing and waxing routine can boost your carís resale value. Vehicles with well-maintained exteriors often command higher resale prices. The investment in time and resources for regular car washing and waxing can yield significant returns when you decide to sell or trade in your vehicle.
In light of these numerous benefits, itís clear that regular exterior wash and wax are integral to a comprehensive car maintenance routine. Your car can be more than just a mode of transportation; it can be a shining testament to meticulous care and maintenance.
Necessary Tools and Products
Heading 1 (Style 1)
To achieve a professional-grade exterior wash and wax, the right tools and products are indispensable. Hereís a compilation of the essentials youíll need.
For Washing:
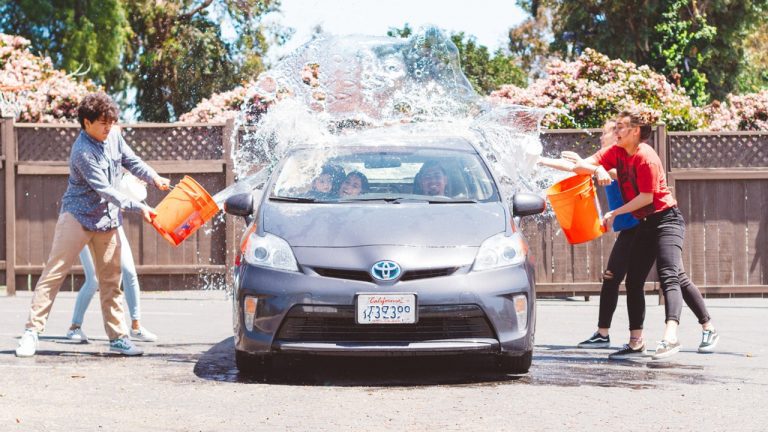
a.) Buckets: The Ďtwo-bucketí washing method requires a pair of buckets, minimising the risk of reintroducing dirt and grime to your vehicleís exterior.
b.) Car Wash Shampoo or Soap: Opt for a high-quality, car-specific shampoo or soap. Ensure itís pH balanced and non-detergent to prevent stripping away existing wax or sealant layers.†
c.) Wash Mitt: A top-notch wash mitt, preferably made of microfiber or sheepskin, guarantees a swirl-free, impeccable wash.
d.)† Pressure Washer: This significantly simplifies the rinsing process with added pressure to get through the nooks and crannies around your car. Best of all, it is very efficient and uses a fraction of the water in comparison to your typical garden hose.
For Drying:
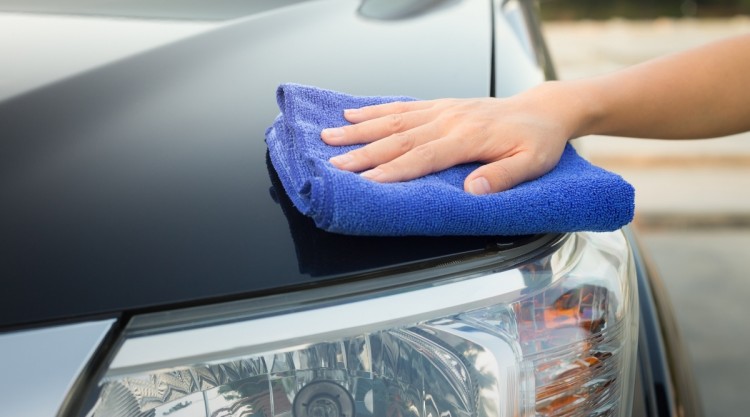
a.) Microfiber Towels: These highly absorbent towels facilitate a scratch-free drying process.
For Waxing
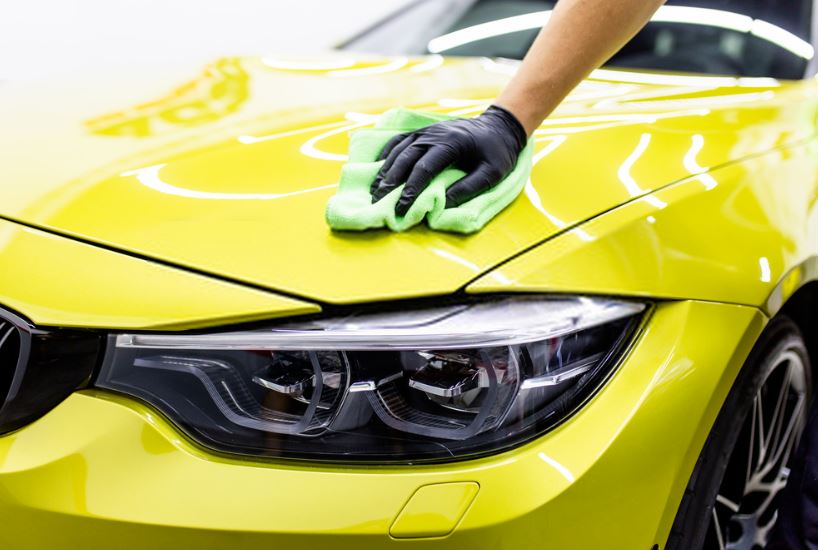
a.) Quality Car Wax: Car waxes are available in various forms like paste, liquid, and spray. Choose one that not only suits your preference but also enhances protection and shine.
b.) Foam Wax Applicator: This tool ensures efficient wax application on your carís surface. You would only need to use the applicator pad if using a paste or liquid wax.
c.) Microfiber Buffing Towels: These are used for wax removal and buffing your carís surface to a glossy finish. If you notice a haze, you just need to simply wipe the excess off to reveal the shine.
Avoid the temptation to use household items as substitutes, time and time again, we see online and it is false news. They may cause more harm than good in the long run. Investing in car-specific detailing tools and products will pay dividends in maintaining your vehicleís aesthetic appeal and longevity. There is a big reason why household items are designed for the house and not for your car. A common one we see is dishwashing detergent, which is significantly abrasive, this will cause deterioration of your clear coat at a much faster rate.
Process of Exterior Car Washing
Initial Preparations
Embarking on the journey to a clean and shiny car exterior begins with meticulous preparation. Letís walk through the steps to set the stage for a successful wash.
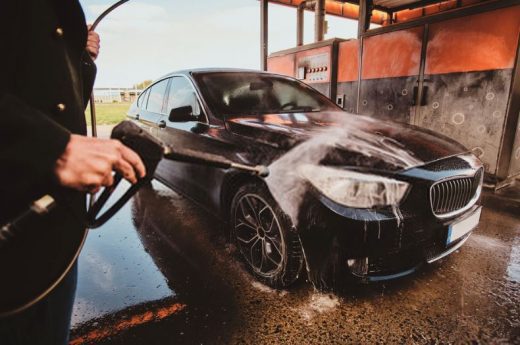
Location Selection: Find a suitable place for washing your car. Opt for a shaded area or an indoor spot to prevent the sun from hastening the drying process, which could result in unsightly water spots or streaks.
†
Gathering Your Equipment: Having all your tools within armís reach ensures a smooth, uninterrupted process. Refer back to our section on necessary tools and products to make sure youíre fully equipped before you start.
†
Vehicle Inspection: Give your car a thorough once-over, paying special attention to areas with heavy dirt buildup, bird droppings, or other foreign particles. These spots may need some extra elbow grease during the wash.
†
Initial Rinse: Using a pressure washer to rinse your car and dislodge and remove loose dirt and debris. This step is crucial to prevent potential scratches during the washing process.
†
Prepare The Shampoo: Prepare your car wash solution by filling one bucket with water and car shampoo, following the productís recommended ratio. The second bucket should be filled with clean water for rinsing your wash mitt.
Remember, the key to a successful car wash lies in preparation. It paves the way for an efficient and safe cleaning process.
Performing the car wash
With your preparations complete, itís time to dive into the washing process. Hereís how to proceed:

a.) Panel Washing: Begin by immersing your wash mitt in the soapy water bucket and applying it to your carís surface, panel by panel. Start from the top and gradually work your way down, as the lower sections of your vehicle are usually the dirtiest. After washing each panel, rinse your mitt in the clean water bucket before re-soaking it in the soapy water. This technique helps to avoid the spread of dirt.
b.) Wheel Cleaning: The wheels demand extra attention due to the stubborn brake dust and road grime. You may need a specialised wheel cleaner for a thorough clean. Even as experts in the car detailing field, brake dust can at times be very stubborn and still stain afterwards. Wheels should be regularly cleaned to ensure buildup does not etch through the rims. To combat this, your wheels need to be cleaned multiple times across extra sessions. Do not overload your wheel with strong cleaning agents at once as this can pose further risk to the integrity of the rims.
c.) Rinsing: Rinse your car thoroughly from top to bottom, ensuring all soap suds are removed. Overlooking any can result in spots and streaks from dried on car wash shampoo.
Drying the Vehicle

The drying phase of your carís exterior wash is a critical step to ensure a spotless finish. It helps to avoid the formation of unsightly water spots and potential mineral deposits that can occur with air-drying. Hereís how to do it effectively:
Immediate Action: As soon as youíve rinsed the car wash shampoo off thoroughly, commence the drying process. This immediate action helps prevent the formation of water spots (very important).
†
Choice of Tools: Opt for a top-notch microfiber towel or a specialised car dryer for this task. The soft texture and high absorbency of microfiber towels make them an excellent choice for drying your car.
†
Technique Matters: Similar to washing, dry in straight-line motions, starting from the top and working your way down. This method helps avoid water dripping onto already dried sections and helps prevent the creation of swirl marks. No need to apply immense pressure, allow the drying towel to work its magic across the paintwork.
†
Detailing: Donít overlook the smaller areas like mirrors, door handles, and trim lines. Smaller detailing towels are perfect for reaching these tricky spots.
†
Final Check: After drying, conduct a final inspection for any leftover water spots or soap suds. If you spot any, lightly dampen your microfiber towel and gently clean the area.
†
Following these steps will not only leave your car looking immaculate but also create the ideal surface for the upcoming waxing phase.
Process of Exterior Car Waxing
Pre-Waxing Steps
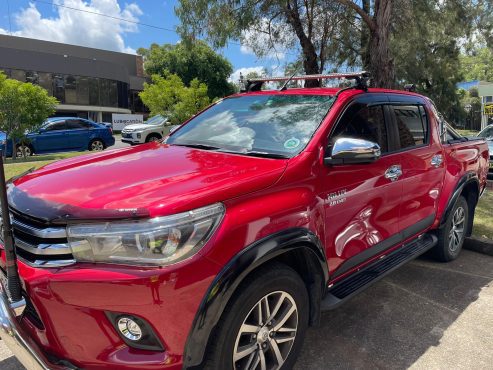
Before the waxing process begins, itís crucial to prepare your car adequately to ensure optimal results. Hereís how to get your car wax-ready:
†
Step 1: Clean and Dry: Confirm that your vehicle is both clean and dry after washing it thoroughly. Check for any lingering water spots or soap residue, as these can interfere with the waxing process.
†
Step 2: Examine the Carís Surface: A close inspection of your vehicleís exterior is necessary to identify any remaining dirt, streaks, or stubborn contaminants such as tar, sap, or road film. If found, use a clay bar or similar product to remove these surface impurities.
†
Step 3: Select the Appropriate Wax: There is no right or wrong wax for your car as all of them are paint-friendly. It really boils down to personal preference and budget. You have the option to choose between liquid, paste and spray wax.
†
Step 4: Ready Your Waxing Equipment: Assemble all the tools youíll need for waxing, such as applicator pads and microfiber cloths for wax removal.
Wax Application
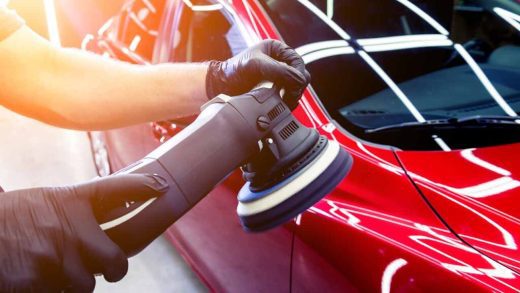
Once your vehicle is adequately prepared, itís time to apply the wax. Follow these steps for a successful application
†
Step 1: Apply a Thin Wax Layer: Dab a small amount of wax onto your applicator pad and spread it over your carís surface in an overlapping circular motion. A thin, even layer is ideal as it cures properly and is easier to remove. Assuming you are using a paste or liquid wax that is.
†
Step 2: Wax in Segments: Break down your car into sections (like the hood, roof, door panels, and trunk) and wax each one individually. This approach prevents the wax from drying for too long on the surface, which can make it challenging to remove after.
†
Step 3: Allow Wax to Dry: Give the wax time to dry for a moment. It is best to check the product label for instructions.
†
Step 4: Be Mindful: Be careful not to apply wax on plastic or rubber parts as it can leave stains. Also, avoid waxing in direct sunlight as it can cause the wax to dry too quickly.
†
Step 5: Buff to Finish: Use a clean microfiber towel to remove any extra wax and reveal the shine.
Frequency of Waxing
To ensure the waxís protective properties are preserved, itís crucial to reapply the wax layer periodically. Here are some tips to help you determine the right frequency:
†
Baseline Rule: Typically, waxing your vehicle every three months is advisable. However, factors such as your carís age, exposure to harsh weather, the quality of the wax, and usage frequency can influence this timeline.
†
Older vehicles: May need to be waxed more often to restore shine and provide extra protection.
†
Weather Exposure: Frequent exposure to harsh sunlight, snow, salty air, or heavy rainfall may necessitate more frequent waxing.
†
By following these guidelines, you can maintain a protective wax layer on your car, ensuring it remains shiny and well-protected against the elements for an extended period.

†Car Care Advice For The Everyday Driver & Enthusiast
With a relentless hunger to deliver car owners and drivers across the world with the latest emerging trends and innovations in the car space, you have tuned into the right place.
The post The Importance of Exterior Wash and Wax appeared first on Schmicko Mobile Auto Care & Installations.


