This month, Bellingham BJJ had our first ever belt promotion ceremony. This was a fun landmark to celebrate, and it was always going to be significant — these are the first belts that are ever going to be part...
This month, Bellingham BJJ had our first ever belt promotion ceremony. This was a fun landmark to celebrate, and it was always going to be significant — these are the first belts that are ever going to be part of my lineage, with my instructor awarding the belts to the deserving students who’ve been training with me these past 6 months or so.
That’s not the only reason this was a special day. My wife, Betsy, has been training for more than two years. She had more than earned a blue belt, but — as Marc Baquerizo once told me — the last thing you want is a belt that doesn’t fit. She knew that, as the instructor’s wife, she’d have to exceed all the standards. Which she, of course, did. That’s just how she rolls (pun fully intended).
Betsy’s favorite belts, by orders of magnitude, are the Green Gi hemp belts. I had one for my purple belt and loved it: looks great, stays tied, is soft and anti-microbial in addition to being cool looking. I wanted to surprise her with the belt she wanted.
The issue: the Green Gi is out of business, and the belts aren’t for sale any more. In fact, if it weren’t for my dear friend Chrissy Linzy of US Grappling — thanks, Chrissy! — I wouldn’t have been able to get my hands on any of the belts at all, since there were just a few belts left in stock. White belts.
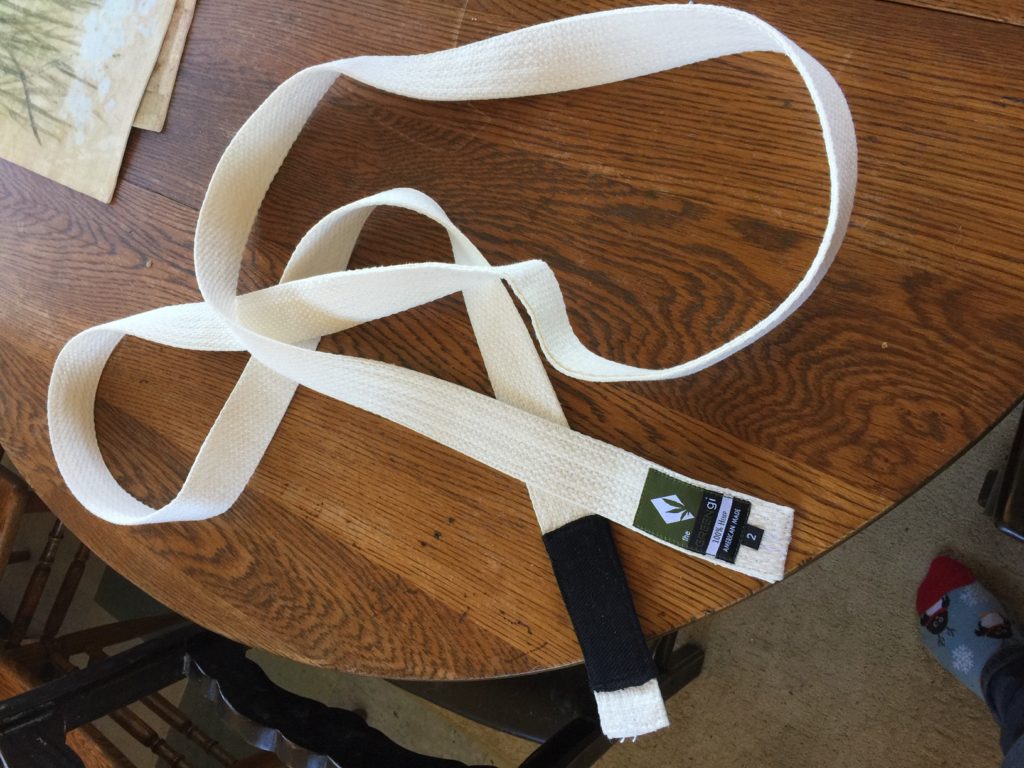 Penguin socks not included.
I knew these were the belts Betsy wanted, though. Just a few months before the promotion, I caught her looking at hemp belts online:
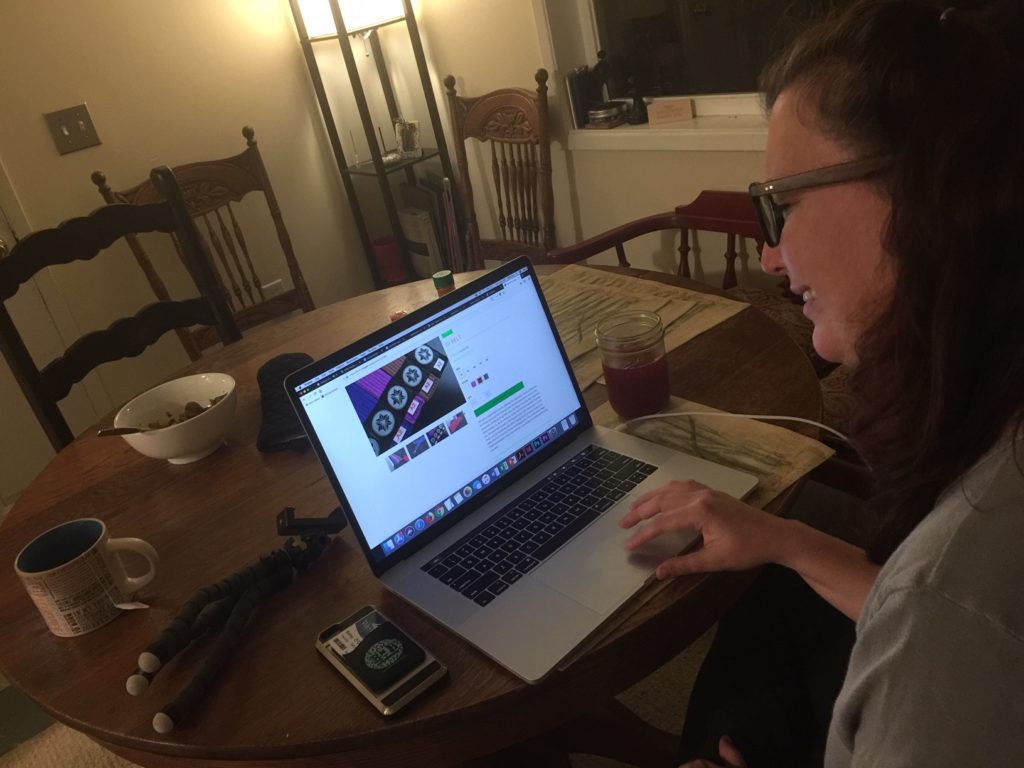 Busted.
Thanks to Chrissy, though, I had a hemp belt already. I just needed to dye it.
I waited until Betsy was at work and busted out a big stewpot, some Rit Dye and the belt.
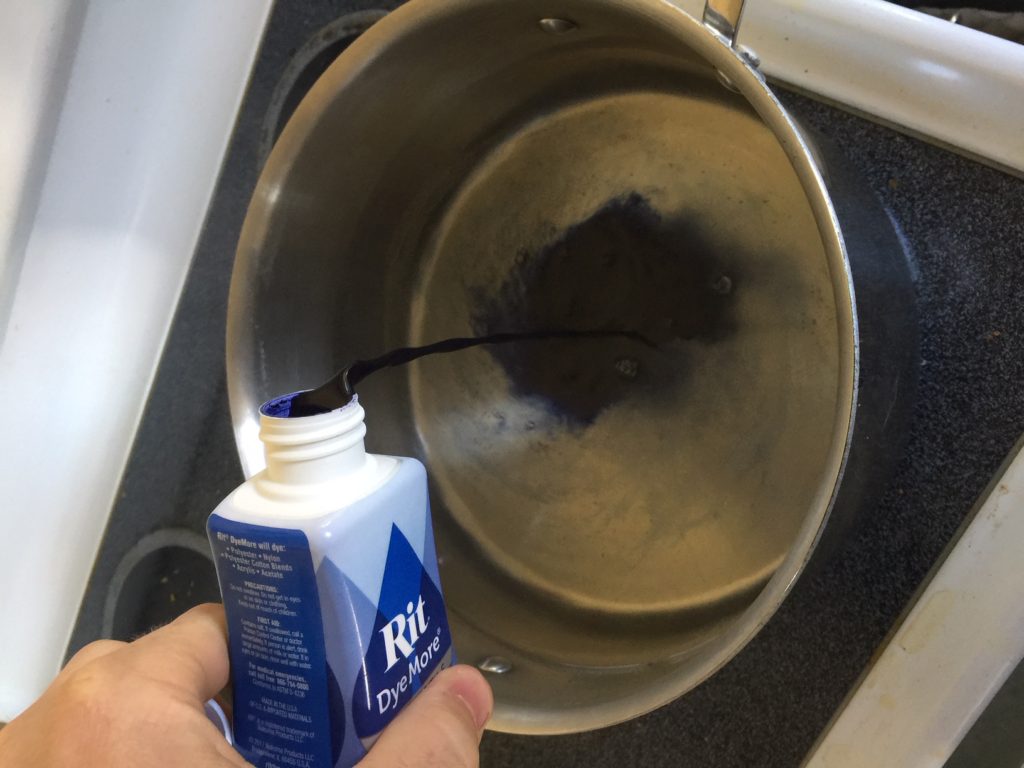
The instructions are fairly simple. First, you heat some water and then pour the dye in. You should also add fixative to prevent the color from fading.
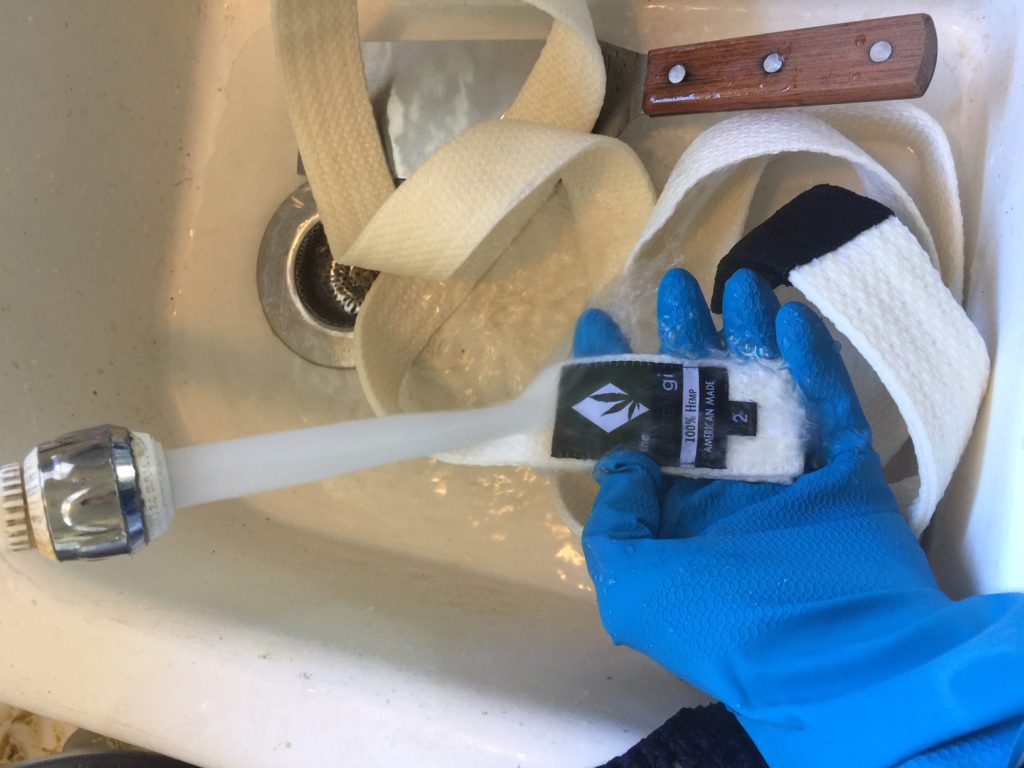 Wet the belt first, to help it accept dye.
Add a teaspoon of liquid soap and fixative to the blend … and then drop your wet belt into the mix. The first 10 minutes are key, so be sure to stir constantly for even dyeing.
From there, it’s up to you to decide how dark you want the belt. I wanted to avoid the “so blue it’s purple” problem, so I left it in the bath about 20 minutes. Remember that it’ll be darker when it’s wet, so account for that.
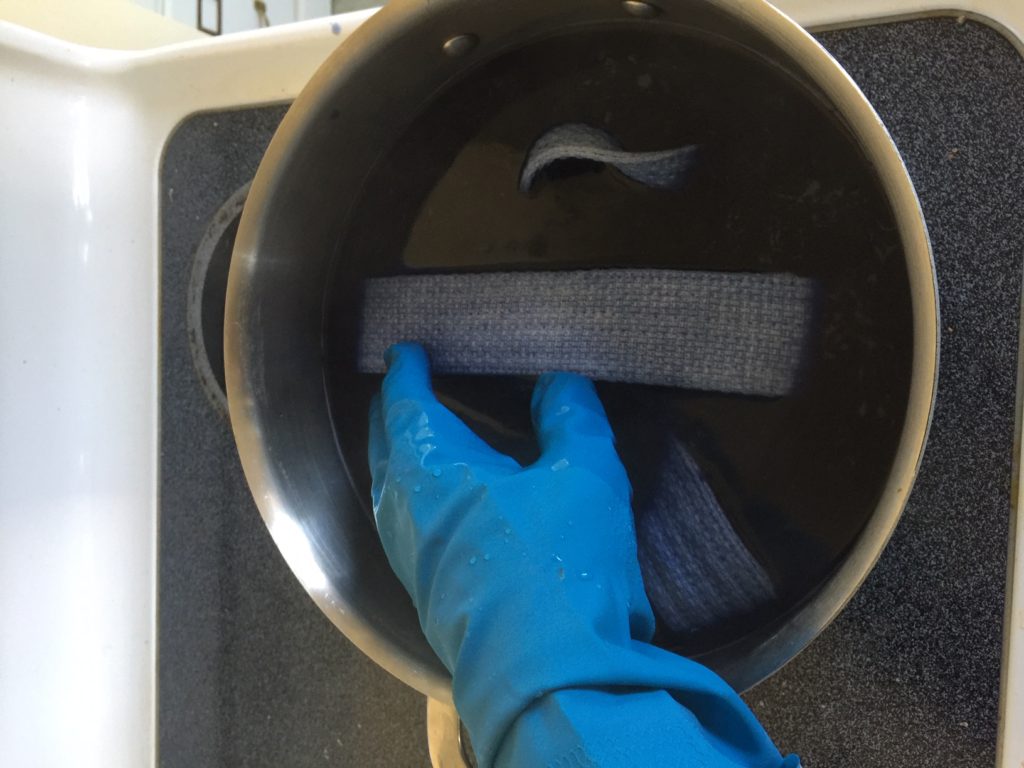
You can leave it in for up to an hour, but the first 10 minutes are most important. After you decide it’s done, rinse the belt with cold water until it stops obviously bleeding. Then you want to wash it in warm water with a mild detergent, rinse and dry — by itself, just in case.
Betsy’s a North Carolinian, and we both worked at UNC-Chapel Hill, so I was pleased it came out a lovely Tar Heel Blue.
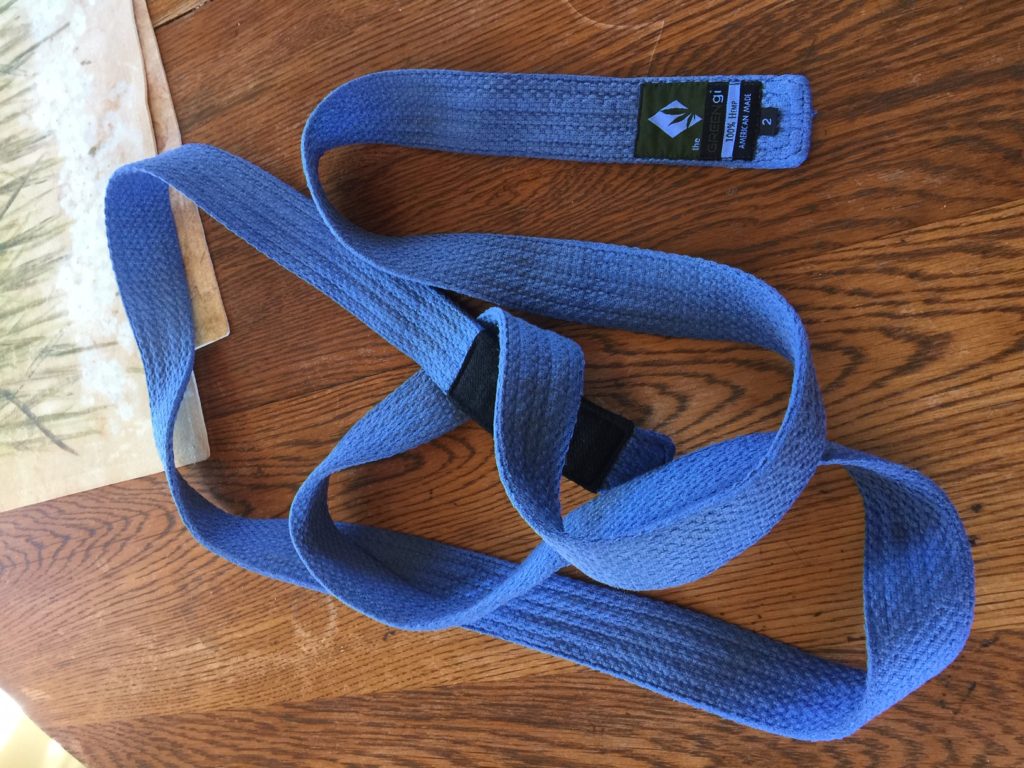 Go Heels.
Then, the toughest part: hiding it for about three months until the time was right.
This day was always going to be a special day. Having my instructor out for a great week of training and celebrating the hard work of everybody at the gym is a highlight of 2018 for sure. But I won’t lie: seeing that belt around Betsy’s waist was a particularly proud moment. Here’s to many more days like this one.


