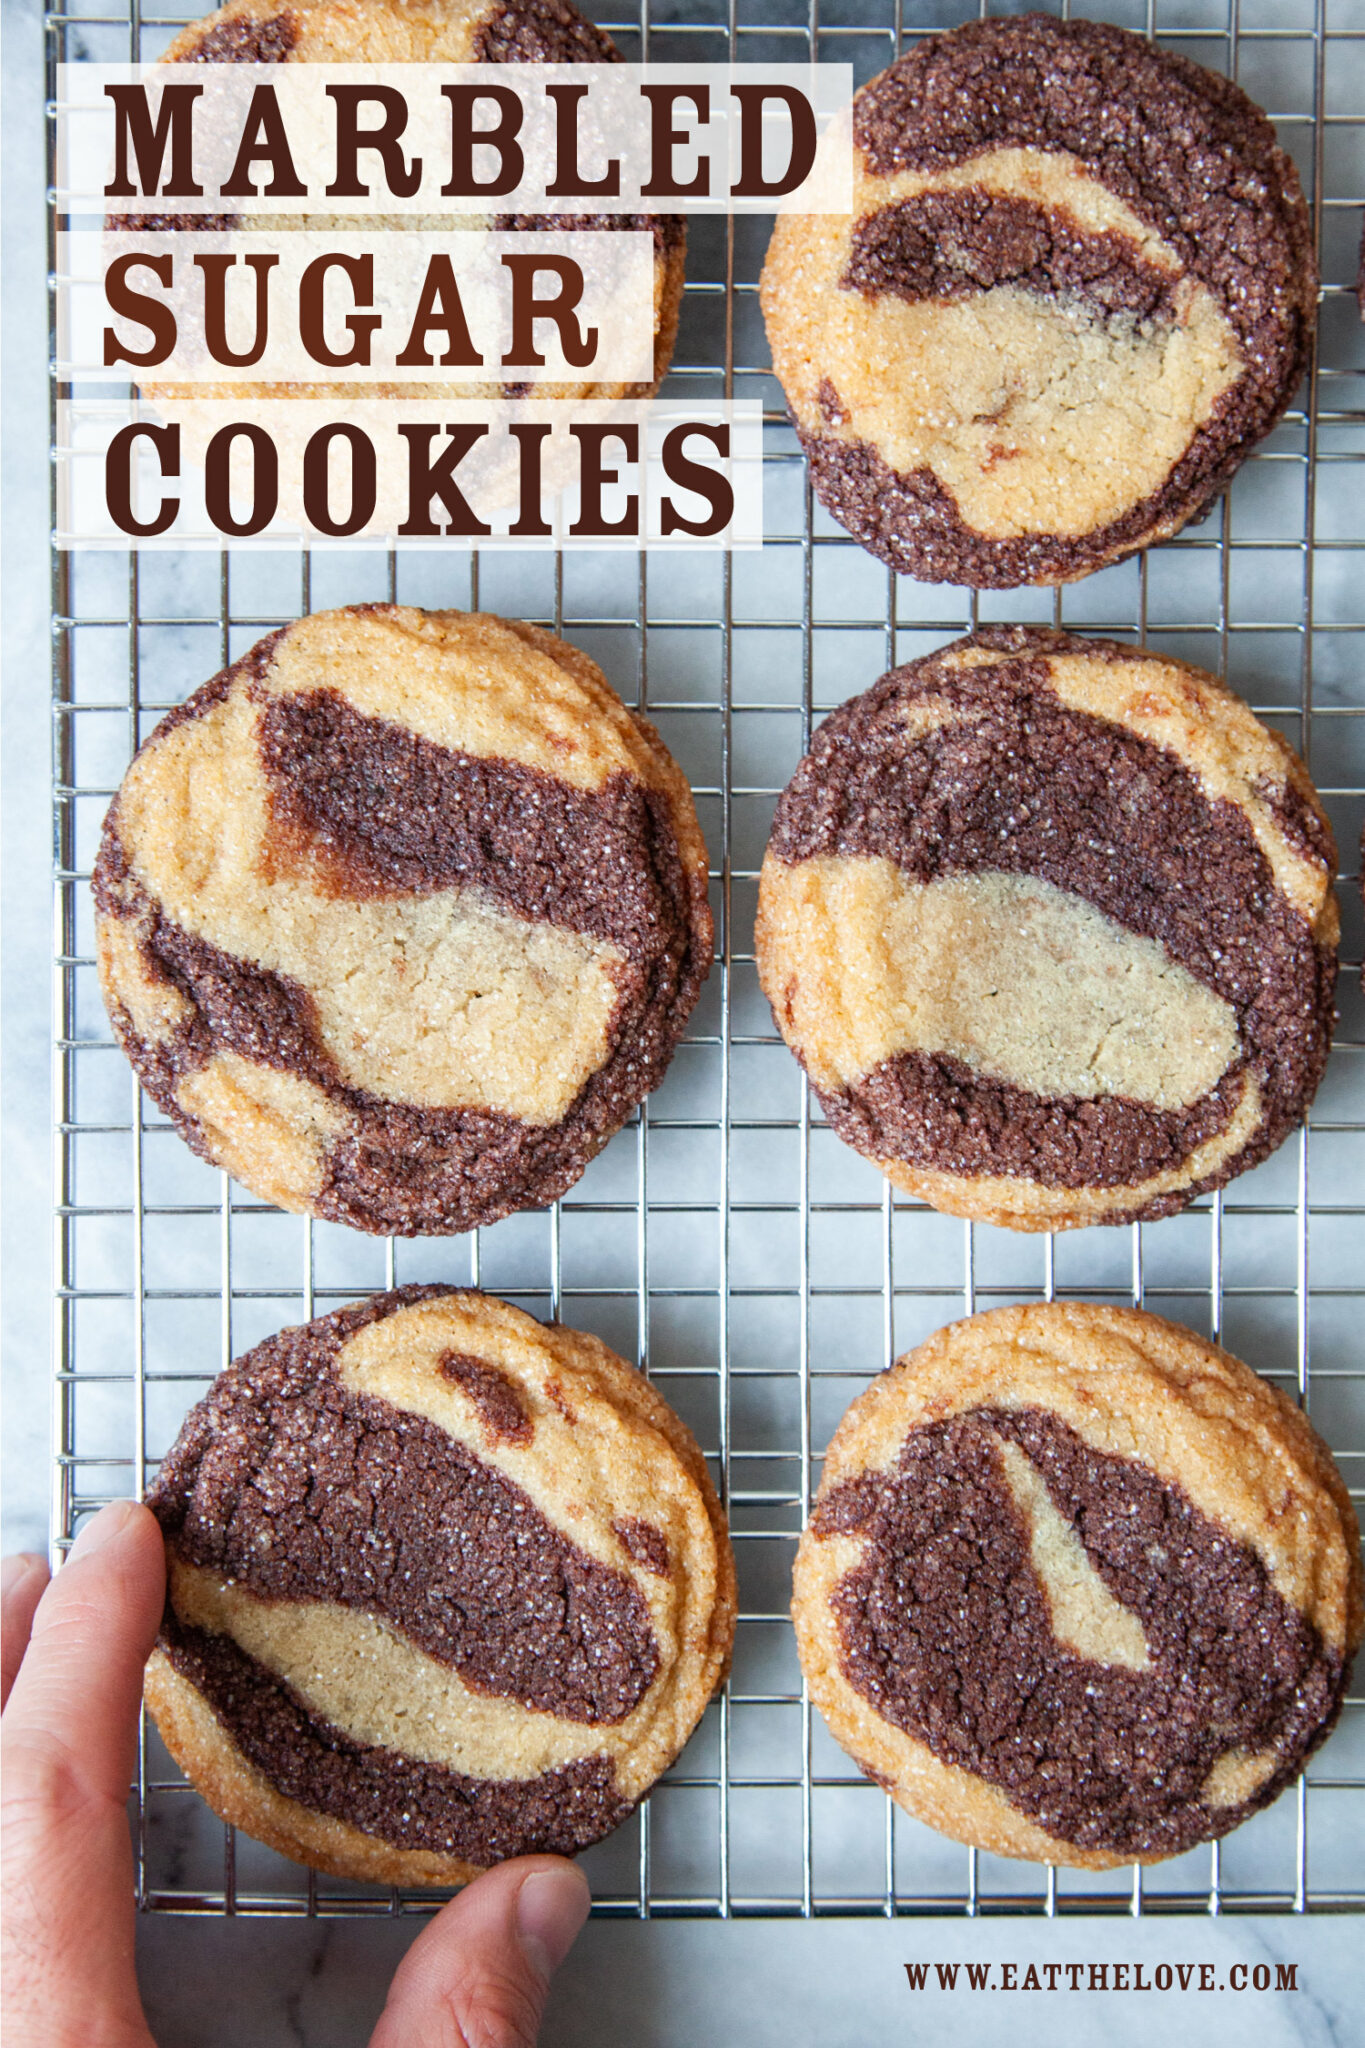
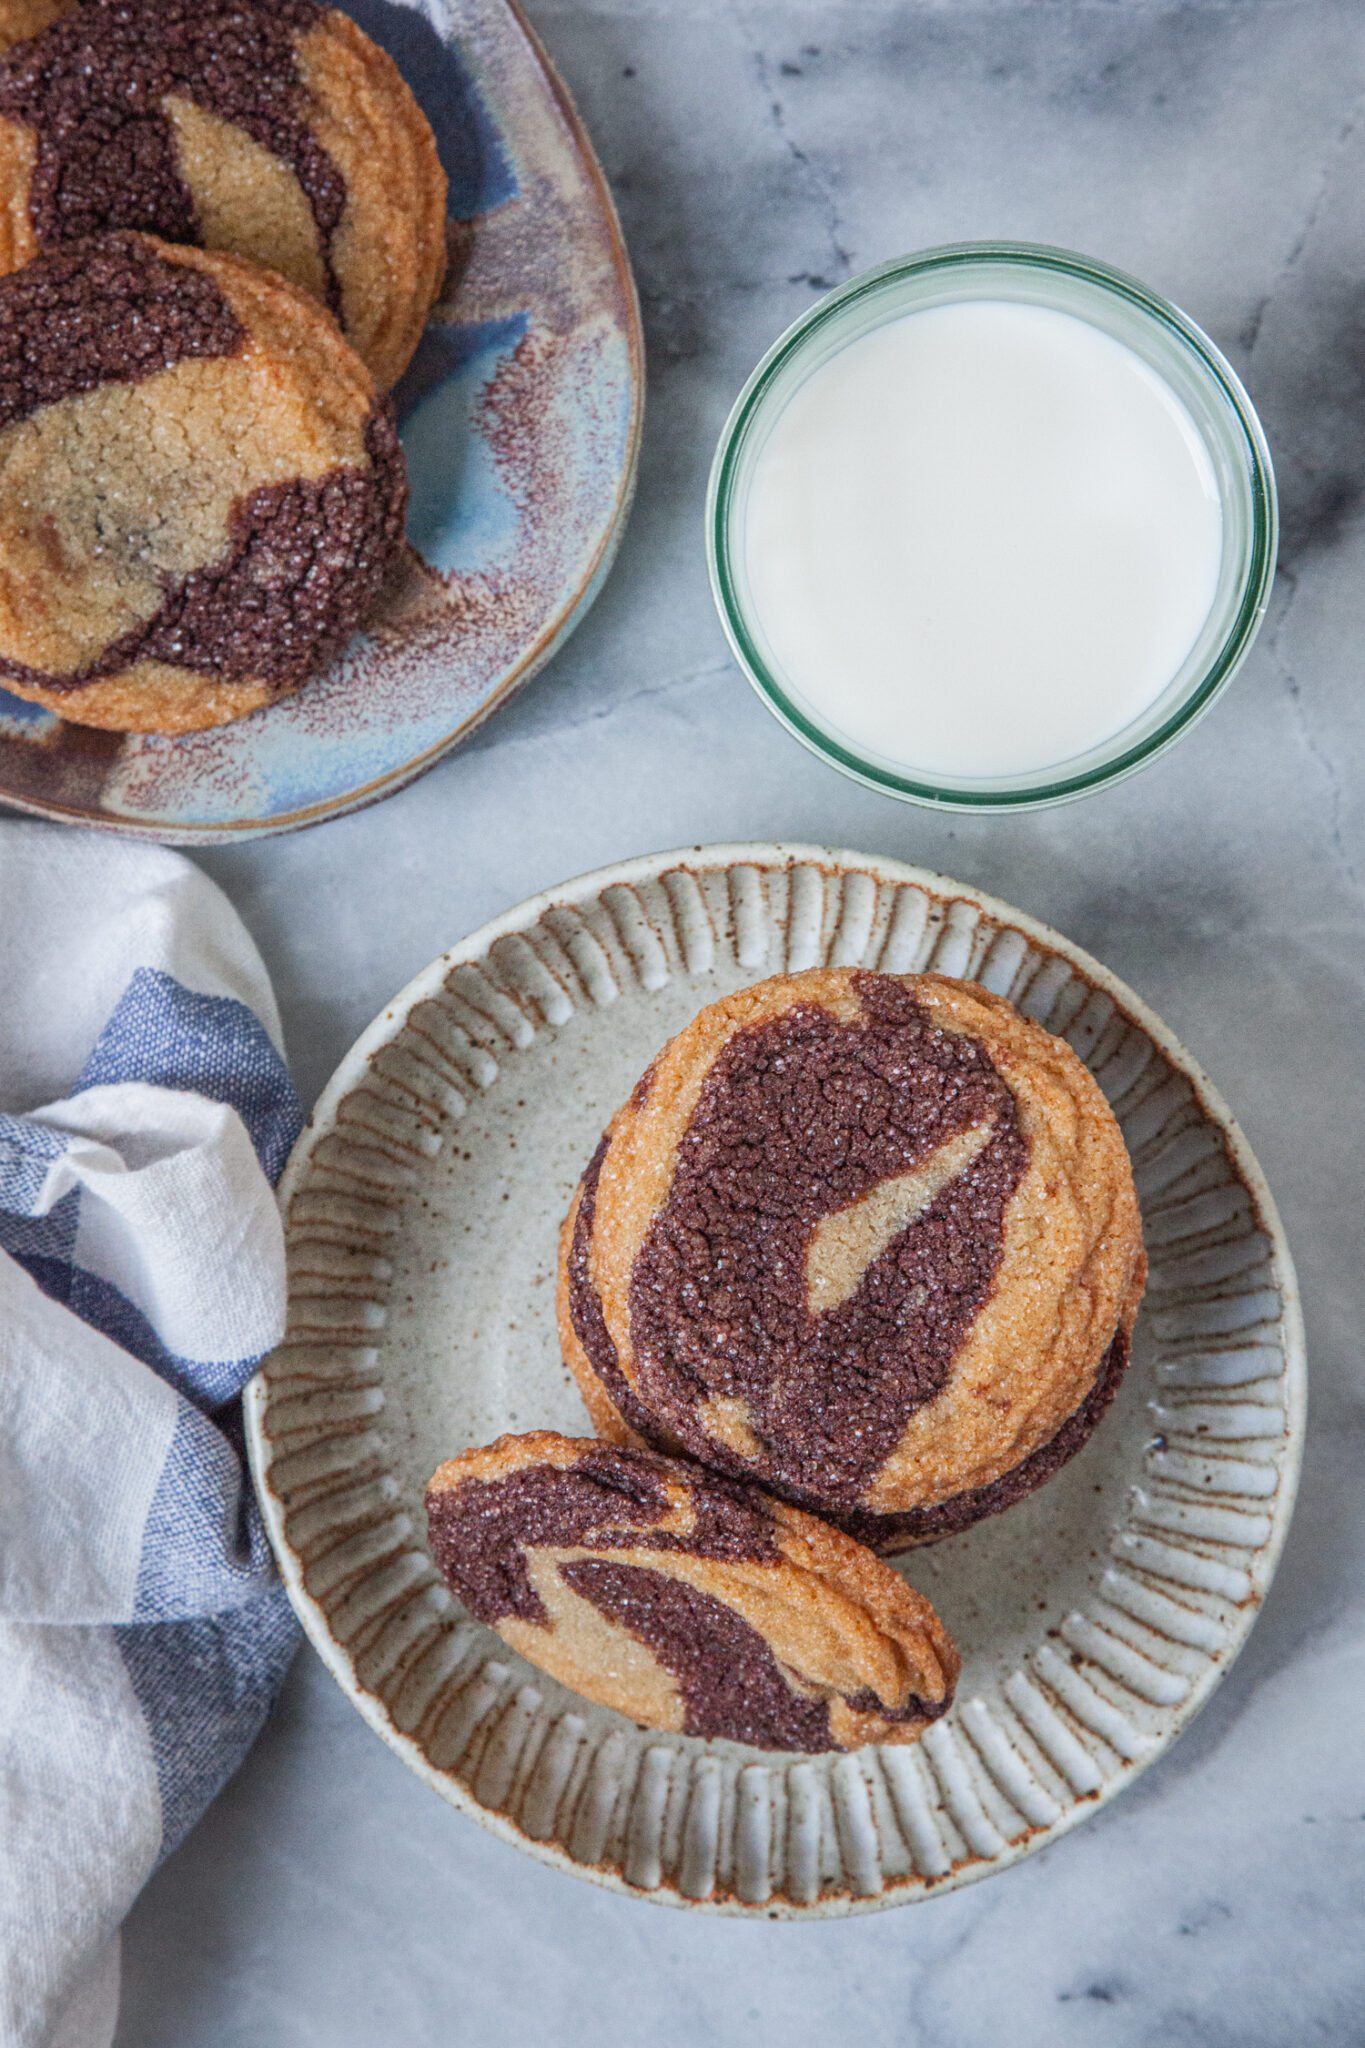
These beautifully marbled sugar cookies have swirls of vanilla and chocolate dough baked together and are easier to make than they look! Jump to Recipe It�s been years since I wrote my cookbook Marbled, Swirled, and Layered (affiliate link)....
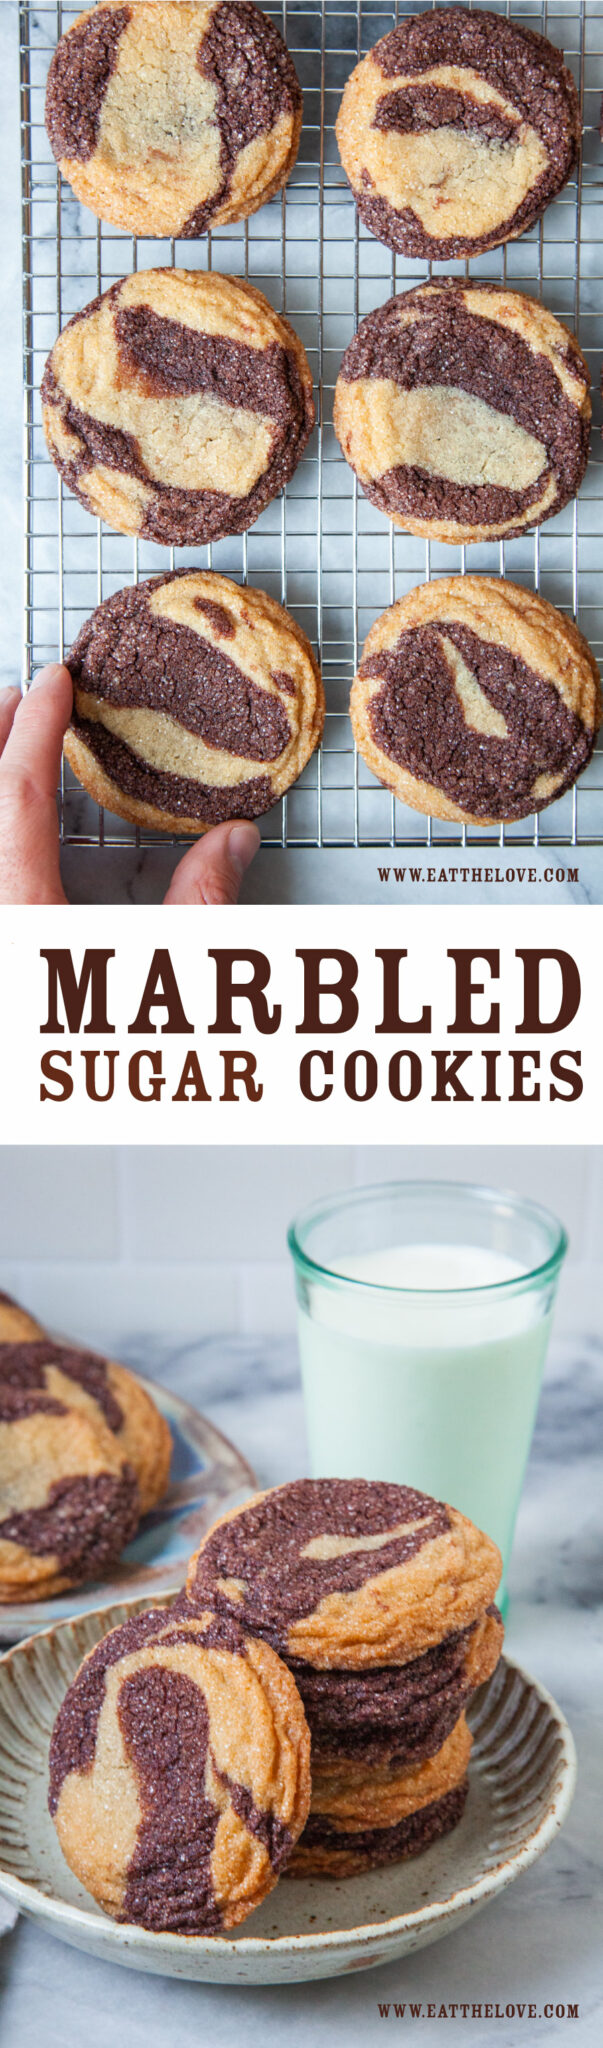
These beautifully marbled sugar cookies have swirls of vanilla and chocolate dough baked together and are easier to make than they look!
It�s been years since I wrote my cookbook Marbled, Swirled, and Layered (affiliate link). And though I took a break from mixing and marbling flavors together, I never really quit it completely. This is evident with the various marbled recipes on my blog like marbled chocolate and vanilla waffles, marbled rum cake, my Neapolitan brownies, and my psychedelic marbled cheesecake brownies. In fact, though my cookbook has over 150 recipes, there were about 100 extra recipes that ended up being edited out for various reasons. I love combining flavors!
Recently though, I�ve gone back to the classic marble combination of chocolate and vanilla, an ideal combination that looks gorgeous and tastes amazing. And that�s when I knew I had to dust off this recipe from my old manuscript and share them here. This marbled sugar cookie has the perfect chewy sweet texture like every ideal sugar cookie should have, and the swirls of chocolate dough mixed with vanilla make it a stunner that will wow everyone.

How do you make this cookie?
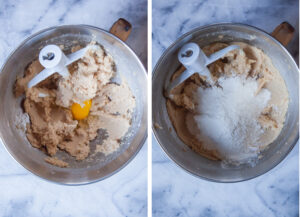
Though it looks complicated to make, this marbled sugar cookie isn�t much more difficult than making a classic sugar cookie, though it requires you mixing two different doughs. First cream together white sugar, brown sugar, butter, vanilla, baking soda, and salt together in a bowl. Mix in an egg, then the flour.

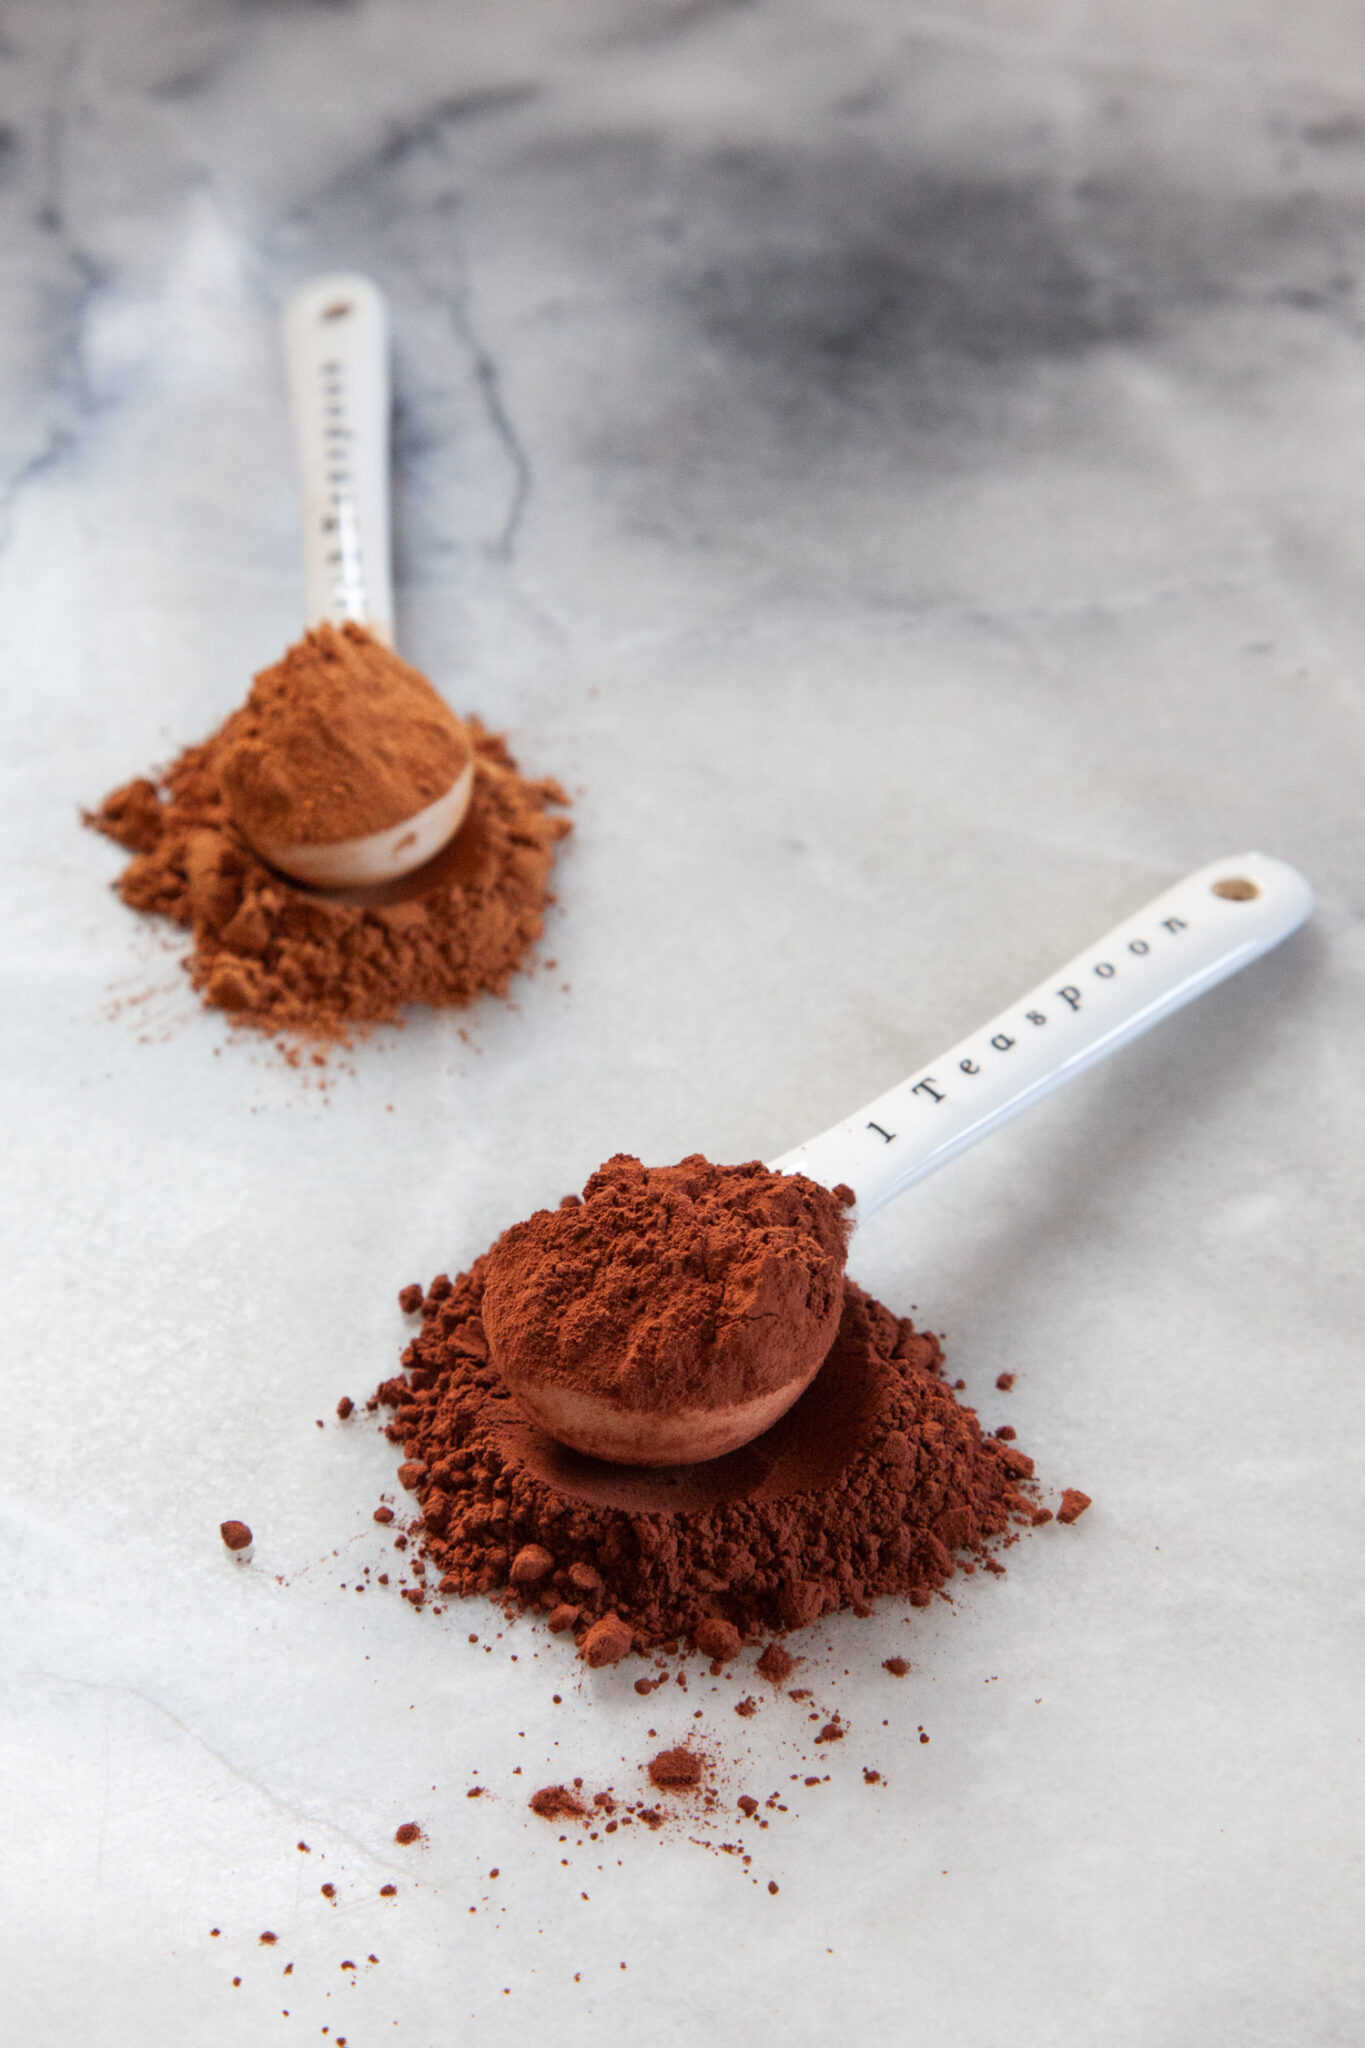
Then divide the dough in half. Into one half of the dough, add in a little bit of flour. In the other half of dough, mix in a little bit of Dutch-processed cocoa.

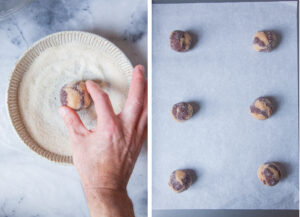
Then scoop out 1 tablespoon of each dough. Split the dough of each in half, and sandwich together the four doughs, alternating each of them. Squish them together, then twist them one part toward you, another away from you, to marble. Roll into a ball, then roll in sugar. Repeat and bake!
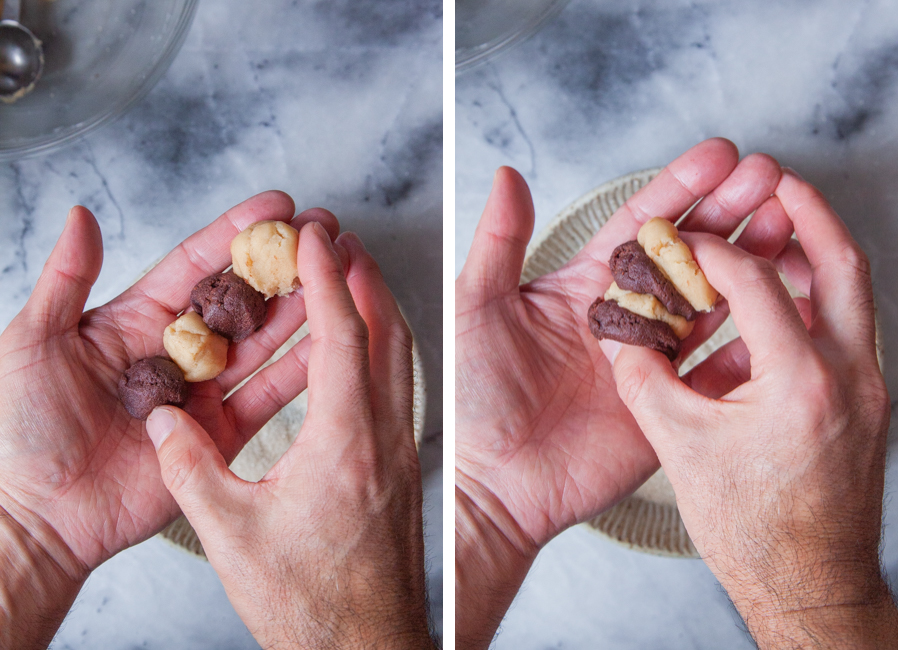
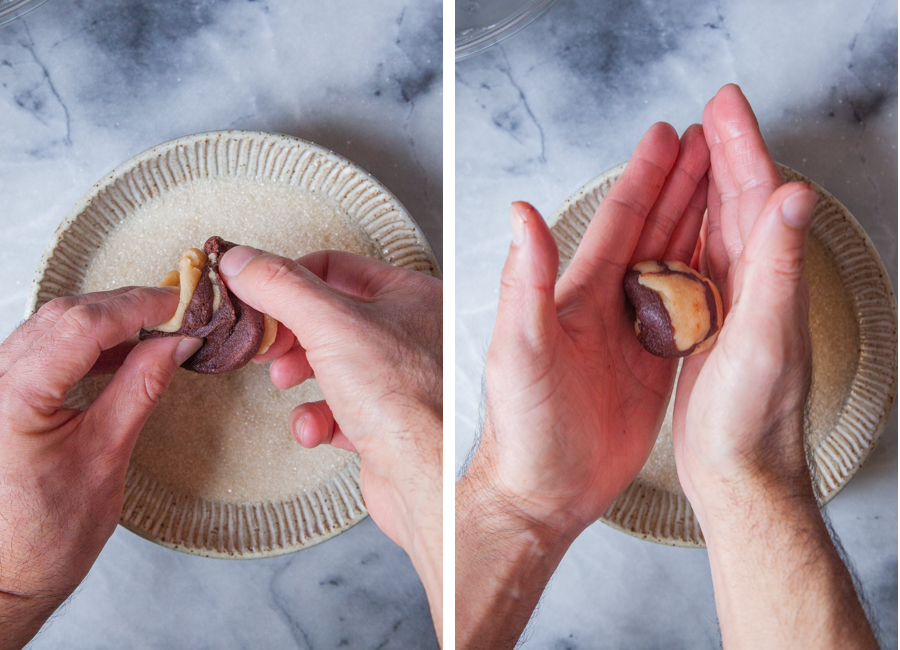
If the photos aren�t working for you, I�ve also made a short video, to show you how to assemble and marble the cookie doughs together!
How to form these cookie balls (video)
What is Dutch-processed cocoa
I used Dutch-processed cocoa is a cocoa powder that has been treated and alkalinized so as to neutralize the natural acidity in cocoa. I use it in this recipe not for the alkalinized nature but�because it gives a more dramatic dark color to the marbled cookies and lends a mellower deeper chocolate flavor. You can find Dutch-processed cocoa at most well stocked grocery stores. Common brands include Guittard�s Red Rouge Cocoa, King Arthur�s Black Cocoa, and Hershey�s Special Dark Cocoa (all those links are affiliated links).
But if you can�t find Dutch-processed cocoa, you can use the same amount of natural cocoa powder in its place. Just keep in mind the cookies will look slightly less dramatic is all and the chocolate part of the cookie will be a little more aggressively sharp.�
How do you store this cookie?
These cookies store fairly well due to the high amount of butter and sugar in them. Keep them in an airtight container or under a cake dome for 3 to 4 days. You can also freeze them, but keep in mind that freezing and then thawing them will dissolve some of the sugar coating, and they won�t look as pretty. Freeze them on a baking sheet until solidly frozen, about 2 hours, then store them in a resealeable Ziploc storage bag for up to 2 months.
If you like these marbled sugar cookies, check out these other cookie recipes:
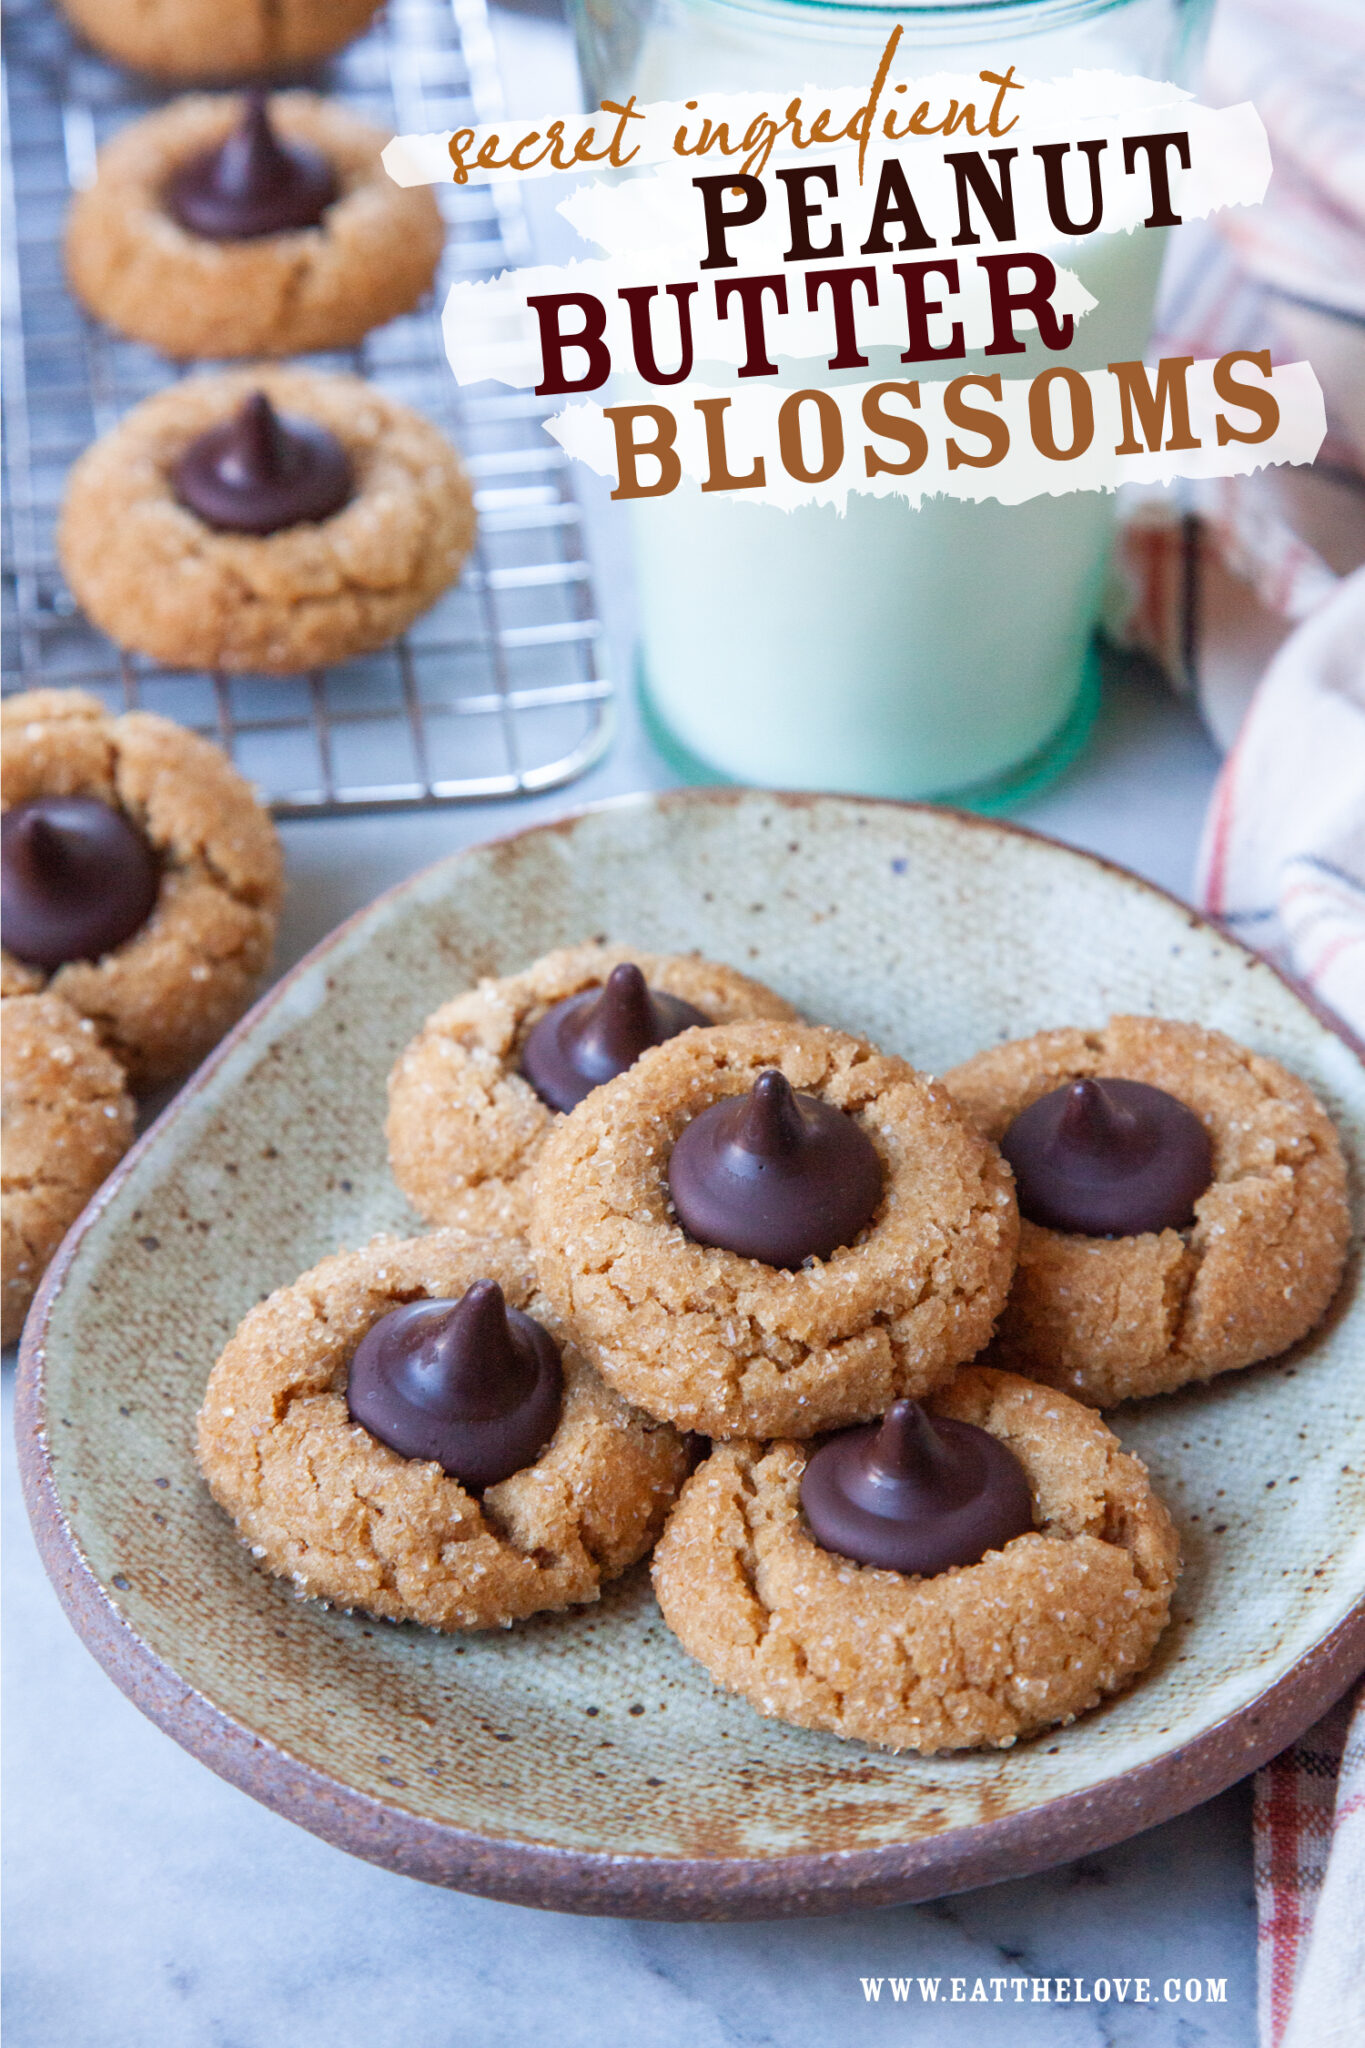
Bakery Style Chocolate Chip Cookies Secret Ingredient Peanut Butter Blossoms Chewy Ginger Molasses Cookies Oatmeal Raisin Cookies with Brown Butter Hot Chocolate Cookies Chocolate Salted Caramel Cookies Monster Cookies Chocolate Crackle Cookies
Marbled Sugar Cookies
Ingredients
Base Dough
1 cup white sugar 200 g1/2 cup packed light brown sugar 110 g1 cup unsalted butter 2 sticks or 225 g, cut into 1/2 cubes2 teaspoon vanilla extract1 teaspoon baking soda3/4 teaspoon kosher salt1 large egg1 3/4 cup all-purpose flour 245 gVanilla dough
1/4 cup all-purpose flour 35 gTo finish
1/2 cup white sugarInstructions


Video
Nutrition
Pin it for Later!
The post Marbled Sugar Cookies [with video] appeared first on Eat The Love.