If, like me, the night before you go to work you say to yourself, "I'm going to wake up really earlier and do my hair really nice and REALLY make an effort". Then the morning comes, you hit snooze...
If, like me, the night before you go to work you say to yourself, "I'm going to wake up really earlier and do my hair really nice and REALLY make an effort". Then the morning comes, you hit snooze on your alarm and wake up in a flap so you have to go for your trusty messy bun.
Well this hair tutorial might be your morning hair saviour! It looks like you made an effort, when actually it takes you all of 4 minutes and then you have more time to stare at your ceiling trying to wake up.
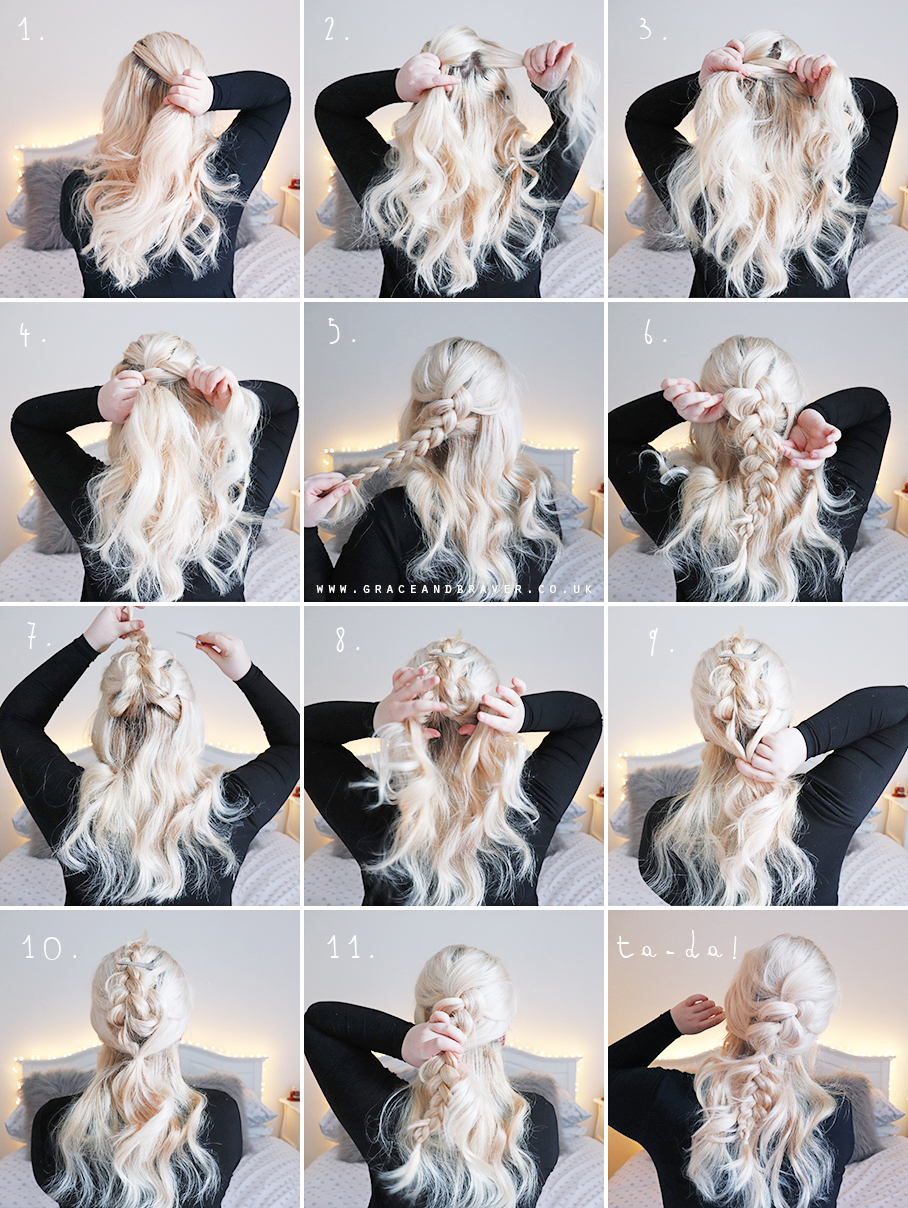
So here is some instructions you can use for this tutorial, once you've got it you'll be able to do it with your eyes closed.
1). Grab a V section of hair from the crown of your head. Clip away the rest of the hair away from this section for an easier time.
2). Now you have this chunk of hair, you can start braiding. Split it into three sections, grabbing one strand and wrapping it under the middle strand.
3). Grab the last remaining section of the plait and wrap that under the middle again.
4). Keep on braiding in this way to create your dutch plait, you can add more hair into your sections as you braid if you wish.
5). Now you have your fancy dutch braid! WOO! Secure this with a clear hair-elastic.
6). Pull on the edges of your braid to add volume and create a thicker looking plait.
7). Clip away the braid you just created and place it on top of your head to keep it out of the way.
8). Now grab two sections of hair from both sides of your head and move them to the back of your head. Meeting in the middle.
9). and 10). Secure this section of hair with an elastic band to create a mini pony-tail.
11). Now unclip the braid and grab it in the middle. Use a clear hair band to section off the braid.
And Ta-da! It's done :) Mine looks like this, but of course feel free to make it your own. It's super easy!
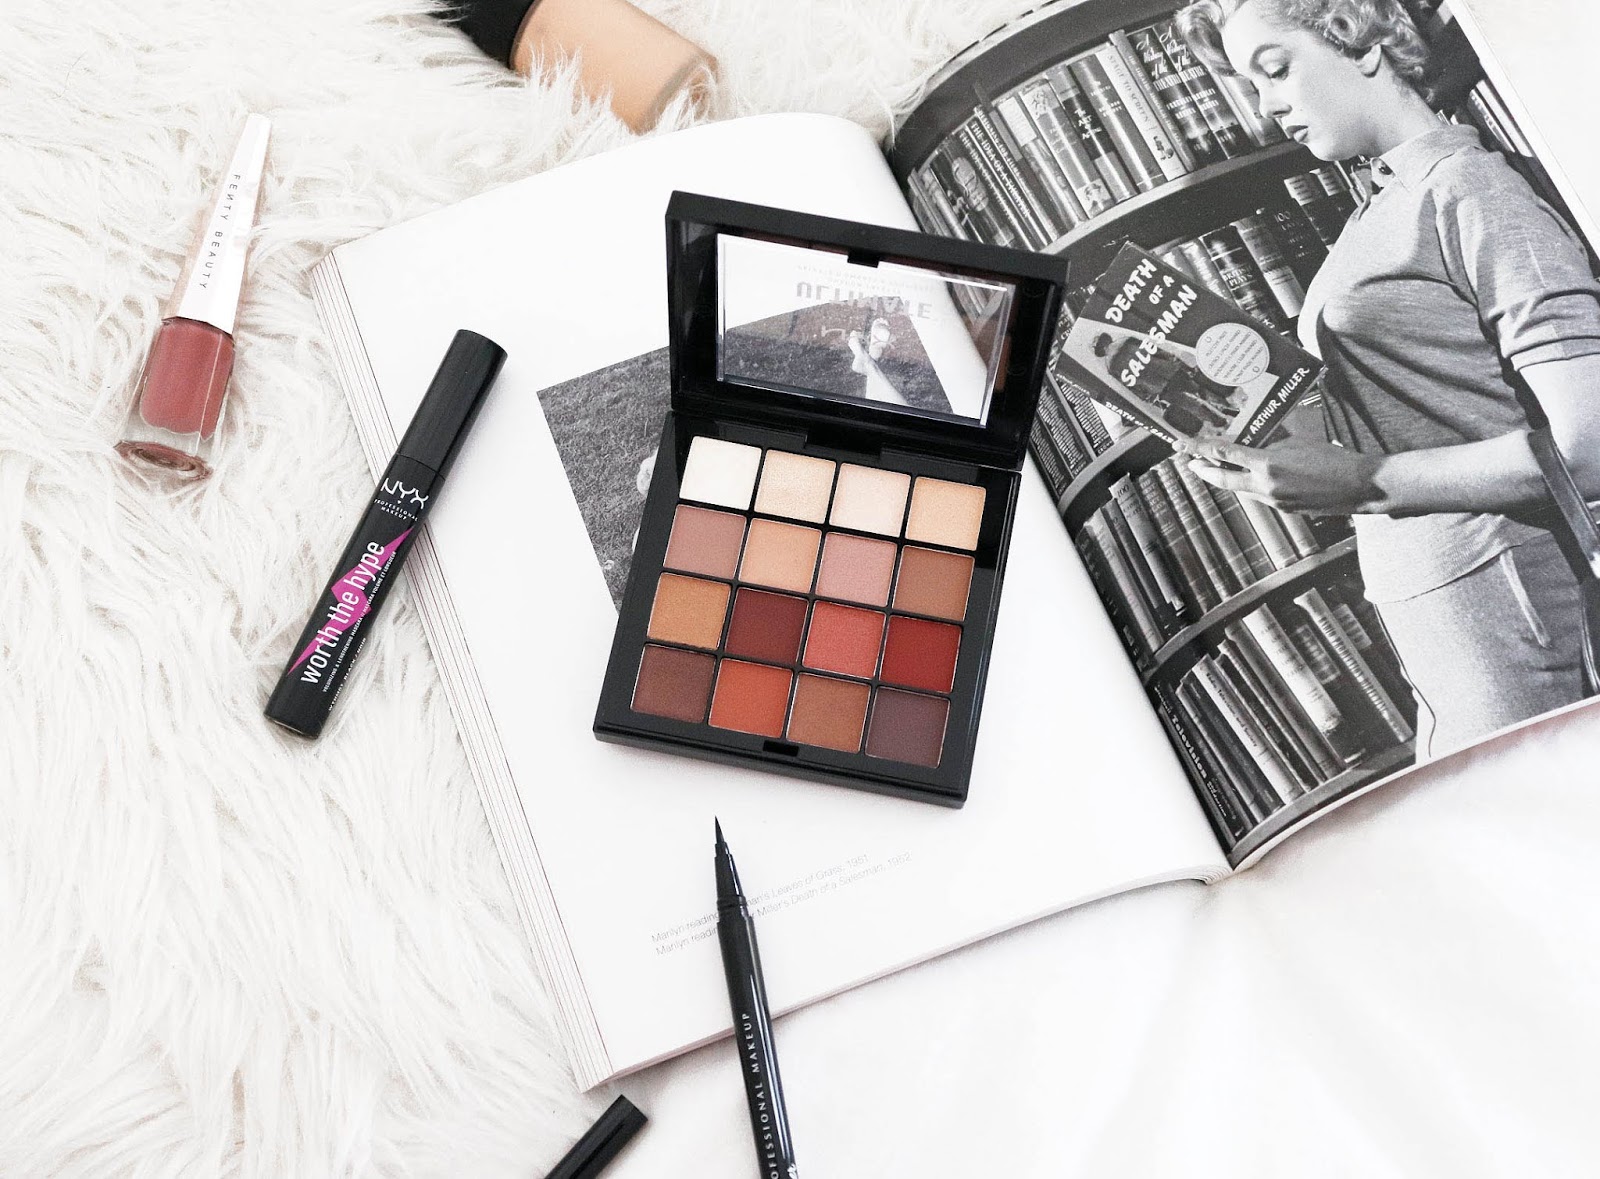
What I used to create this look


 JavaScript is currently disabled in this browser. Reactivate it to view this content.


