Hey everyone, Katie here to show you how to create your own DIY Travel Memory Wall Art based on your adventures from 2024! This is such a cool project to reflect on the past year and all of the places you’ve traveled. Supplies: Tombow Dual Brush Pen Art Markers (I’m using 947, 026, 757, 946, […] The post DIY Travel Memory Wall Art appeared first on Tombow USA Blog.
Hey everyone, Katie here to show you how to create your own DIY Travel Memory Wall Art based on your adventures from 2024! This is such a cool project to reflect on the past year and all of the places you’ve traveled.
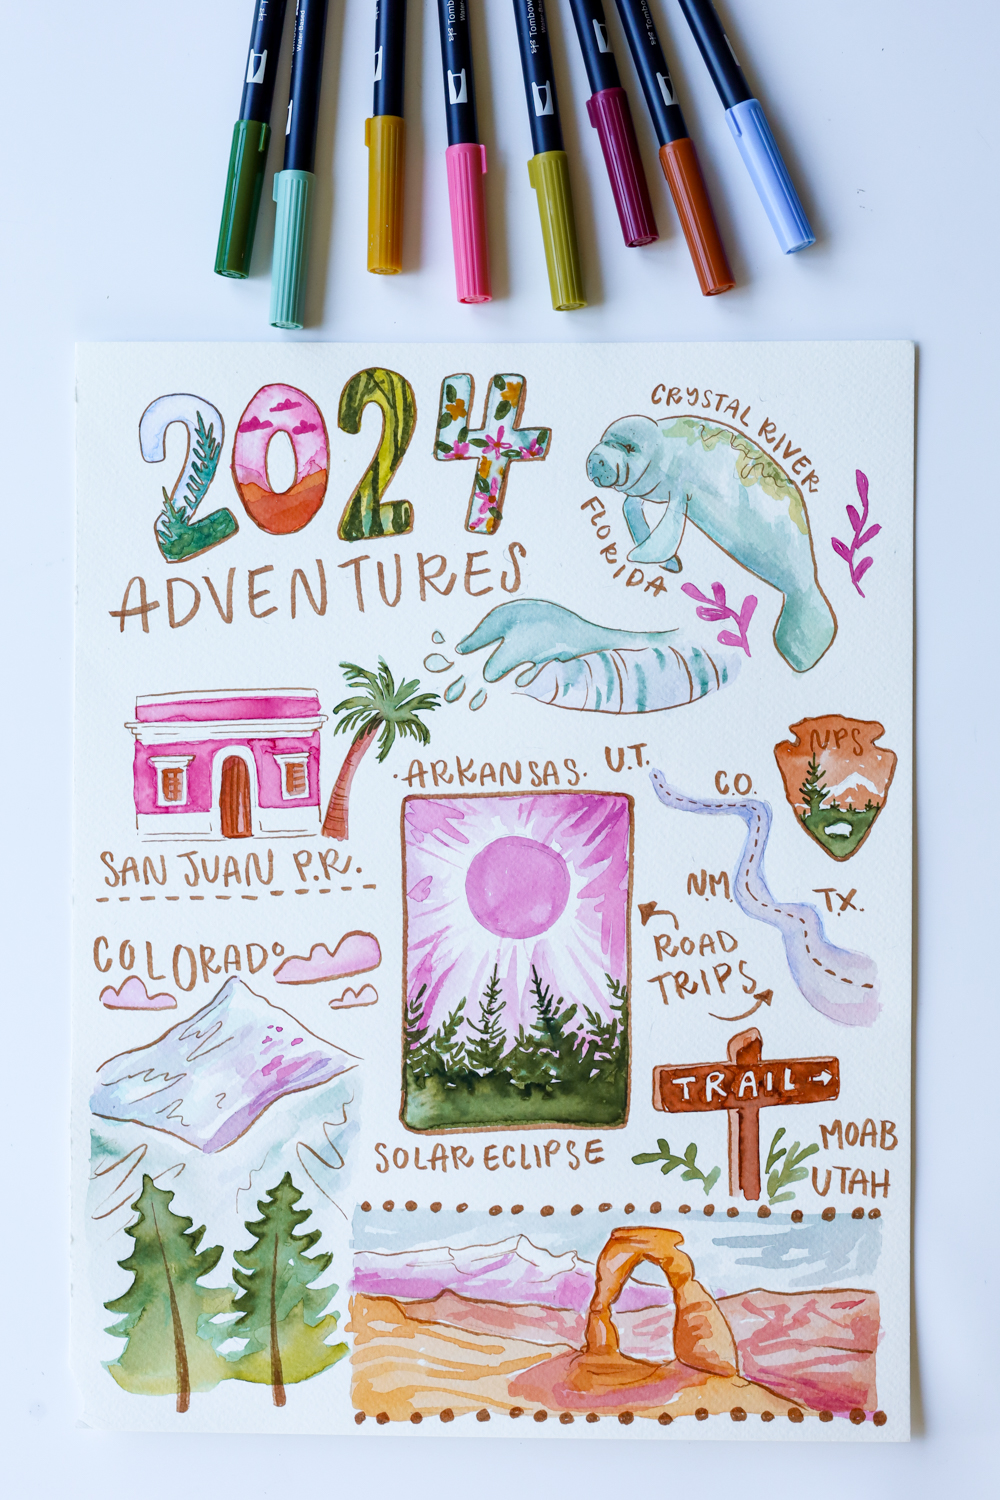
Supplies:
- Tombow Dual Brush Pen Art Markers (I’m using 947, 026, 757, 946, 817, 126, 312, 533, & 177)
- Watercolor Paper
- Tombow Blending Palette
- Water + Paintbrush
- Tombow Fudenosuke Colors Brush Pen Set, 10-Pack (I’m using the Brown brush pen from this set!)
- Tombow MONO Graph Mechanical Pencil, Pastel, Coral Pink
- Tombow MONO Natural Eraser
Step one:
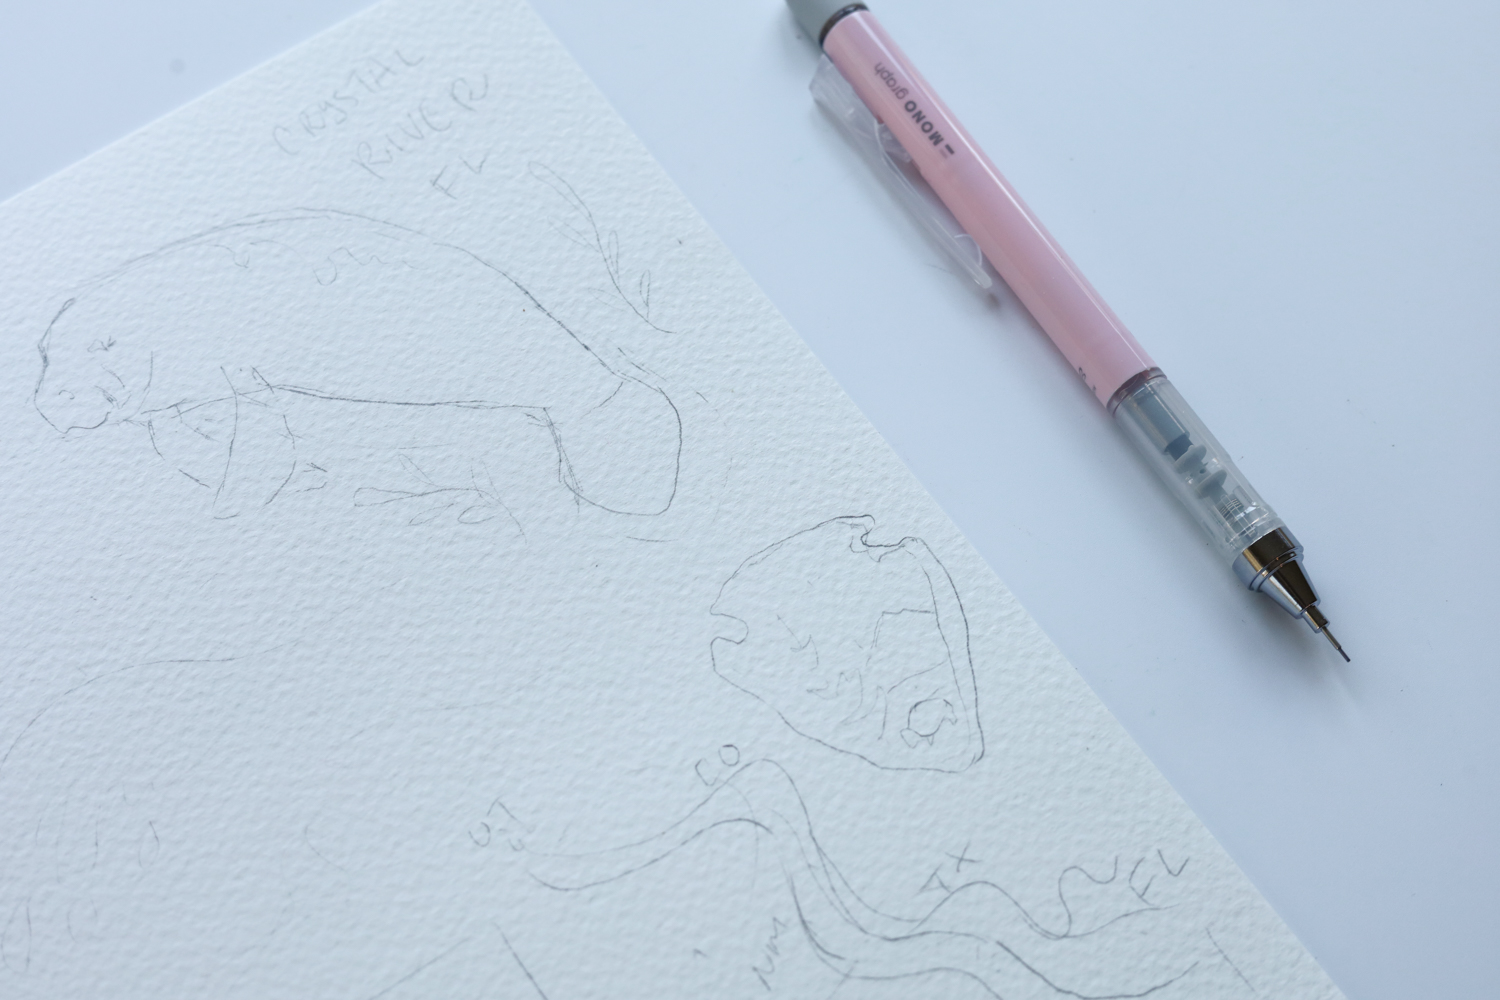
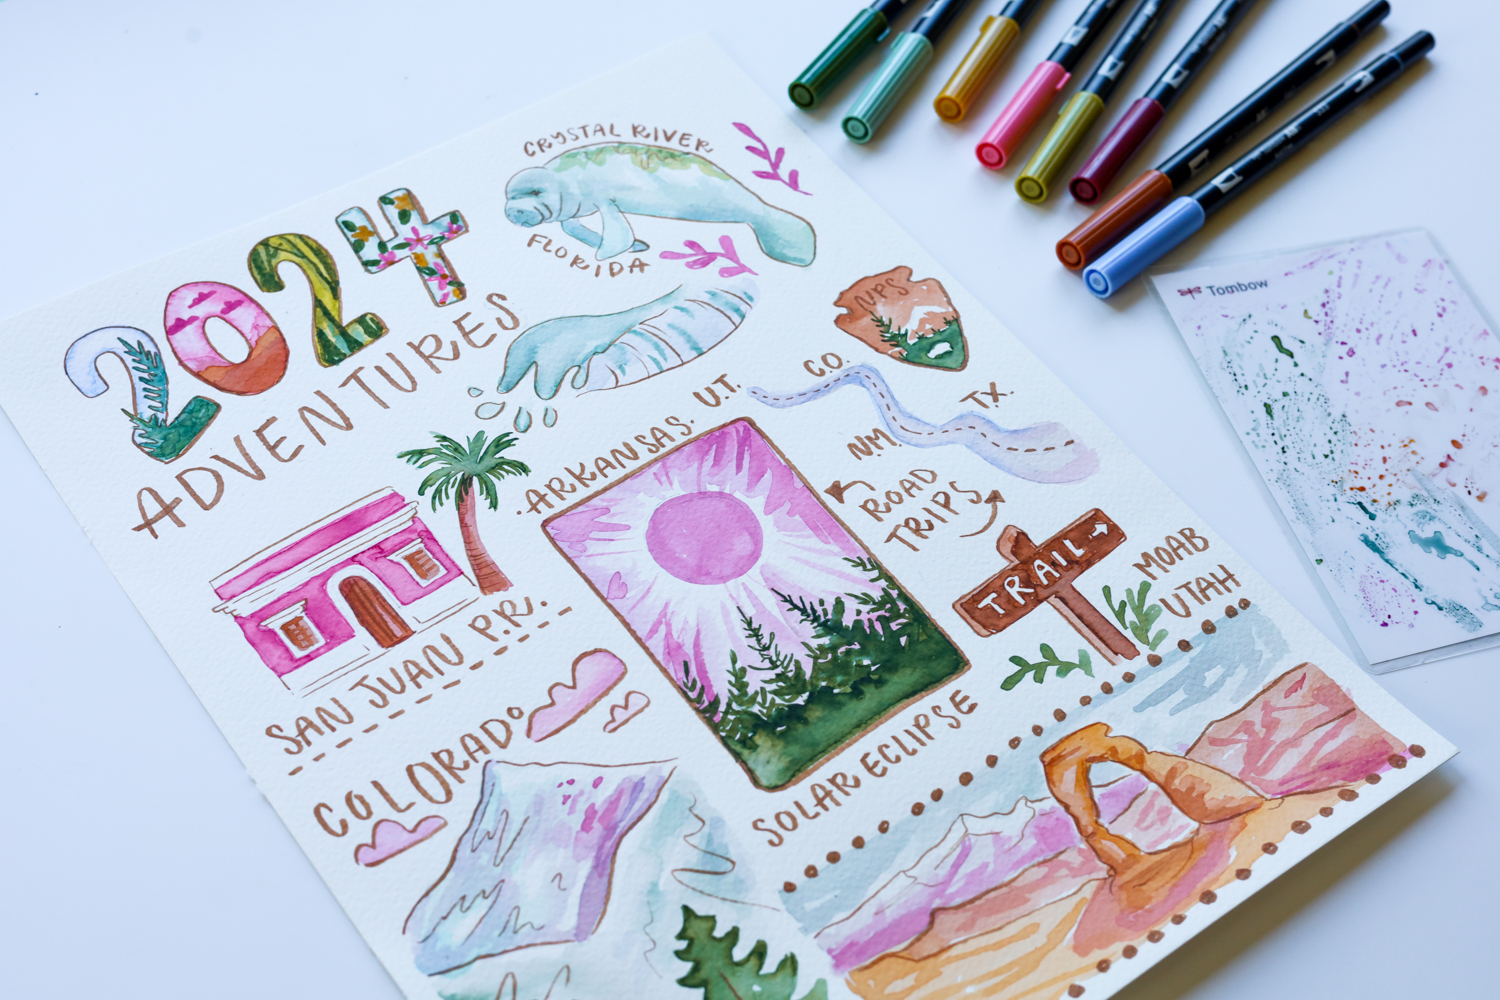
Start by writing a list of all of the travels and adventures you went on in 2024 and want to include in your Travel Memory Wall Art! Use the MONO Graph mechanical pencil to sketch them all out onto your watercolor paper. I also left space so that I can write in the places later.
Think about any fun design elements that you can add as well. I added the National Park Logo because I visited a few new national parks, a trail sign, waves, etc.
Step two:
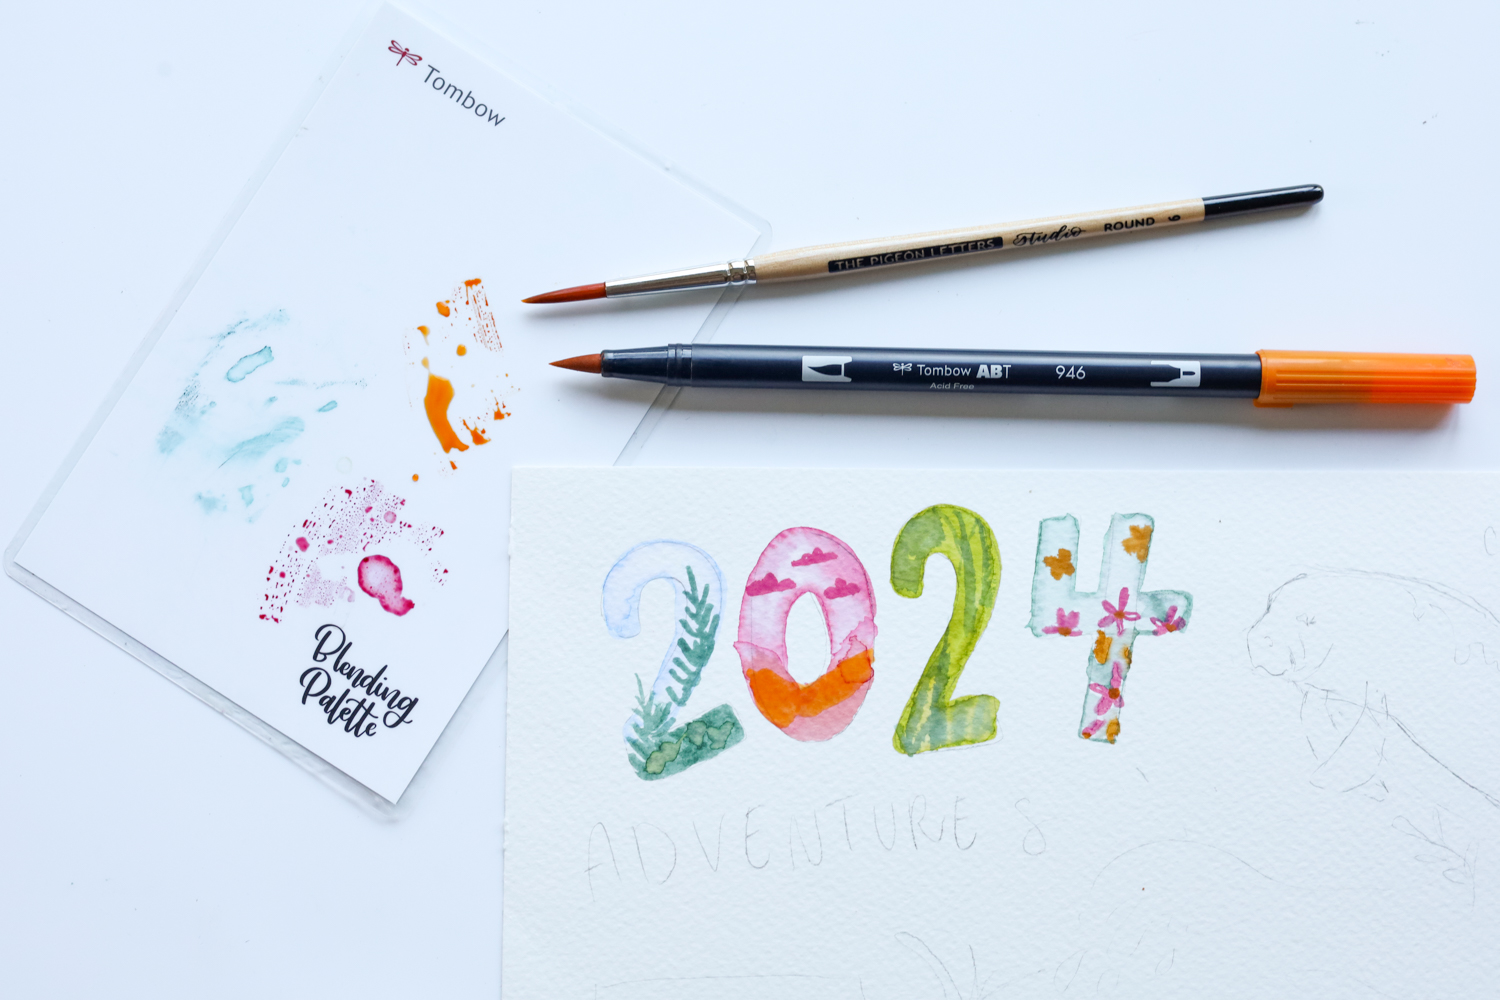
Next we’re going to paint in our illustrations using Dual Brush Pens as watercolor! Here’s how:
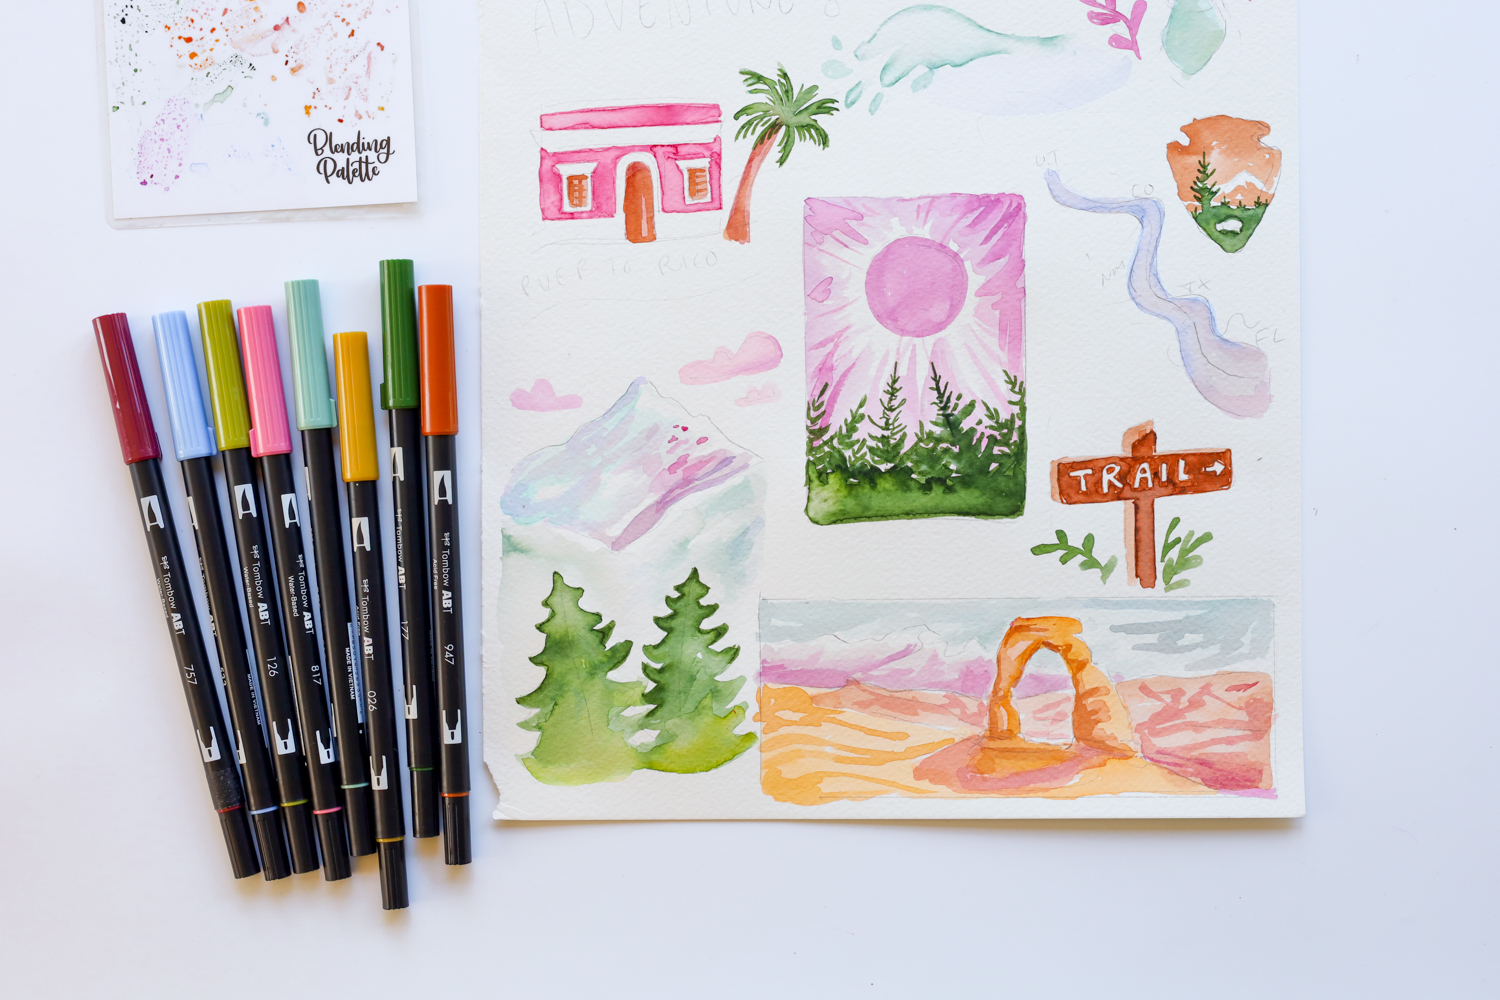
- Apply Dual Brush Pen ink to the blending palette by scribbling the marker on the plastic surface.
- Pick up the ink with a wet paintbrush.
- Apply the ink to the paper just like you would with normal watercolor paints!
Bonus tip for watercolor painting with Dual Brush Pens:
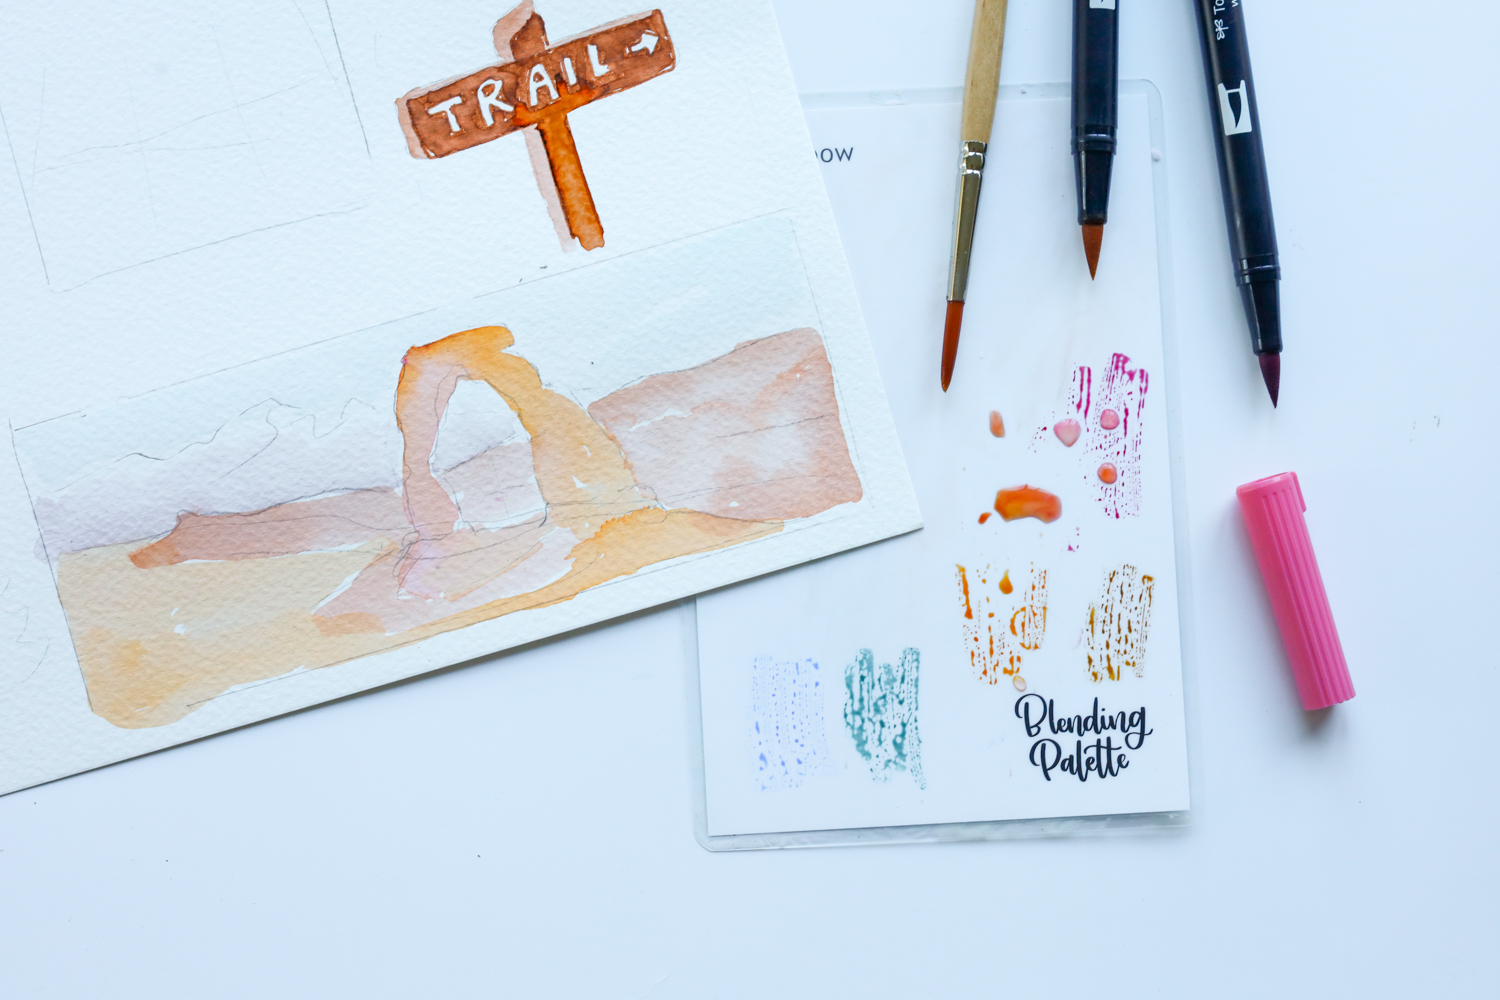
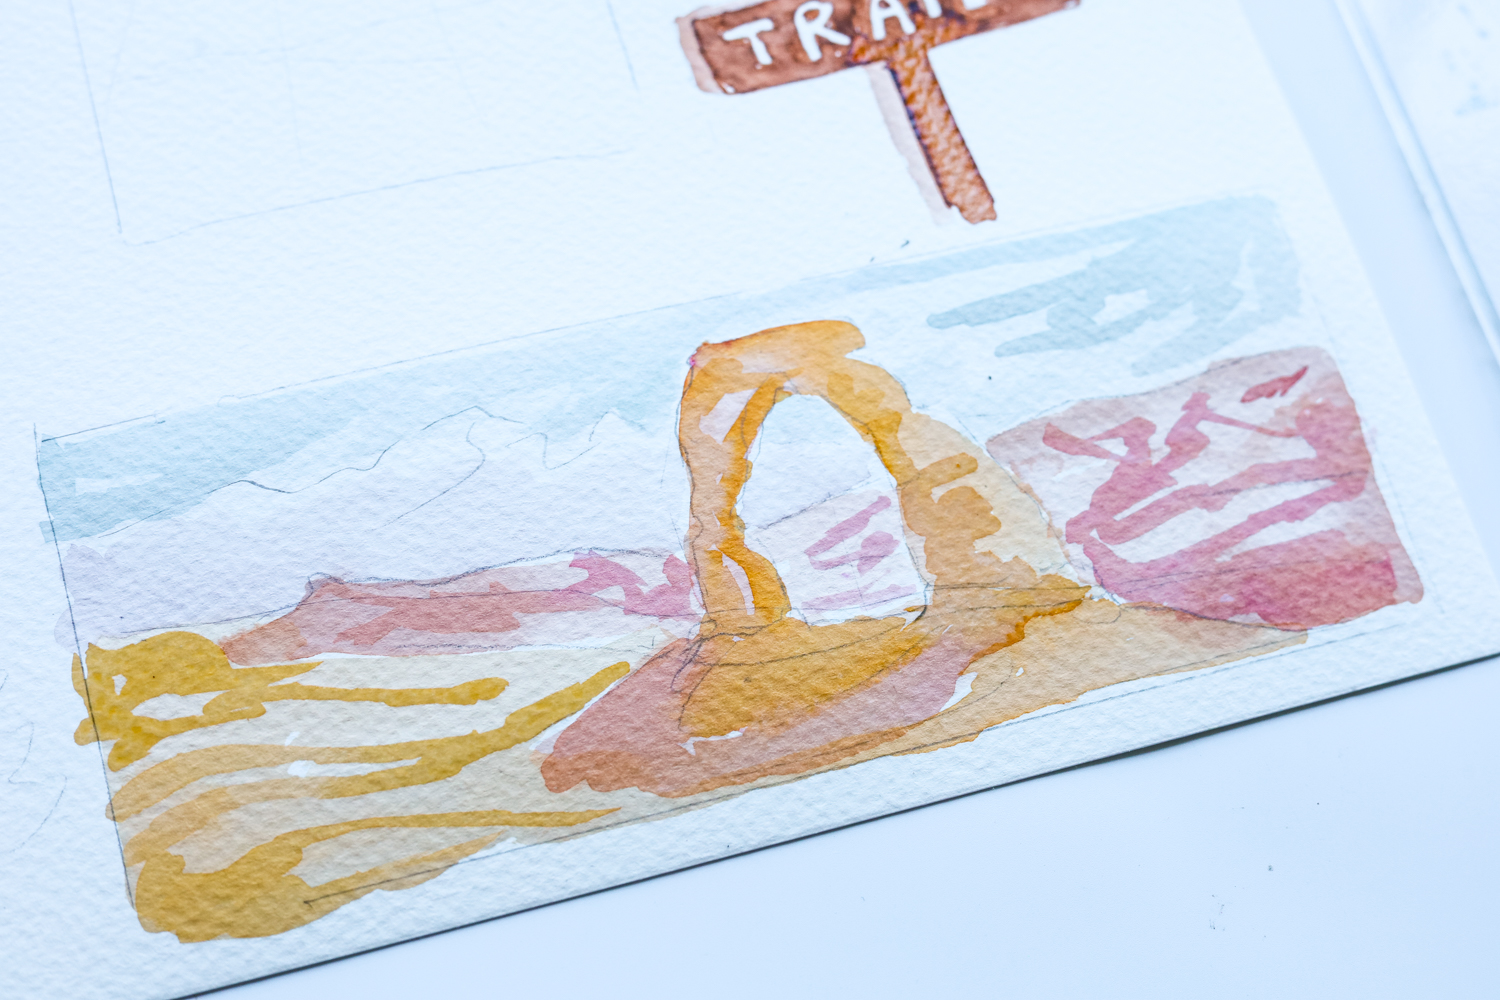
Work in layers! As you can see in the photo below, I started with a really light layer of color. To do this, just make sure you use more water then ink on your paintbrush.
Then for the next layer, I used a little less water for a darker pigment, and added more details to my landscape painting.
Step three:
Continue filling in your travel illustrations.
Step four:
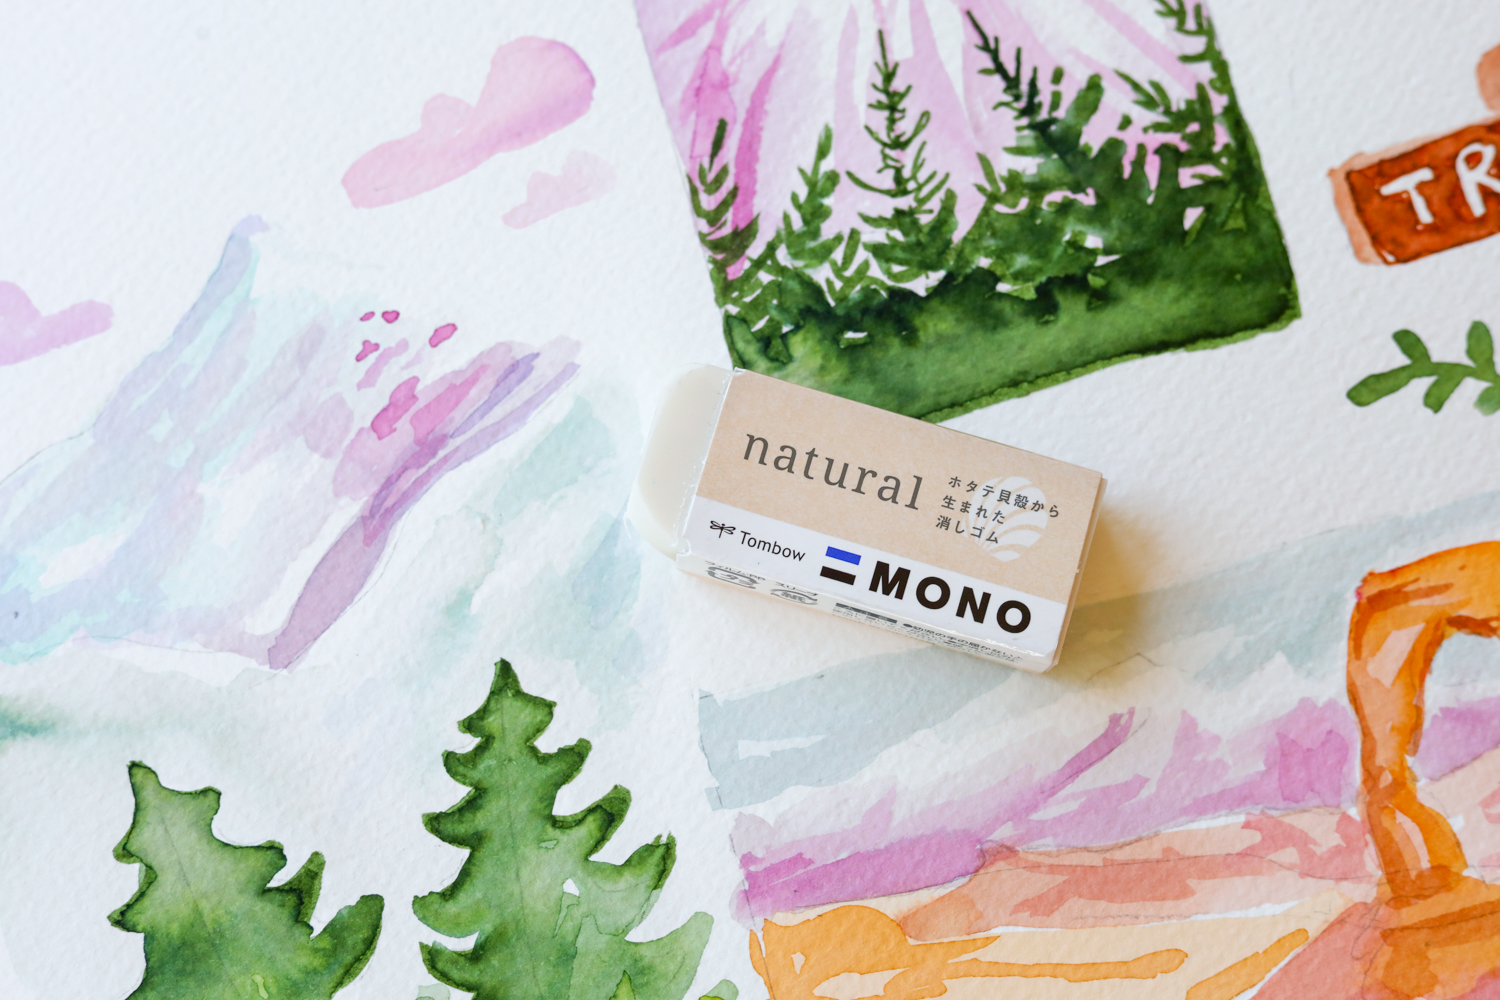
Use the MONO Natural Eraser to erase your pencil lines. Did you know this little eraser can erase pencil lines that are underneath Dual Brush Pen ink? It’s like magic!
Step five:
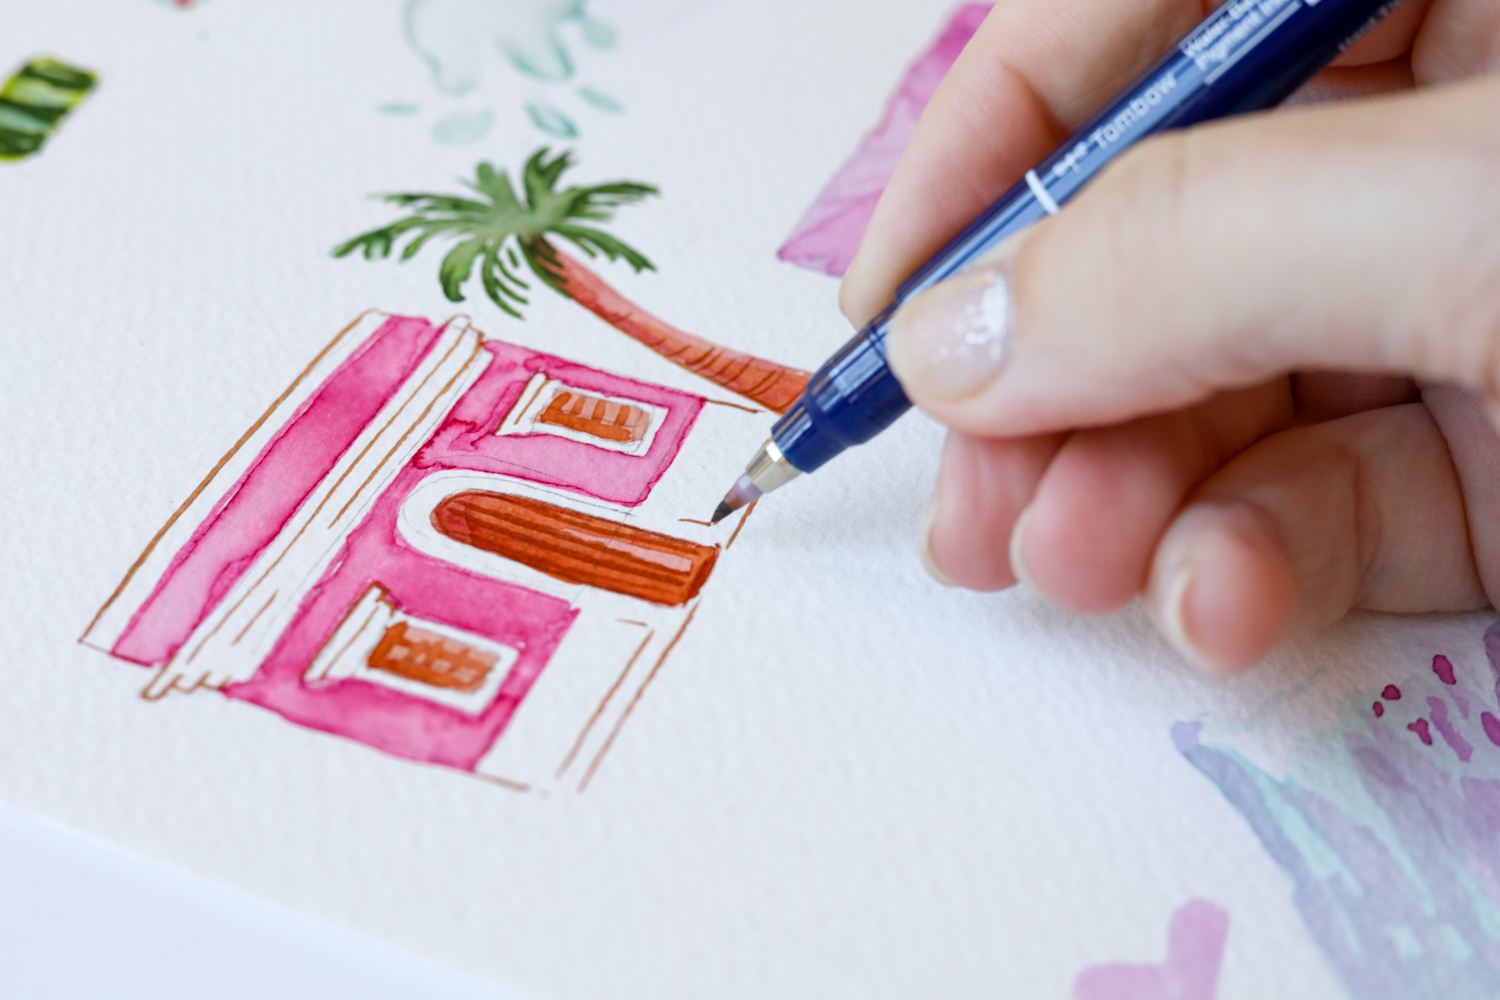
Use a Fudenosuke Brush Pen to add any outlines to your illustrations. I chose to use the brown brush pen from the Fudenosuke Colors set, because I love the warm brown tones as an alternative to the classic black.
Also use the Fudenosuke to write in the names of the places you traveled.
Step six:
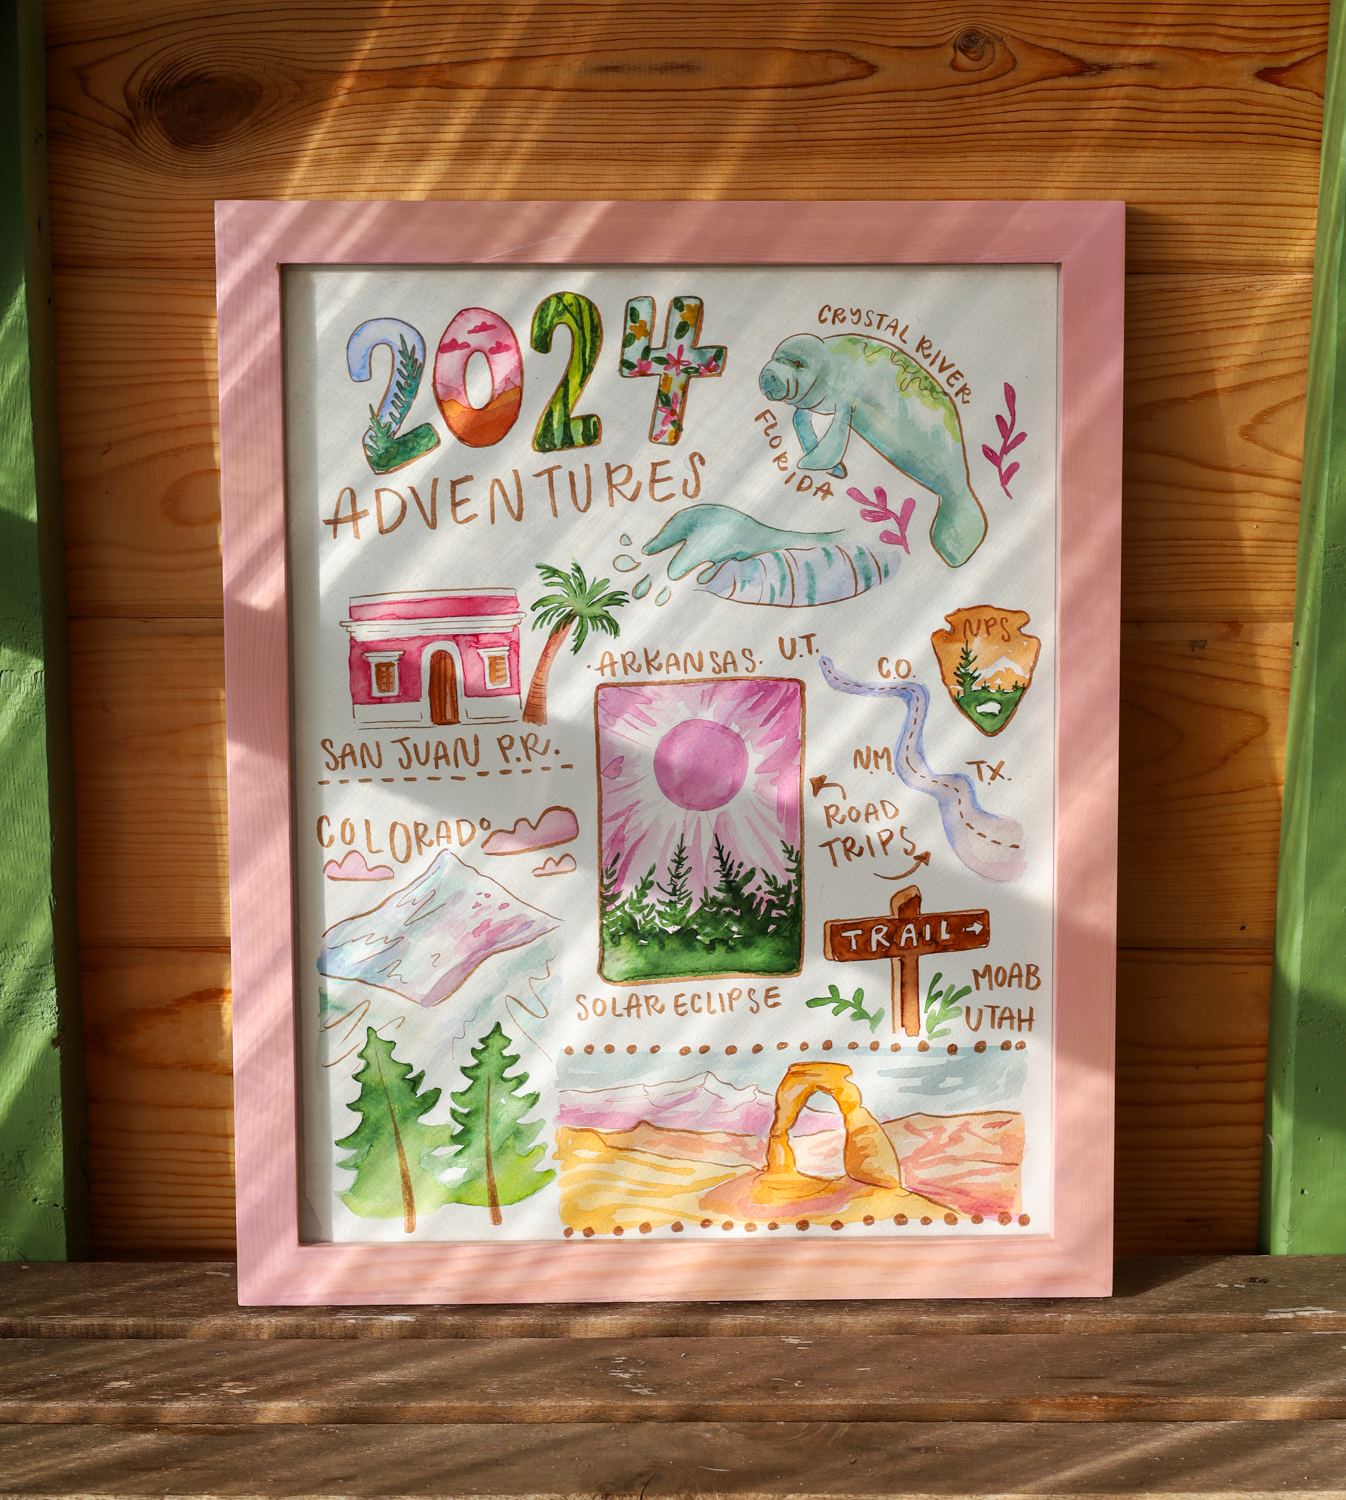
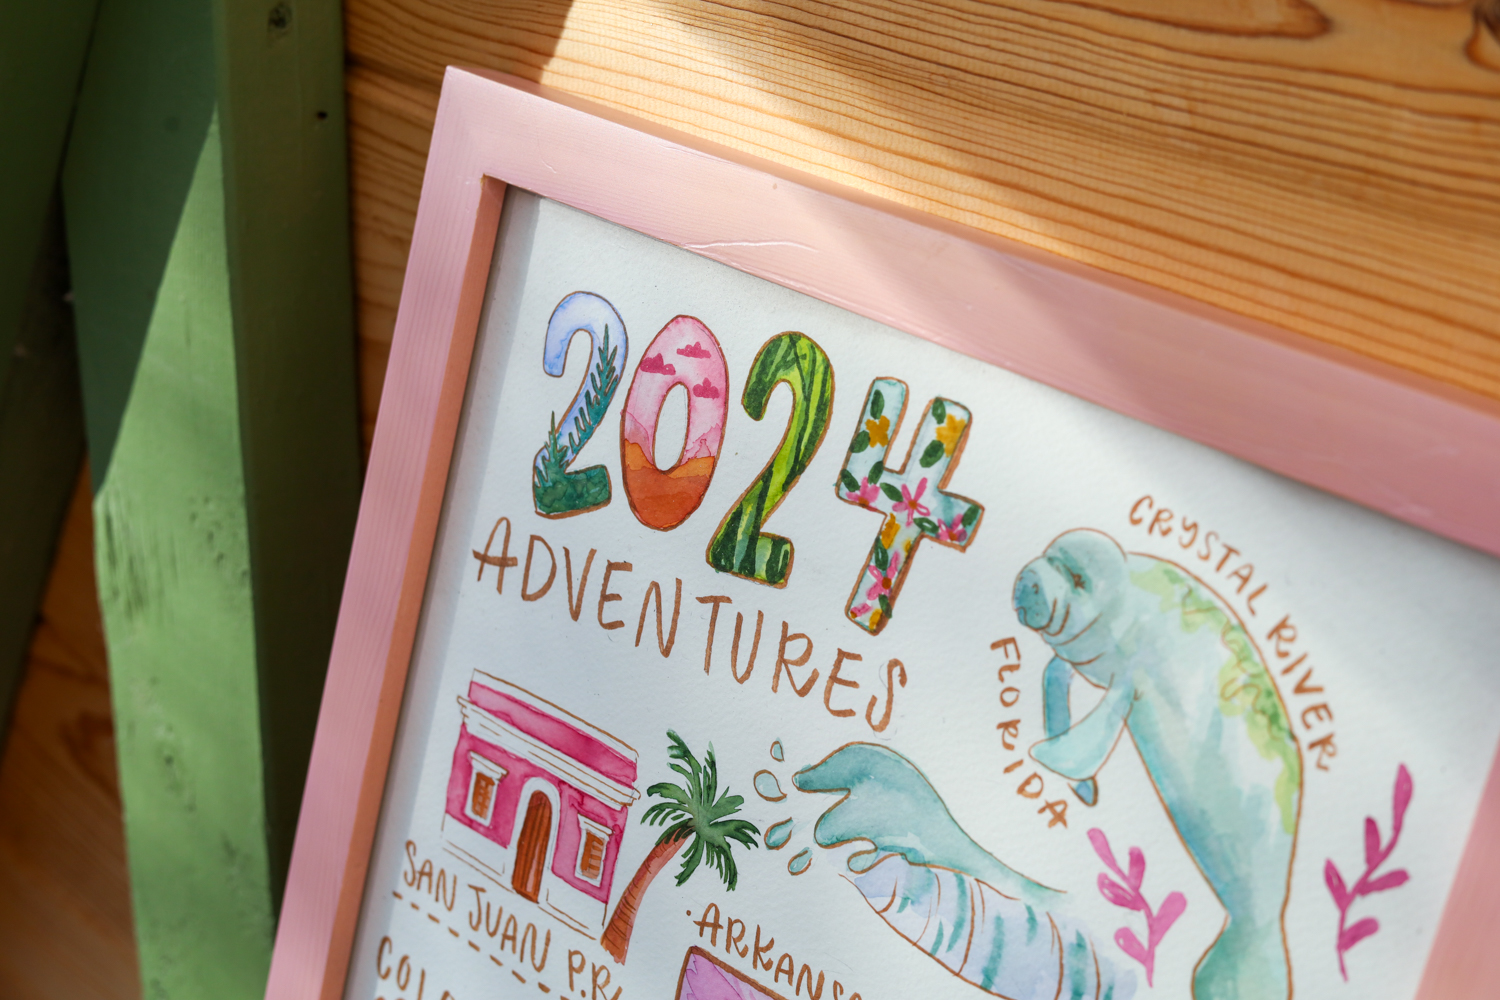
Add your illustration to a picture frame and you’re ready to hang it up on your wall!
Looking for more fun project ideas? Learn how to create your own Wall Art inspired by Pantone’s Color of the Year in this tutorial!
The post DIY Travel Memory Wall Art appeared first on Tombow USA Blog.


